


1966 GMC Suburban Frame off resto – MONTHLY UPDATES
Purchased 1-21-2021
Day I brought the Suburban home | January | February | March | April | May | June
July | August | September | October | November | December | January 2022 | February | March | April | May | June | July | Misc Updates
Some of the parts bought
Some of my other projects –
My 1966 GMC Suburban ” Custom” Project (started January 2021)
My 1963 GMC Suburban “Custom” (FOR SALE) Fauxtina/Patina paint job FS page – Gallery – Video
My 1972 Montego GT 429 / 521
My 1973 Montego MX (see monthly updates toward the top once you get to the page)
My 1966 Chevy C-10 (see monthly updates toward the top once you get to the page)
My 1977 Trans Am Buccaneer Red
My 1963 Pro Street C10 (back halved frame off I did this back in 1992) Video
Some of my other cars and trucks
My YouTube Channel (how-tos, projects, paint jobs…)
September 1st. Ordered a roll of 3/8″ copper/nickel tubing to be used for the fuel line. Holley recommends 3/8″ ID, but I couldn’t find any. I had read that the 3/8″ OD will work fine.
Also bought a stainless “T” hose for the rear brakes
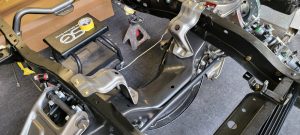
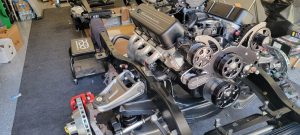
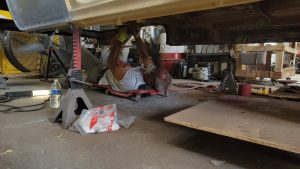
9-3 – Well, I pulled the motor/trans back out. I realized that my CVF serpentine system will not fit so I had to move the motor back a couple inches. Normally on the big blocks, you utilize the front 2 holes on the frame rails (there are 3 holes), and the bottom of the bracket mounts to the factory hole on the crossmember. This is the way I originally had it. But now since I wanted to move back the engine, you just can’t move the brackets back to the ‘rear’ 2 holes as the bottom of the bracket would end up off the crossmember.
So I got the bright idea to reverse the brackets so I can utilize the rear 2 holes. When you reverse the brackets, now the bottom of the bracket will be facing forward so it will end up in the middle of the crossmember.
So 2 new holes have to be drilled, The one on the crossmember and one the hole toward the firewall…since the bracket has to be slightly angled so the bracket sits straight.
I double-checked before the switch and after and spacing from edge of hole to edge of hole is 15″ so that’s good.
I also checked the measurement before and after the swap measuring from the rad crossmember to the center of the hole on the bracket, it went from 17″ to 19.5. So that’s good as well.
This should give me about 12″ spacing between the face of the radiator and the face of the head.
The CVF serpentine requires 8″ and my fan 3.5″
Hope it works out!
I also final blocked the outside of the doors, sanded the inside and painted them. Toyota silver with HOK clearcoat. Flattening agent was added so I got a matte finish.
Quarters were also blocked and reprimed. I’m pretty close to having those ready.
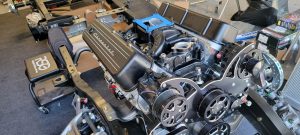
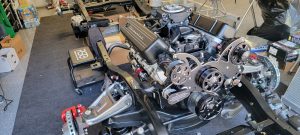
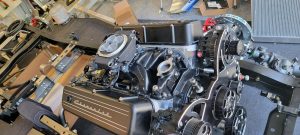
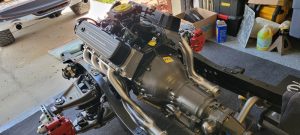
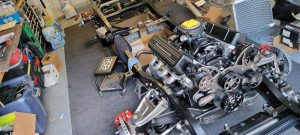
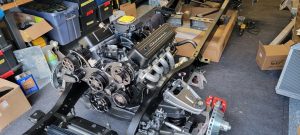
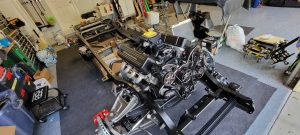
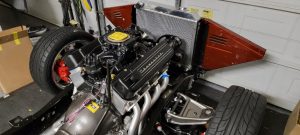
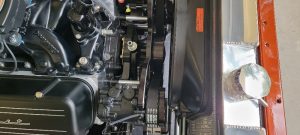
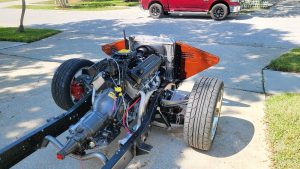
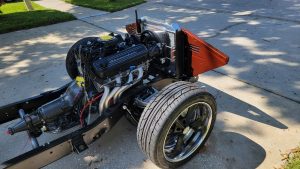
9-4 / 9-5 – Got the engine/trans back in. Looks like it will work as I did the mock setup with the radiator and the Black Magic electric fan and I have about 1/2″ clearance. It’s a shame you really won’t see the CFV serpentine setup…at least from the face of it. You’ll see some of it.
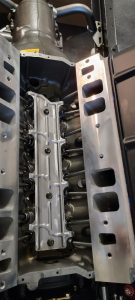
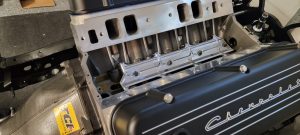
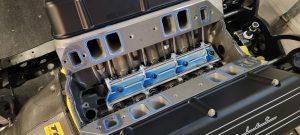
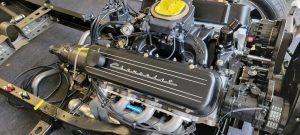
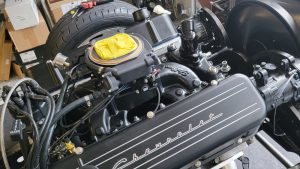
Installed the manifold. Used “The Right Stuff” on the China Walls. Used FelPro gaskets along with some sealant around all ports (cylinder head side only). Also put Permatex #2 sealant on all bolt threads.
Took some pics on the inside of galley showing the big rectangular ports of the BluePrint heads.
Manifold is a Edelbrock Air-Gap.
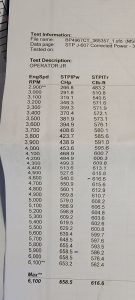
Dyno results shown..of course Blueprint uses a single plane manifold.
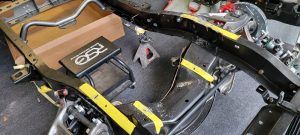
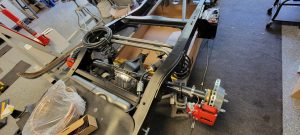
Also put in the track bar finally. Had to lower the tank. I think the CPP track bar bracket is angled incorrectly as I had to move it back about an inch from where it’s supposed to go. I’m using the CPP Deluxe Trac Bar.


September 11th, 2021 –
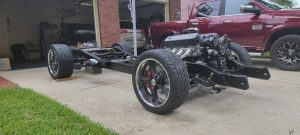
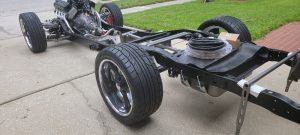
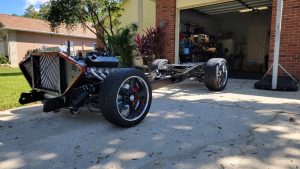
Finally got my tires in. I got them mounted on the Billet Specialties Wheels. 5×5
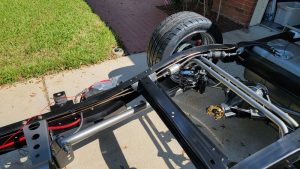
Working on the transmission lines. I’m bending my own using 5/16th brake lines.
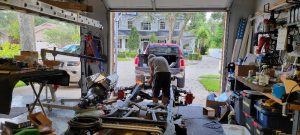
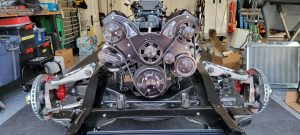
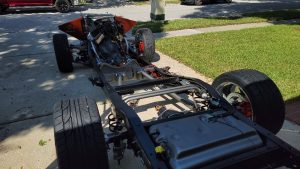
First time rolling the frame outside!!!


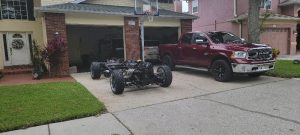
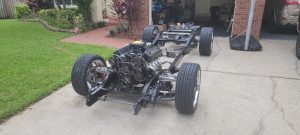

A video I put together September 12th
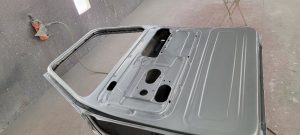
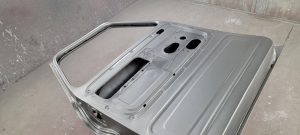
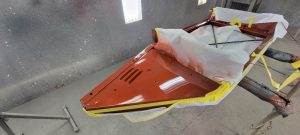
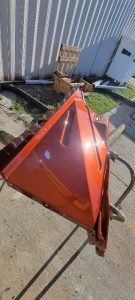
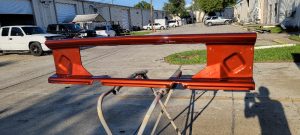
September 14th – prepped and painted the grill surround. Had to do minor bodywork and reprime. Let it cook out in the sun, sanded, then painted. Looks great. Backside is very clean.
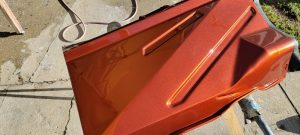
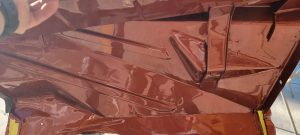
Finished wetsand and buffing the inner fenders which I painted last week (my first painted pieces). I’m sure you saw in July updates that I “thought” I was going with the Dodge B5 Blue (I had painted the inner fenders in this color)….well I changed my mind.
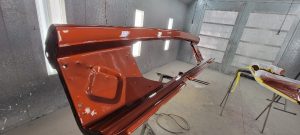
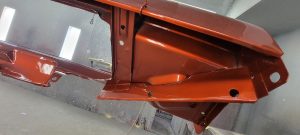
Went with Copperhead Pearl (Mango Tango) Dodge color. Always wanted an orange/copper color.
So I have the inner fenders, core support and grill surround painted. Only the inner fenders are completely done.
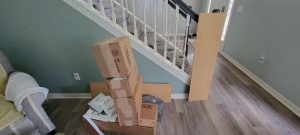
Got about 8 packages in the past couple days.
CPP Black Wilwood power booster and master cylinder
Billet Specialties valve cover breathers (black)
Power steering return line (Gates)
Some other goodies


September 15th
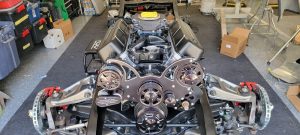
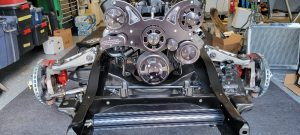
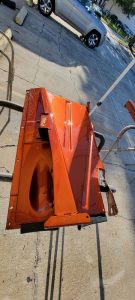
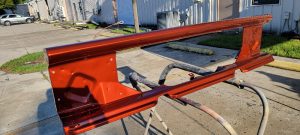
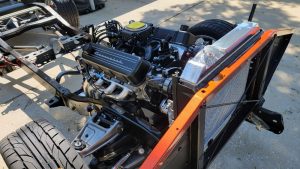
Finished the radiator support. Did some black details to it. Also finished the inner fenders along with the grill surround. Brought the support home and temporarily installed is to see how the radiator would sit and how much room, I will have between that and the CFV pulleys. I think I have JUST enough room. Thanks to me moving the motor back. HOPEFULLY I have enough room between the passenger valve cover and the firewall. Going to be very close.
Added a video above (September 12th)

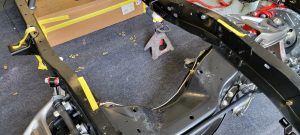
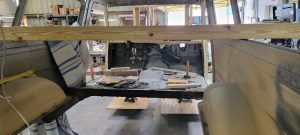
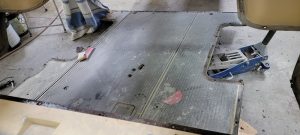
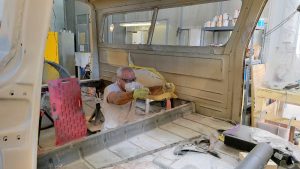
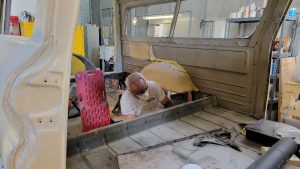
September 16th. Dropped the rear floor out.
September 19th
Got the Flex-A-Lite Black Magic fan installed (no wiring done though).
I will use the brackets and the radiator shrouds bolted together once I get the body and inner fenders in.
This way I won’t have to run that big bracket on the top of the radiator to hold the radiator in.
I only have about 1/4″ clearance between the CFV idler and the fan, so I have to wait until everything is installed.
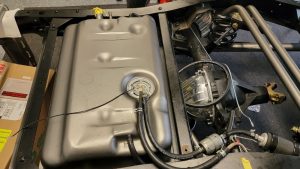
Also almost have my pressure and return lines done. I’ll need to pull the tank back out and install the return feed that goes into the tank.
Had to drop the right header to install the spark plugs. Got all the spark plug wires made and installed. Need to raise them up a little more away from the headers.
September 22nd
So we’ll start off with these 3 hoses (2 radiator and 1 bypass) and see how they work out. This is all trial an error since these trucks did not come with the newer Big Block engines. Even though the original 351e V6 was considered a big block.
Hopefully I can get all three to work. I’d be happy if 2 worked though.
$38.12 for the below 3 hoses – Amazon
Gates 28467 90 Degree Molded Heater Hose
September 22nd – Gates 20611 Premium Molded Coolant Hose
September 22nd – Dayco 70344 Radiator Coolant Hose
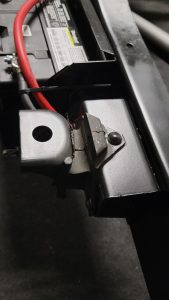
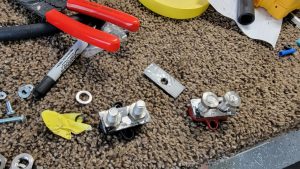
Still working on the positive and negative battery cables. Using 4 of them since I want a pos and neg terminal due to having a drop down battery box. I want to be able to route wires to the terminals instead of the battery.
MAIN positive – 54″ ( had to reorder this one since ia had to route the second + a different way due to the Chevelle headers.
MAIN negative – 48″
Second positive – 36″
Second negative – 18″
By the way, the above seller makes GREAT looking cables. Fast service to!
September 25th
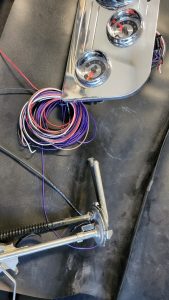
Worked on routing the wiring for my fan – YES, it runs!!! Also worked on routing my battery cables. I didn’t realize the terminal block had separate posts (not connected). So I made a busbar.
Took a video of the fan running.
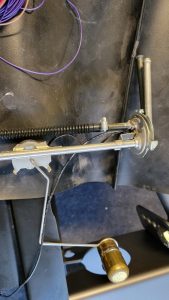
Thursday, I added a fuel line return in the sending unit. You need to add a line that nearly goes to the bottom of the tank so the return fuel does not just cause bubbles when going into the tank.
I could not add the line in the fuel tank itself so I added it to the sending unit. I think it came out great! I used 3/8″ brake line.

September 27th – Finished up my 6 gauge wire install from the CVF one wire alternator. This also has a 200 amp fuse. I mounted the fuse under the radiator support
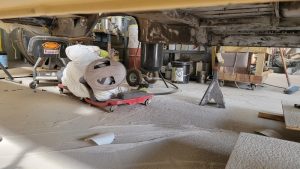
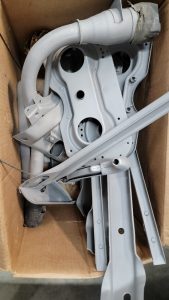
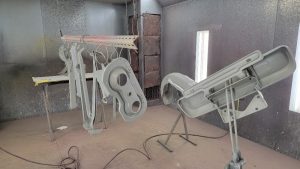
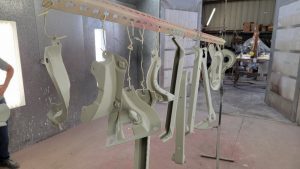
September 28th – Picked up some sandblasted parts from Blast Services in Clearwater on the way home from work.
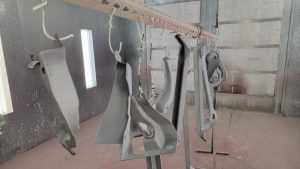
I forgot to bring in the bumpers from home though (had to take them out of the bed at night), but did bring the rest in today so I could get them in primer.
They ALL blasted very nice. No pitting except for the fender brackets which only has minor pitting.
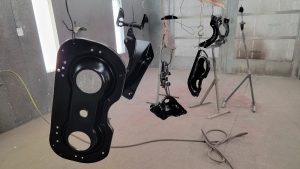
I also painted some of the parts in a semi-gloss black (not a matte finish like I’ve done other parts).
I got under the body and dug in on sanding and sandblasting areas. I’m glad a 1/3 of the body is wood.
I’ll get the bumpers in primer sometime this week.
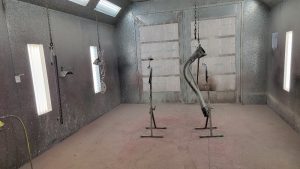
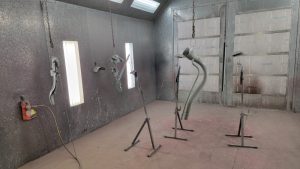

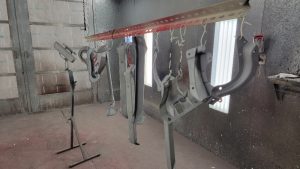

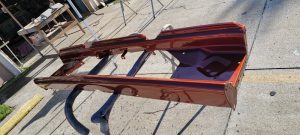
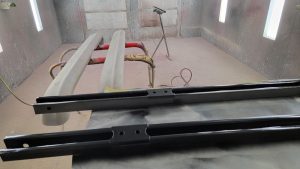
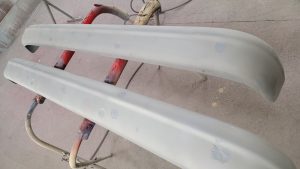
September 29th – bodyworked the bumpers and got them in primer. These will be ‘smooth’ (no bolt holes)
Also noticed the rear bumper looks like the front bumper. Well, it is a front bumper…basically.
From the factory the bumper is the same just the location of the bolt holes are different. Also noticed that an original Suburban rear bumper has the ‘indents’ for where the hole would go if it was used as a front bumper.

Tools, equipment, paint and more.
Auto Body Store


More
Comments