


1966 GMC Suburban Frame off resto – MONTHLY UPDATES
Purchased 1-21-2021
Day I brought the Suburban home | January | February | March | April | May | June
July | August | September | October | November | December | January 2022 | February | March | April | May | June | July | Misc Updates
Some of the parts bought
Some of my other projects –
My 1966 GMC Suburban ” Custom” Project (started January 2021)
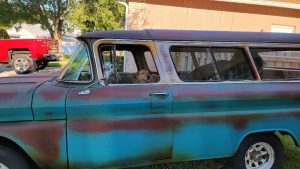
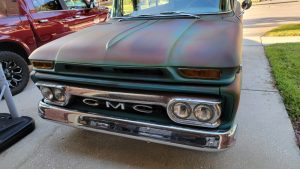
My 1963 GMC Suburban “Custom” (FOR SALE) Fauxtina/Patina paint job FS page – Gallery – Video
My 1972 Montego GT 429 / 521
My 1973 Montego MX (see monthly updates toward the top once you get to the page)
My 1966 Chevy C-10 (see monthly updates toward the top once you get to the page)
My 1977 Trans Am Buccaneer Red
My 1963 Pro Street C10 (back halved frame off I did this back in 1992) Video
Some of my other cars and trucks
My YouTube Channel (how-tos, projects, paint jobs…)
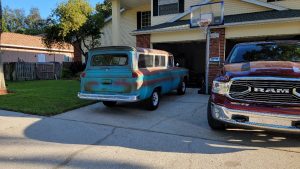
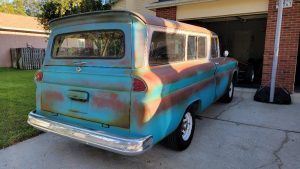
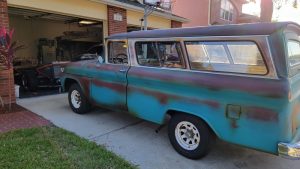
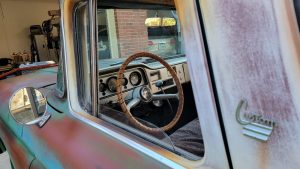
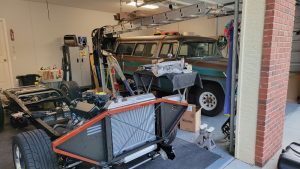
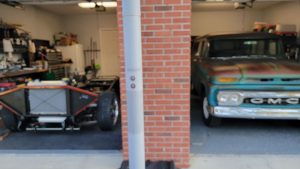
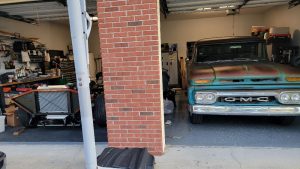
September 30 – Took the ’63 Suburban from the side of the yard and parked it in the garage. Took some pictures of both the ’66 and the ’63.
I’ll put it back at the side of the yard later on this weekend (covered of course).
This cover I bought works great! Cheap and keeps it dry.
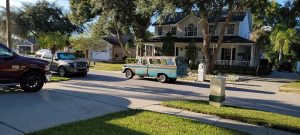


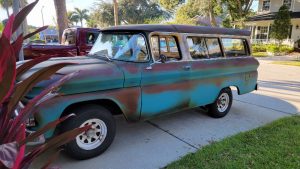
Very short video of a drive by in my ’63 Suburban
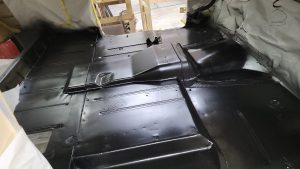
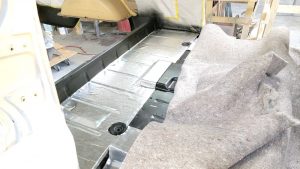
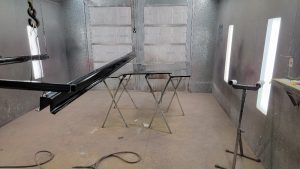
October 1st – Painted the floor!!! I I sanded it, sealed it and used SEM Hot Rod Black.
I also did the underside. I did this in Raptor bed liner. The bottom and inside was very clean. All original metal. No floor pan, inner or outer rocker replacement!
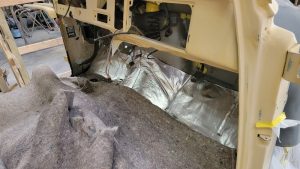
October 2, 2021- Went in for a couple hours. I added some DynoMat (look-a-like). I used leftover material from my Montego GT. The area under the seat will not have any. I will be adding some thick Jute under the carpet though.
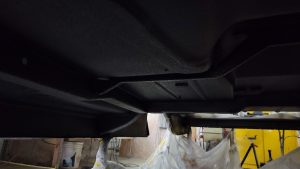
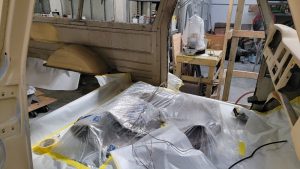
Masked off the inside so I can work on the inside panels along with the dash and roof.
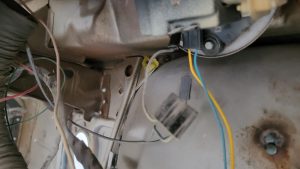
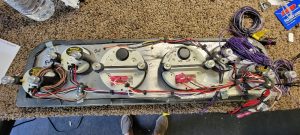
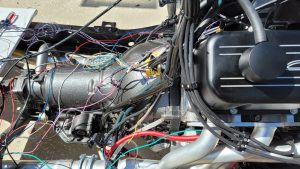
October 9th – Worked on a few minor things. Worked on the wiring for the gauges. Got them all set.
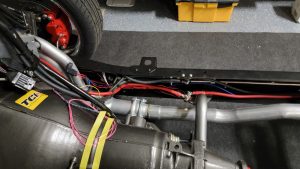
Also wired in the fuel pump from the distributor. I really can’t finalize the wiring as I really need the body on since there is a relay and a fuse to mount on the bottom of the firewall. You really won’t see this or unless you really look.
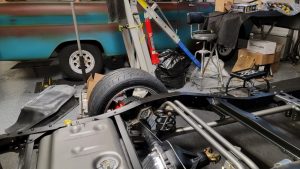
Got it all set to have the frame picked up on Monday and take to Sam at Performance Muffler in St Pete to do my 3″ exhaust. I hung the rear bumper to make it easier to figure out where the tips will go. Excited to get this done since I have the Sniper, I can’t start it until this is done and I install the oxygen sensor.
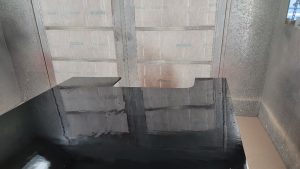
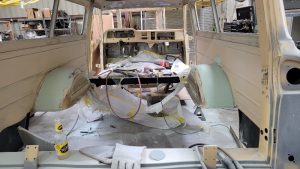
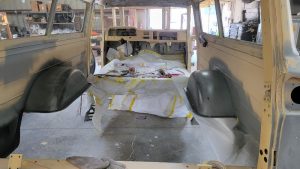
Worked on the inside rear last week. I about got the inside to paint. It’s going to be a light charcoal pearl with a matte finish.
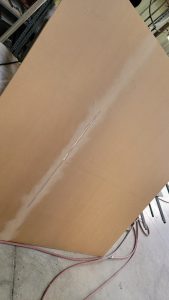
I also ordered my wood from Anderson Lumber in St Pete.
Total size will be 70 3/4″ long and 70 1/2″ wide. This will be done in 2 pieces. I have them gluing the pieces together.
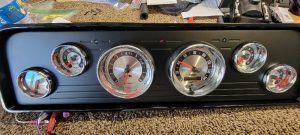
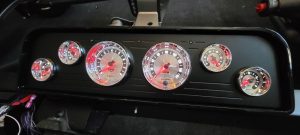
Shown below is the gauges lit.
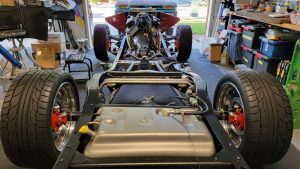
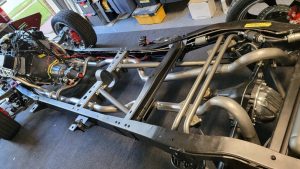
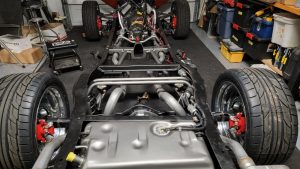
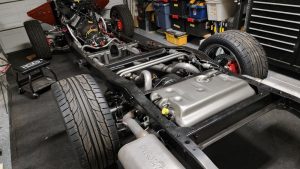
10/12/21 – Time for the exhaust. I wanted 3″ all the way back. We may have an issue with it going over the rear. So I may have to just go 2.5″ to the mufflers and then 3″ out.
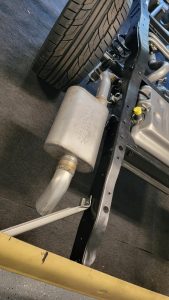
Also a problem placing the mufflers. Looks like we’ll settle on putting them outside the frame in the rear. I measured and it “should” work out.
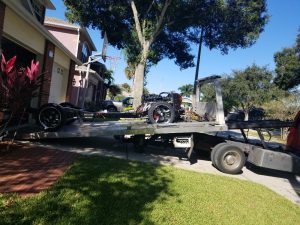


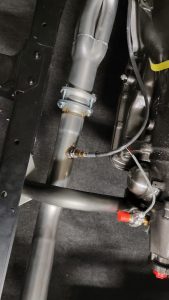
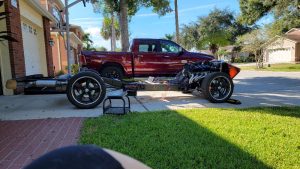
10/12/21 – The exhaust is done. Great job by Sam at Performance Exhaust in St Pete. 3″ was not going to happen so he did the 2.5″ He also welded in a bung for the Oxygen sensor which I didn’t expect. I only asked him to drill the 3/4″ hole. So great job. Highly recommend Sam at Performance Muffler
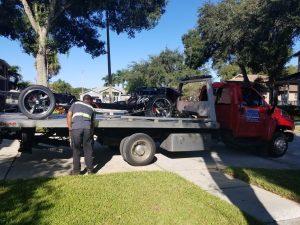
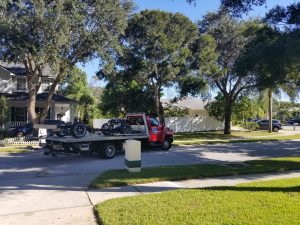
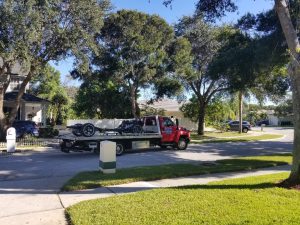
Also kudos to Jason with “Above Average” Towing. On time, nice guy. Reasonably priced
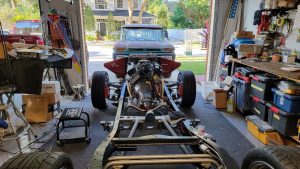
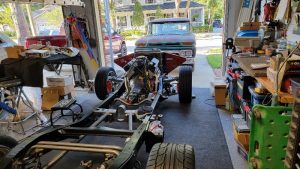
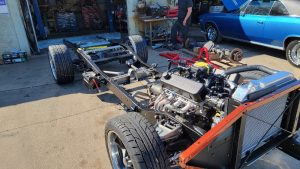
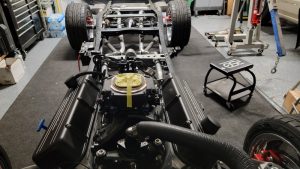
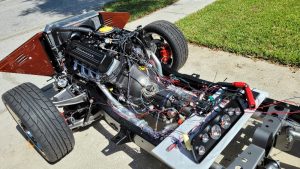
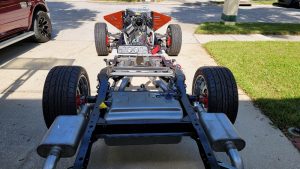
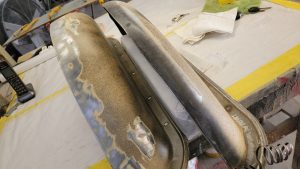
Good to have the frame home. I’ll have to fire up the 496 Blueprint motor soon!!!!
(dyno’d at 658HP roller motor w/ single plane manifold. I installed an Edelbrock Air-Gap – painted in a matte finish)

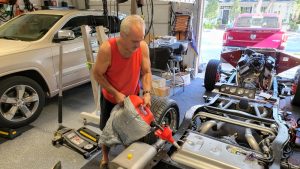
10/16-10/17
Big weekend for the Suburban. Got it fired up for the first time. Great to hear. Sounds great. Definitely tell it has some HP. My neighbor Glenn came over and helped out. Wanted a second set of eyes since this was the first time I did fuel injection (Holley Sniper). A lot of wiring. I did the gauge wiring last week. All the gauges worked flawlessly.
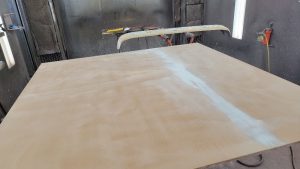
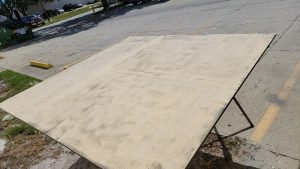
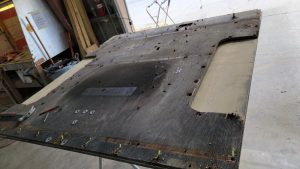
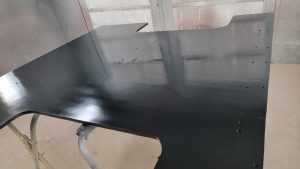
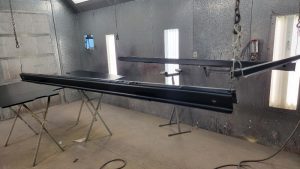
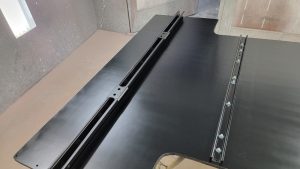
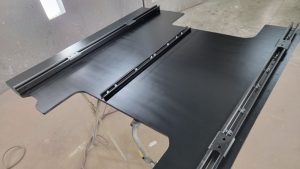
Also worked on the rear ‘wood’ section. I got that sanded, did some trimming. Drilled all holes except the back (I’ll do that once it’s installed). There are only about 8 more to drill.
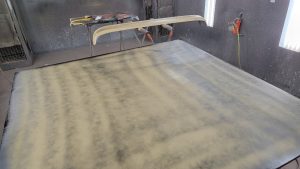
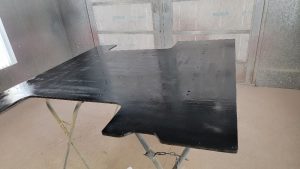
Sanded the wood and 2K primed it (both sides). Sanded the bottom and painted it in a matte finish (basecoat/clearcoat)
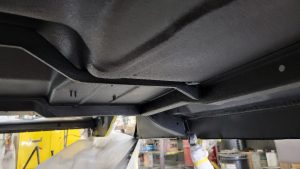
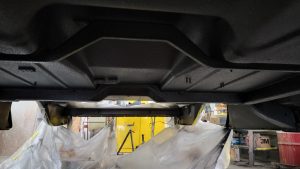
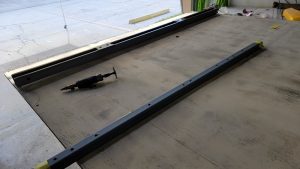
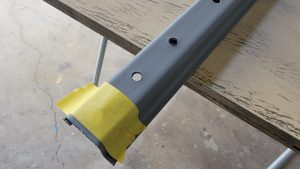
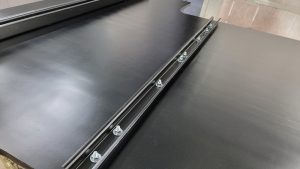
Also painted the crossmembers. There are 3 that mount to the bottom of the wood.
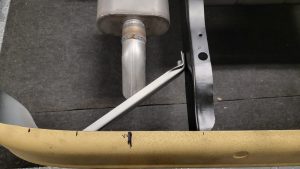
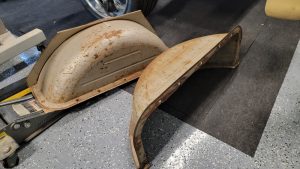
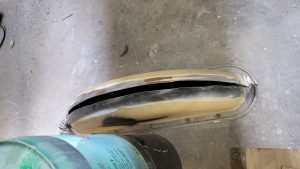
Took the second set of tubs to Blast Services to have sandblasted. I should get those back early part of next week. Then I’ll hack those up and cut them 2″ wider on each side.

October 19th –
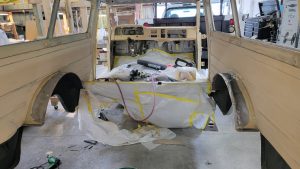
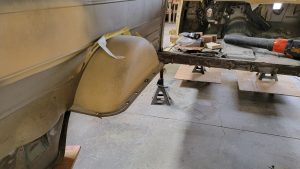
Got the tubs back from Blast Services. Got them cut so they are 2″ wider than the section that I cut off the originals. Tack welded them in place, everglassed them and bondo’d them
still have a LOT of work on them. I included a pic of the original tub before cutting
Also got the last crossmember on the floor. The floor came out great!


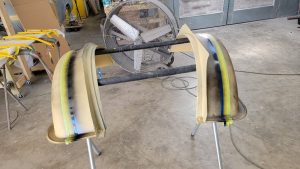
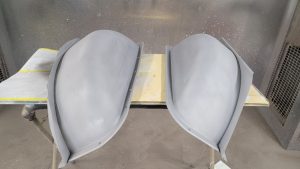
10/20/21 – 2″ widened tubs are in first prime!

Tools, equipment, paint and more.
Auto Body Store


More
Comments