


by acp · Published · Updated
Some of my other projects –
My 1966 GMC Suburban ” Custom” Project (started January 2021)
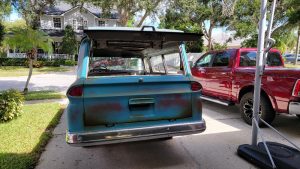
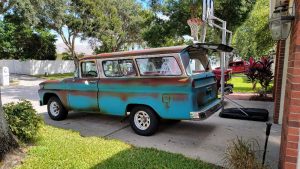
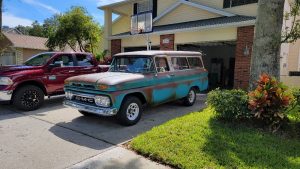
My 1963 GMC Suburban “Custom” (FOR SALE) Fauxtina/Patina paint job FS page – Gallery – Video
My 1972 Montego GT 429 / 521
My 1973 Montego MX (see monthly updates toward the top once you get to the page)
My 1966 Chevy C-10 (see monthly updates toward the top once you get to the page)
My 1977 Trans Am Buccaneer Red
My 1963 Pro Street C10 (back halved frame off I did this back in 1992) Video
Some of my other cars and trucks
My YouTube Channel (how-tos, projects, paint jobs…)
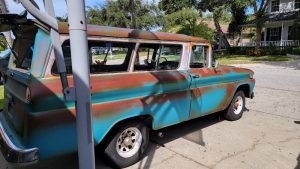
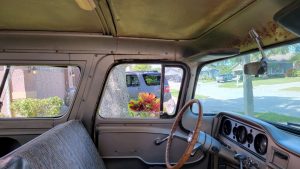
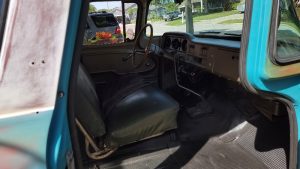
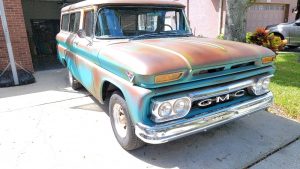
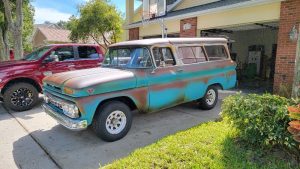
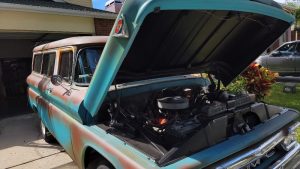
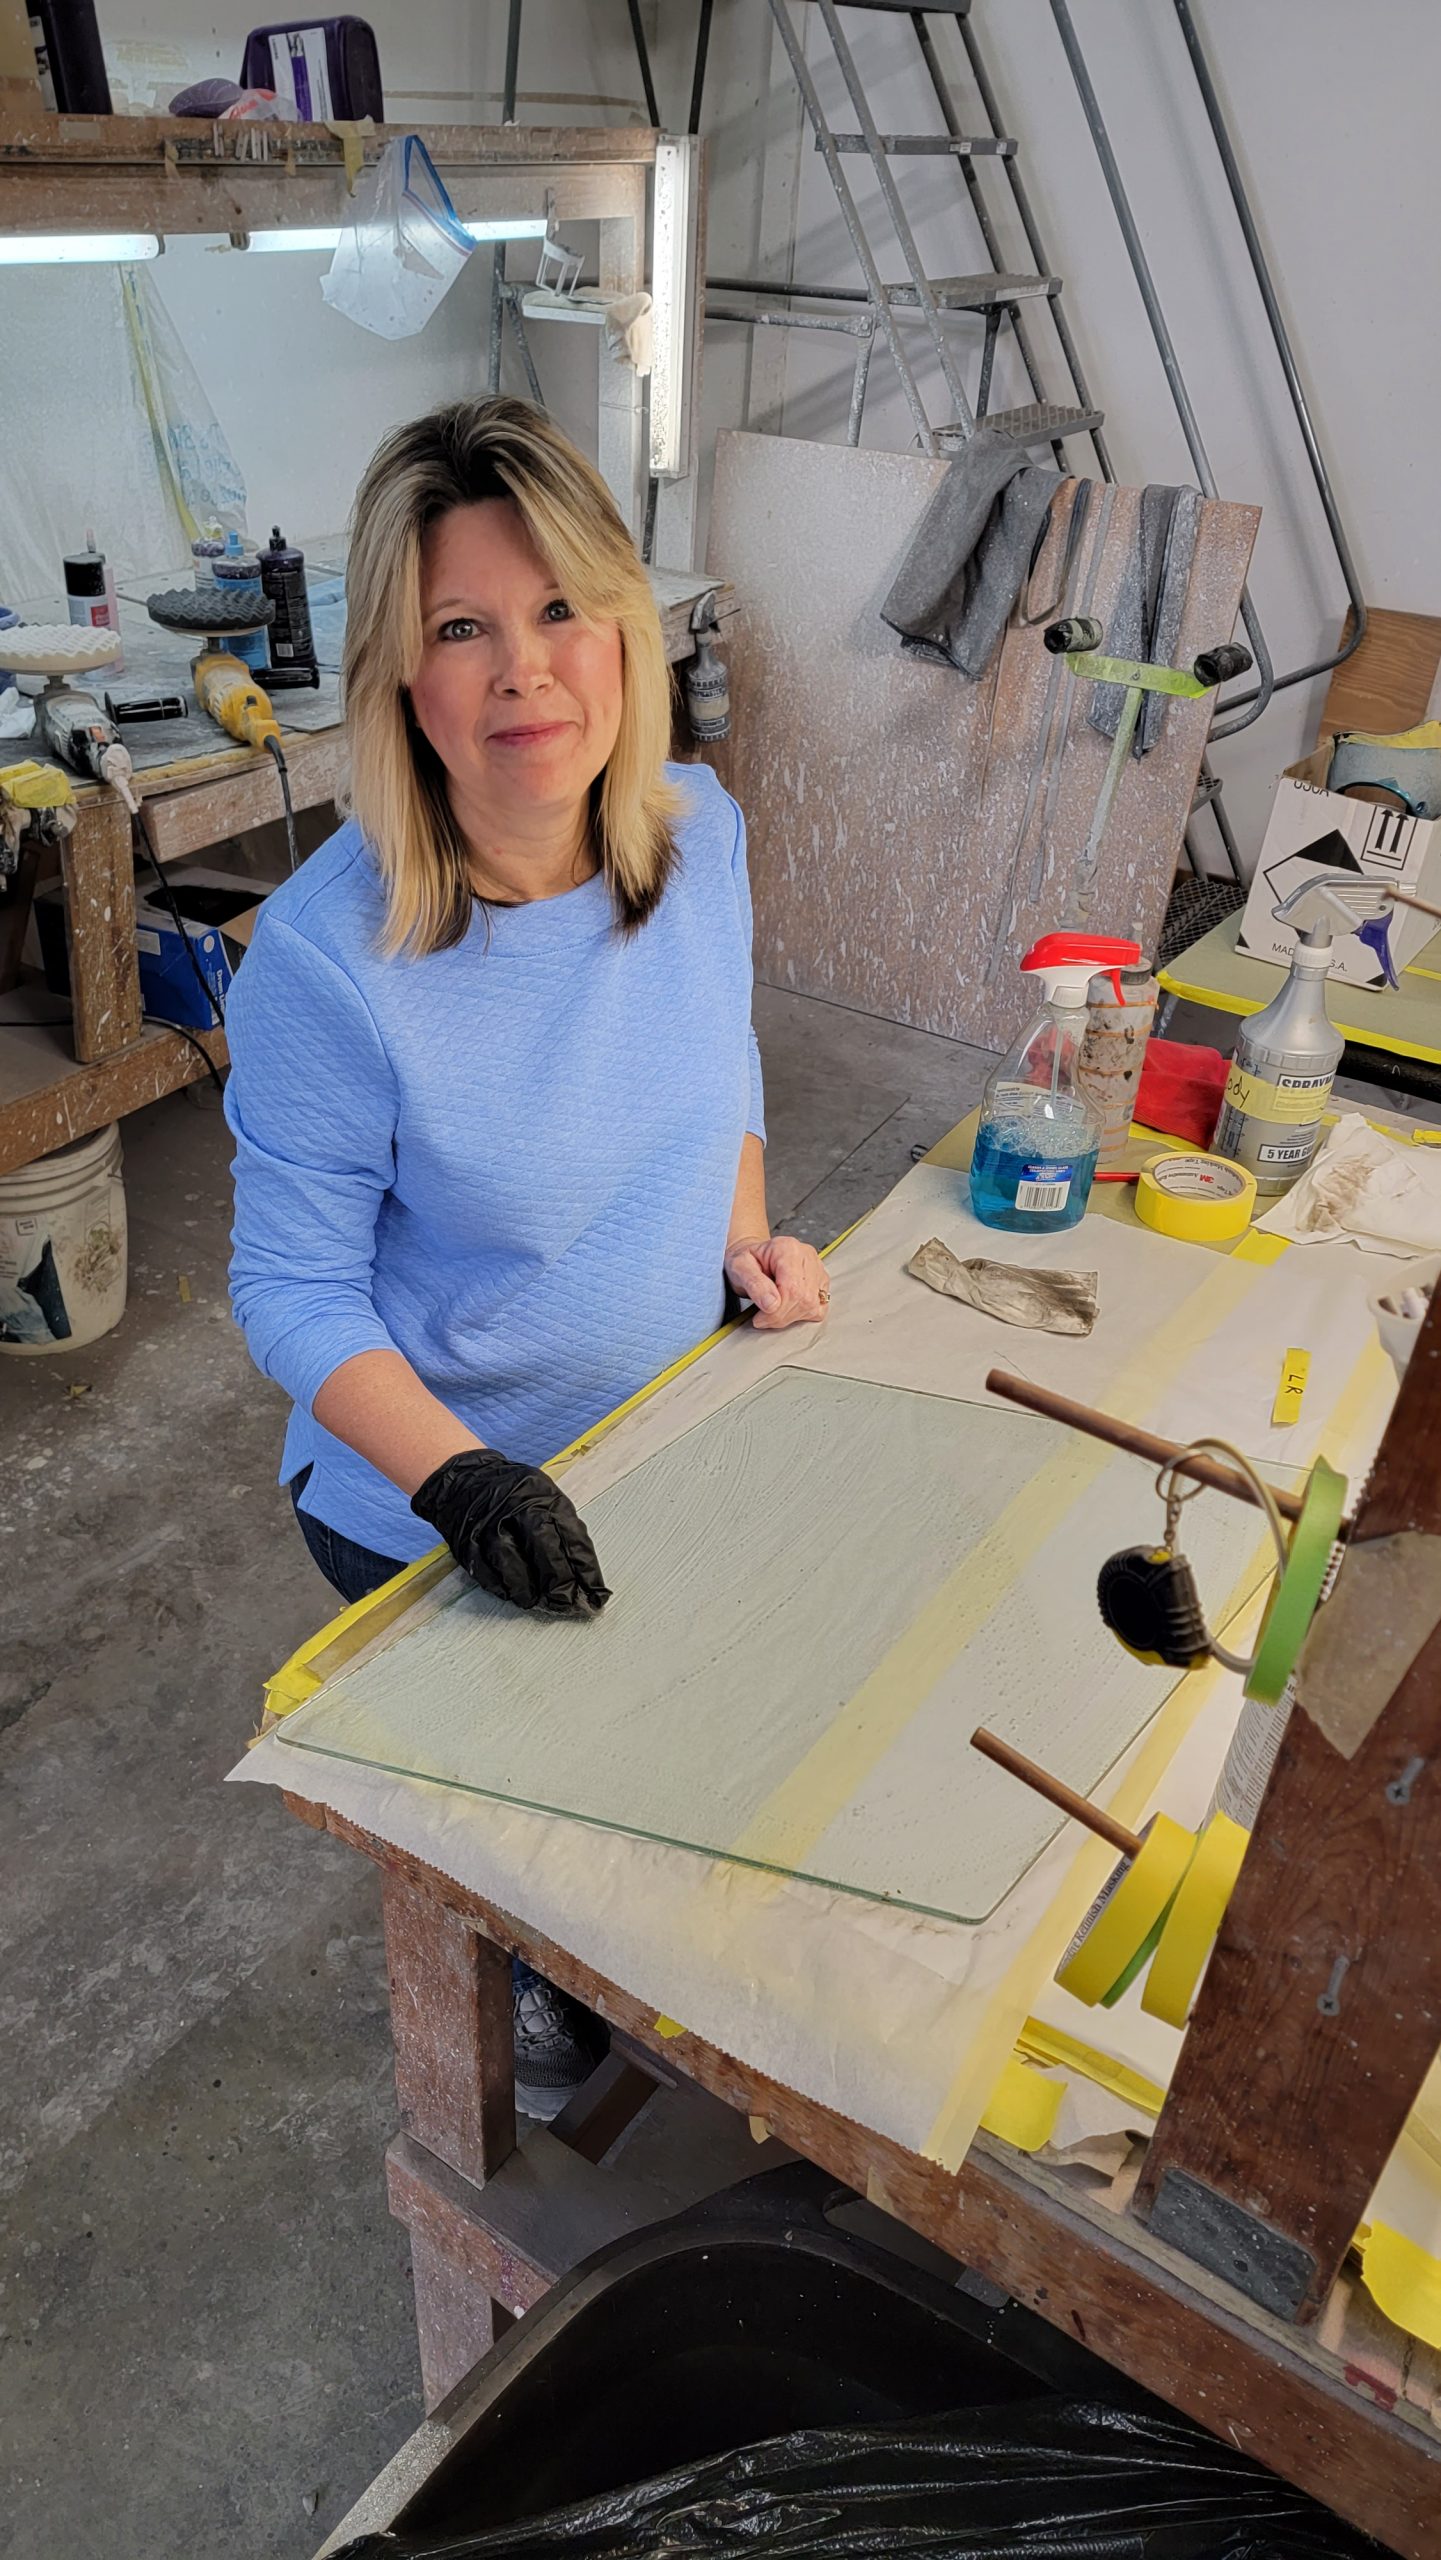
After 2 months of hard labor I finally painted the 1963 GMC Suburban Custom.
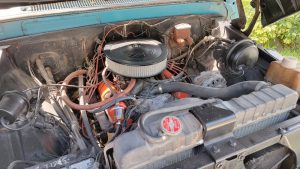
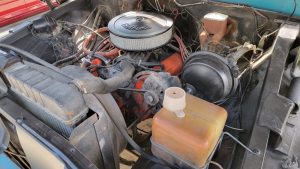
100+ hours went into all the work including replacing the right floor pan, inner rocker, and left floor pan.
Extensive bodywork including some dents and the usual rust.
All panels were stripped to metal. New primed aftermarket fenders went on the Suburban.
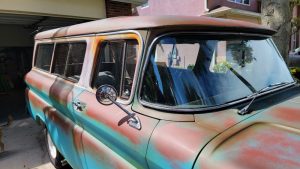
Paint day started on Friday AM 4/30. Lot’s of masking since I wanted to do the fawn metallic door insides along with the all teal jams. The fun began at 1:30 or so when I laid down a couple coats of light gray sealer.
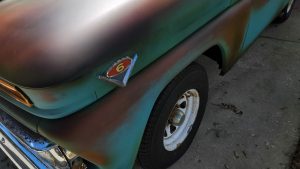
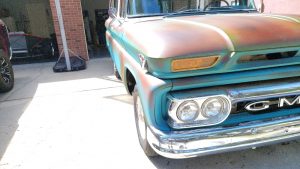
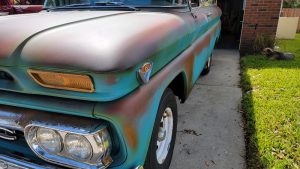
The topped that off with a couple coats of a darker solid gray. I used these as backup incase while giving the paint the patina look, I sanded through the ‘red oxide primer’ looking basecoat.
The red oxide was a ‘underhood’ color that I found in the color chips. Of course this was not available in the economy Omni basecoat, so I had to get Deltron. This paint ran $180 a quart. I needed 2 quarts. Once I got this paint, I tinted even more to give it an authentic old school red oxide primer look.
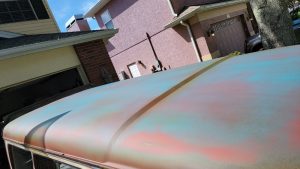
Once I did the above coats, then it was time to do the white section, then the teal.
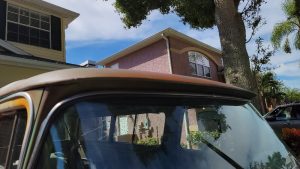
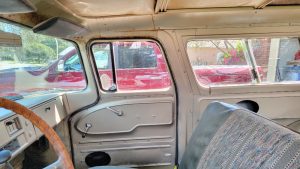
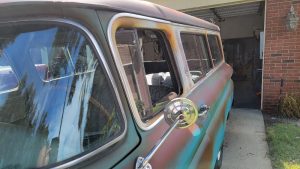
GMC Suburbans came with a 2 tone whereas the area around the side windows were white and the rest the main color. The Chevy Suburbans came with the roof as the 2 tone color as well. Once that was done, I called it a day.
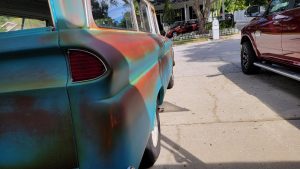
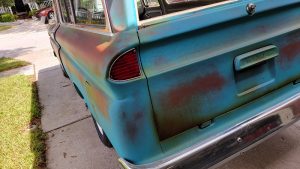
Saturday AM I did a LOT of hand sanding using 180, 320 and red scotch bright pads. I sanded through various areas giving the paint job the weathered look. I did some ‘splatter’ work giving areas the look of surface rust. Then using a special candy mix, I did some shading giving the paint a surface rust effect. I did this on both the white and the teal color. I did this for about 4 hours. I was going to clearcoat it that day, but opted not to as I destroyed the booth with masking paper, sandpaper and other misc.
So Sunday was D-Day. Anxious to get this done, I started early morning. Did some fine tuning using a red scotchbrite. Once I was satisfied with the overall look, I blew and tacked off the Suburban.
The clearcoat I used was House of Kolor UC-35 and the flattening agent was One Choice SU-4985.
2 very good wetcoats were applied. This goes on glossy so I had to wait about a 1/2 hour to see how it was going to dull out.
Once done, I let it dry approx an hour, pulled the paper off and pulled it outside.
3 days, approx 12 hours went into the paint job itself not including masking
100+ hours of bodywork
I think it came out video below (or on my YouTube channel)
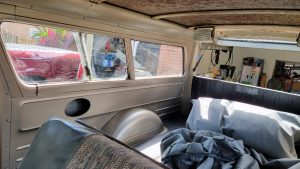
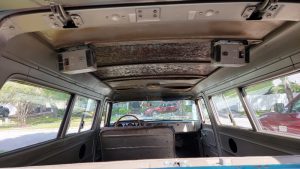
Also see some pics of all the work that went into the 1963 GMC Suburban

**** This 1963 Suburban is for sale – GMC Suburban For Sale ***** info
Materials Used –
Color used
Special mix white
House of Kolor paint
UC35 clear
KU150 hardener
KK Pagan Gold
KK Candy Red
KK Candy Tangerine
MR 185, 196 reducer
Shop line sealer

Tools, equipment, paint and more.
Auto Body Store


More
Comments