


by acp · Published · Updated
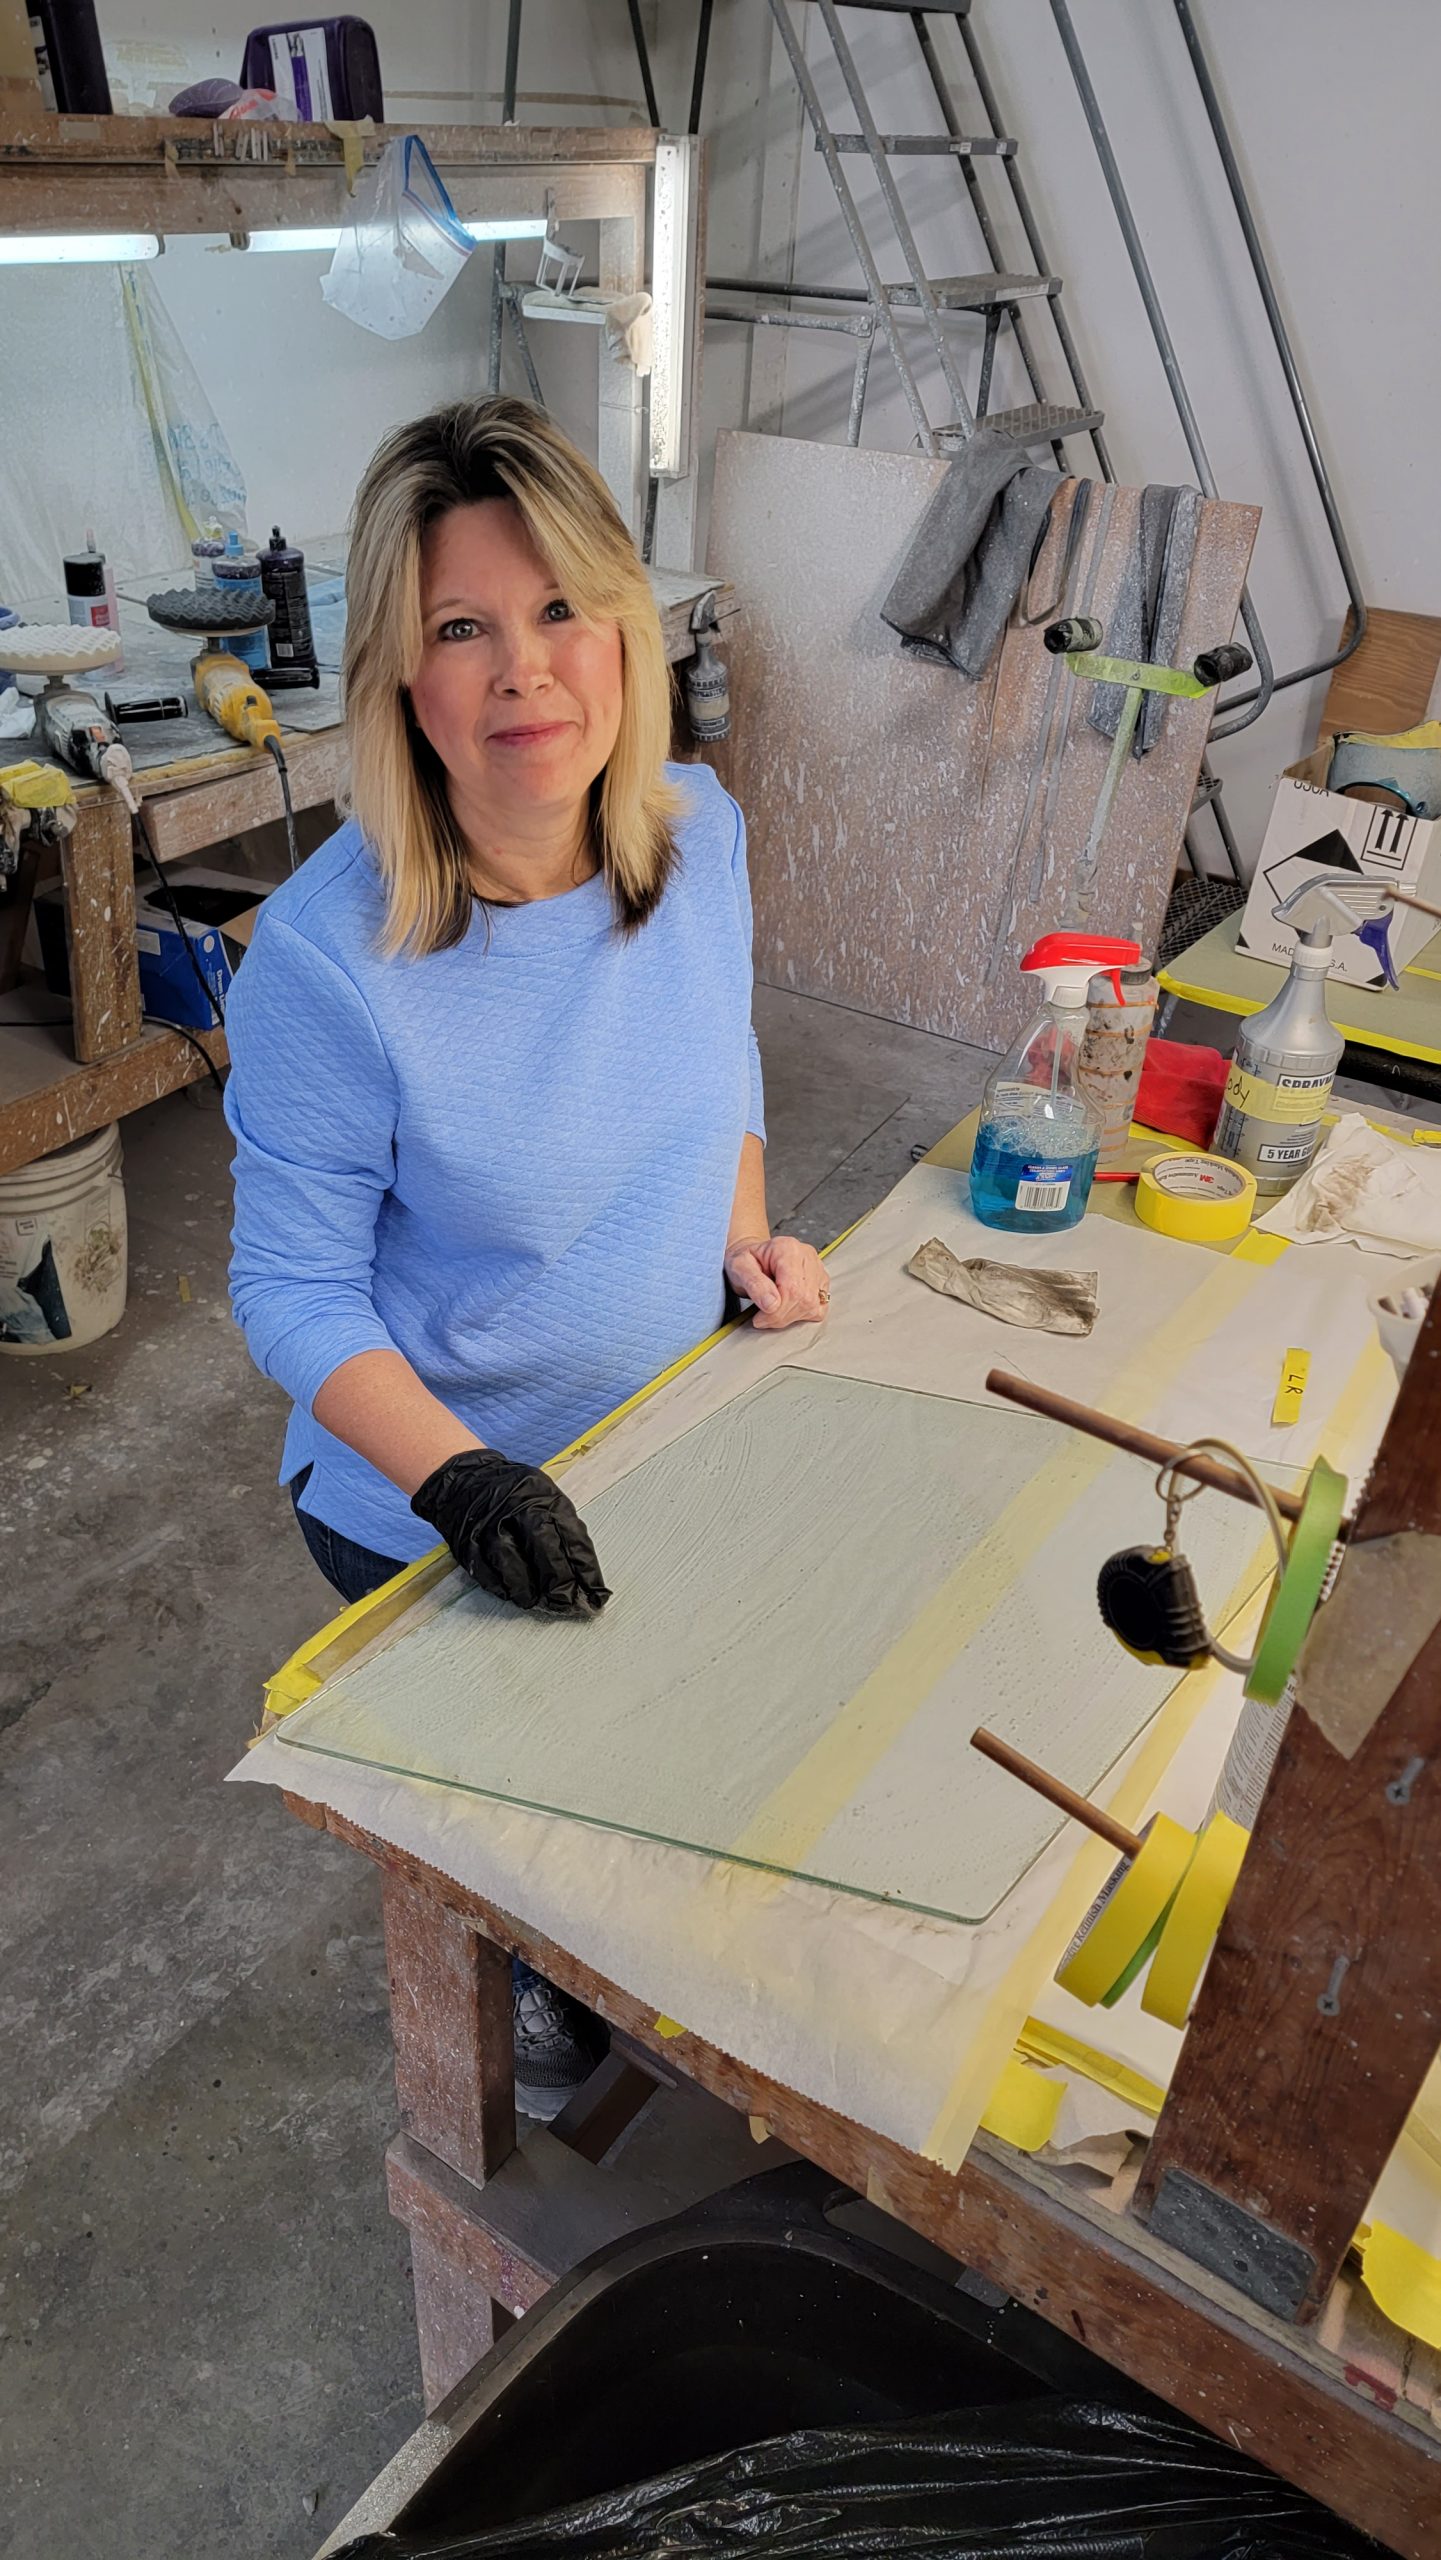
Metalflake paint jobs looks stunning when done right. Lot’s of steps (and materials) are needed when doing a metalflake job. In the below video, you’ll see that I’m doing a “match” of a factory Harley candy metalflake paint job with graphics on some aftermarket stretched and swoop saddlebags along with factory lids.
He actually purchased the rear fender/bag kit, but opted to not do the rear fender.
Matching a paint job like this is definitely not for the timid. I had thought looking at the pictures the customer sent before we did the job, that the gold stripe was goldleaf, but looking closely at it in person, it appeared it’s a special effect done by the painting process.
I did some test panels before actually doing the stripe and felt that I got the stripe extremely close (along with the rest of the paint job). You’ll see the end results at the end of the video
You’ll see in the video, that I mention that I do the metalflake outside so I don’t destroy our spray booth.
When doing this I ran into a ‘blushing’ issue.
See the video to see what happens
To any painters that happen to stop by our website, be sure and check out the video.
I mention some tips and tricks when doing a candy metalflake paint job!
Tools, equipment, paint and more.
Auto Body Store


More
Comments