


This works great if you are doing a candy color and black checkered themed paint job.
The reason you do this backwards is because the edges can get quite thick on you by the time you do your base metallic,
then the candy color. This way, you do the 'thick' color first.
This is more involved than the previous How-To checkered job. I also took more pics along the way.
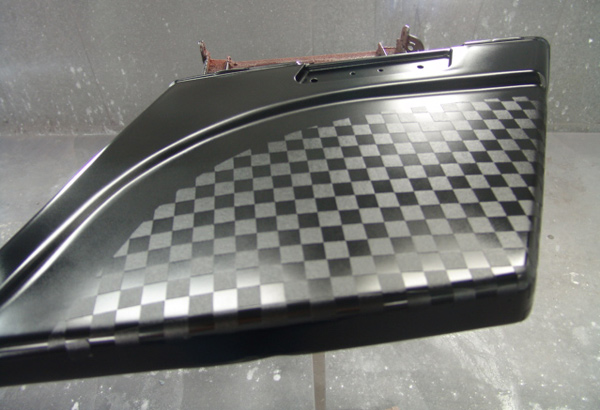
Here we have already based our parts, candied them, and cleared them.
We also went ahead and reprepped them using 600 DA and then 1000 grit wet.
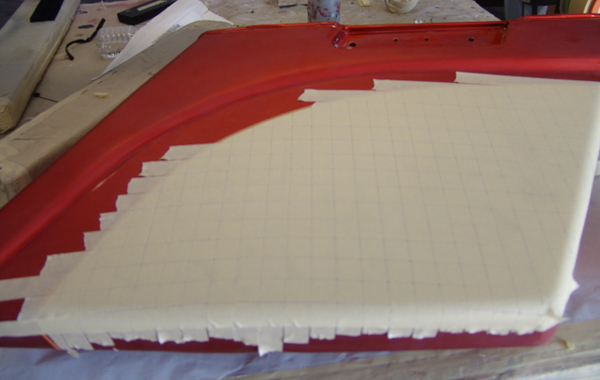
Once you get it to the above stage, you're ready to dig in….
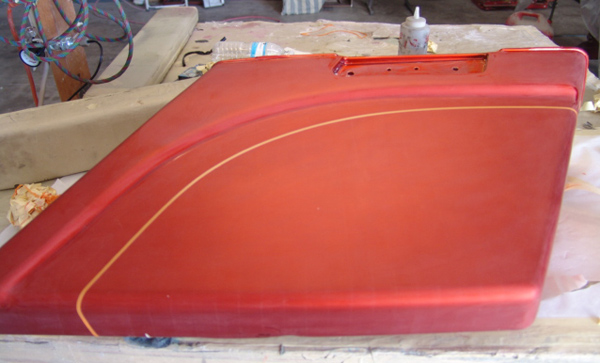
Lay some fineline where you want the edge of the checkers and the silver shaded stripe meet.
I used 1/8" tape to do this.
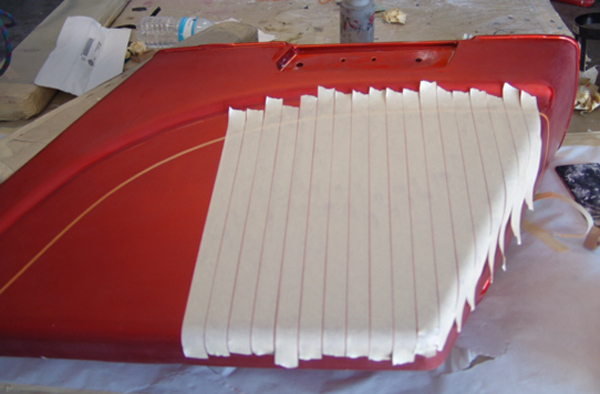
Go ahead and start laying your tape. Normally I start in the middle and work my way right. Then I work the other way.
The first piece I put on was the one on the very left. As you can see, I left a VERY thin space between each piece.
This comes into play later.
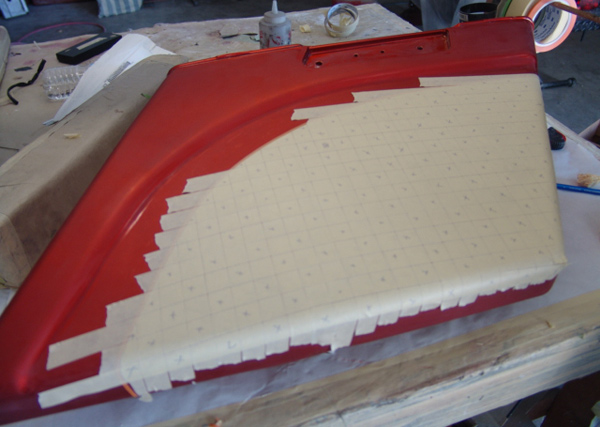
You can use 3/4" or 1" tape. I used 3/4" on this job.
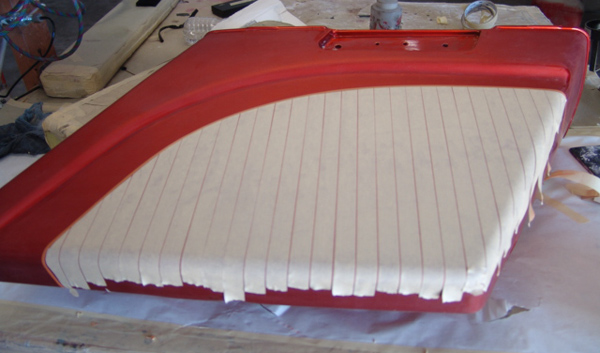
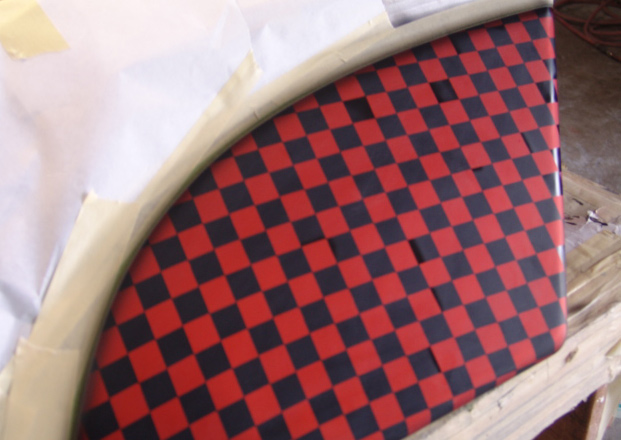
Here is a pic showing all the vertical pieces of tape in place.
As you can see, I've also laid out the horizontal tape. You can also see that I put a narrow space in between each piece.
I started again in the middle and worked my way up, then my way down. I also put a very slight wave in the first piece of tape, an the rest followed suit
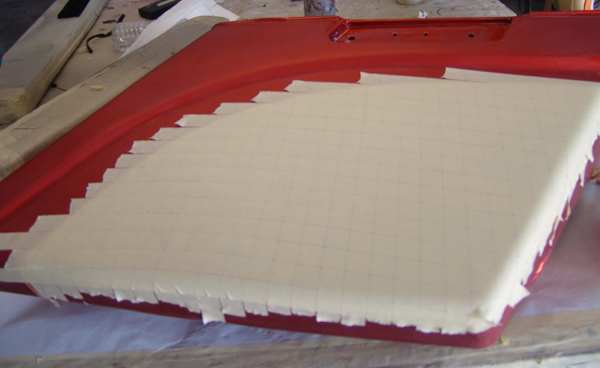
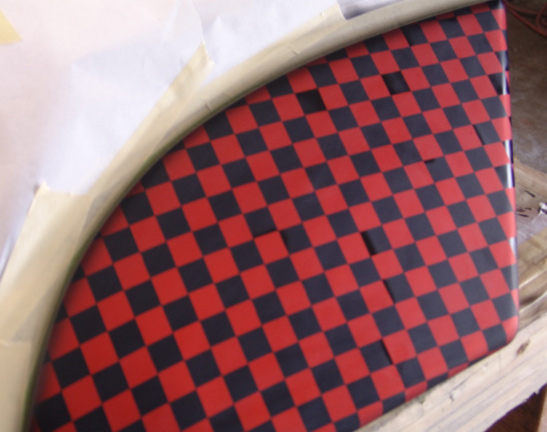
Another pic of the layout.
Sometimes it gets quite confusing, so if you are noob, you may want to mark an "X" on all the squares that will eventually be pulled out.
Once you get them all marked, you carefully cut each way all the way, left and right, and all the way top to bottom.
Two things that are very important.
Do NOT go past the orange tape on the edge.
Stay right in that gap that you left in between each piece of tape.
If you butted up each piece left and right and up and down, you would not be able to see where the gap is on the bottom layer. This is why it's important to leave that gap going both ways.
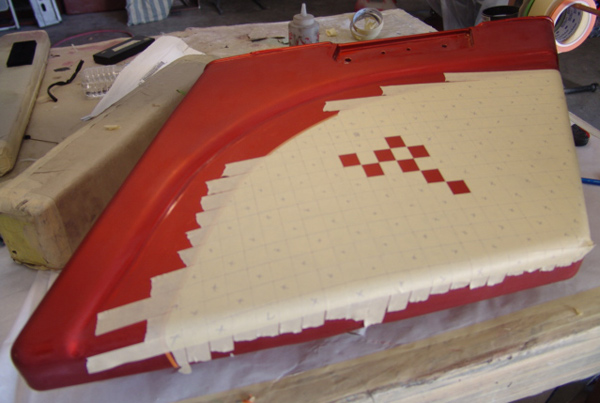
Once you have cut both ways, carefully start pulling out your squares.

Corners are a great area to make a 'fold'. It's nearly impossible to run your tape around corners, so you simply stop and start and brand new area. I had already cut a straight vertical line on the first batch of checkers we did. Then I removed the excess tape. This gives you a line to go against on your new batch of checkers.
Now you can see that I also cut directly on the same line I cut above on the second set of checkers. Once we do our shadows along this line, this gives the checkers a 'folded' look
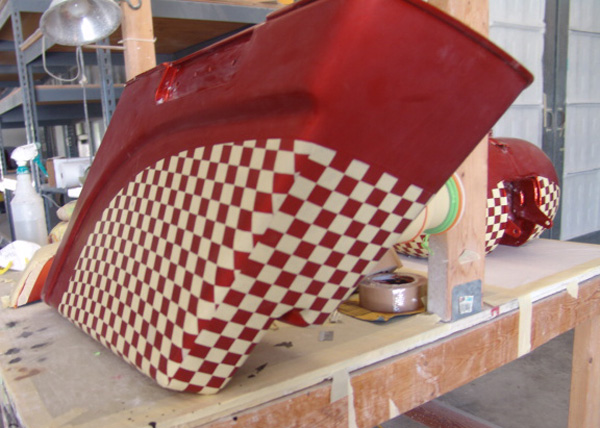
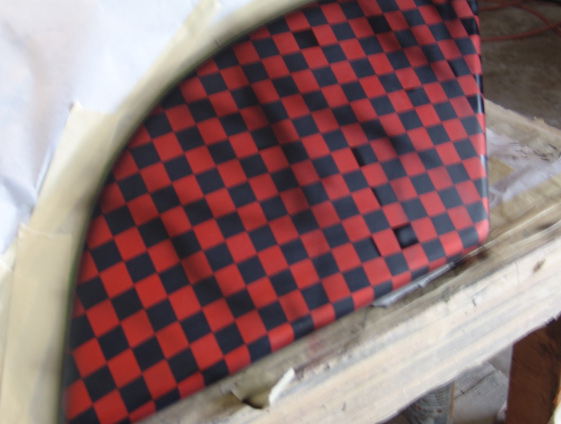
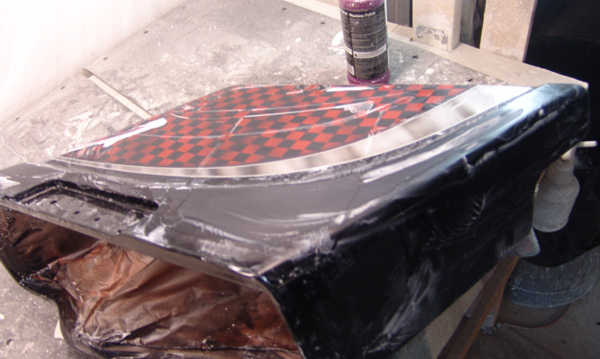
Once you do any cleanup on the checkers, then you can spray your other color. On this job, the main color will be black. It only takes about 3-4 decent coats, versus what would have taken 6-7 coats if we did the candy last. This is where it comes into play that we did the 'thick' color first.
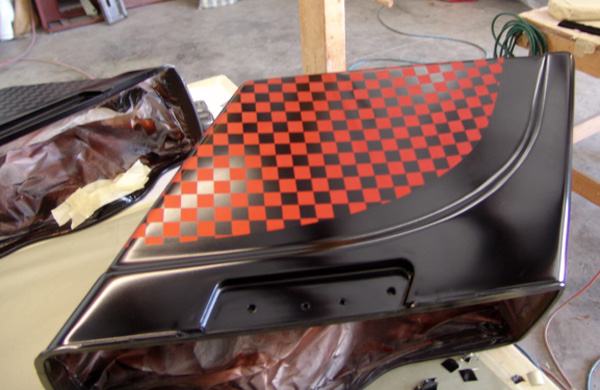
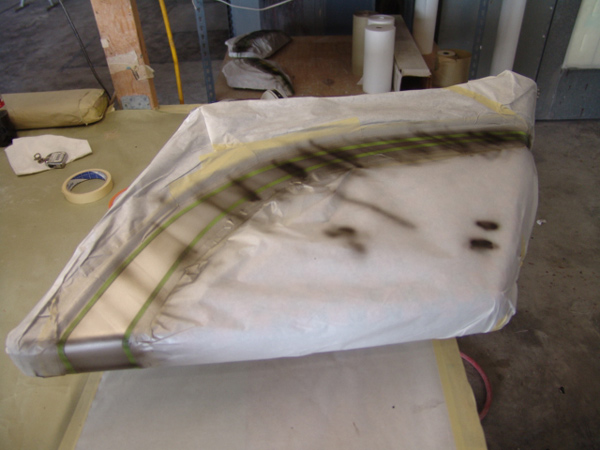
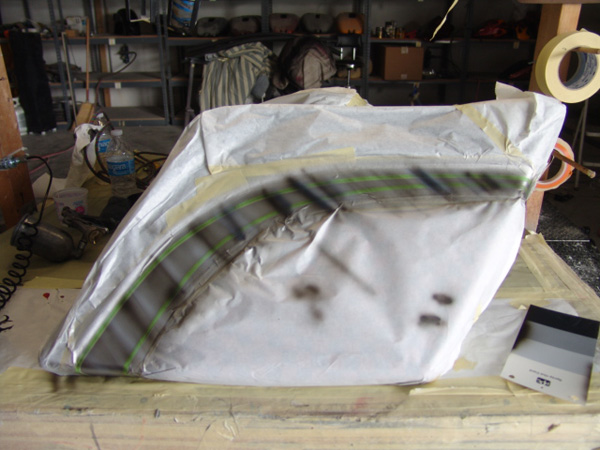
Here are a couple pics of the job before we reclear it.
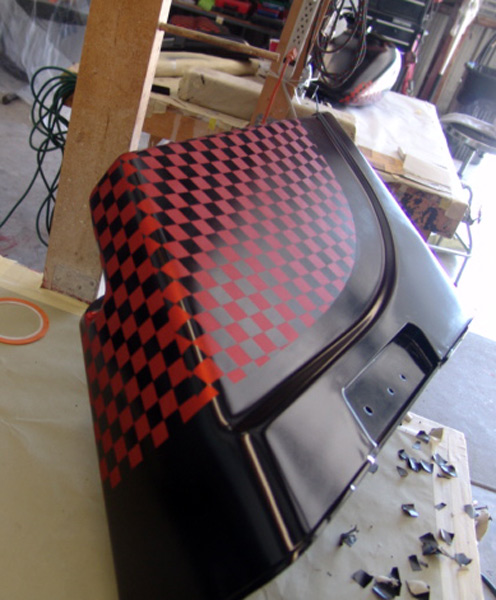
Once the black is sprayed, give it time to dry (about an hour or so). Then you can carefully peel all the masking tape off.
Then you can go ahead and spray a couple more coats of clear.
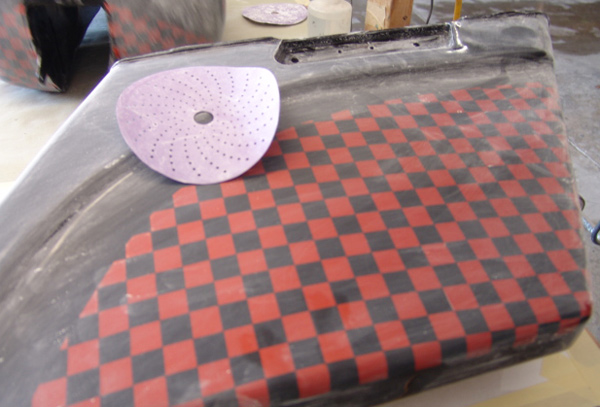
Let the clear dry a day or two. Then time to resand again. I used the same grit as before.
600 DA (see in the pic). Then I wetsanded with 1000 grit. The flatter you get the surface, the better the overall job will come out.
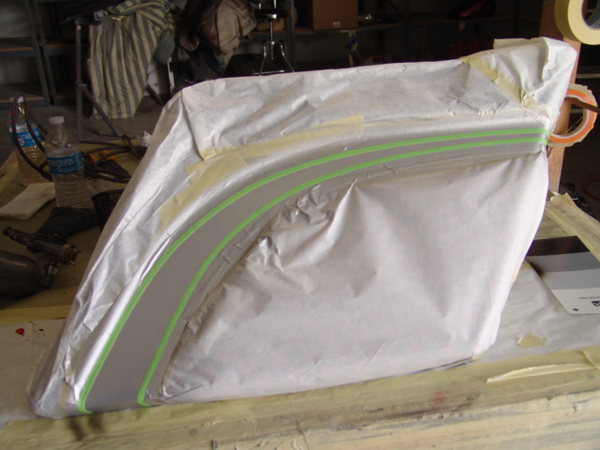


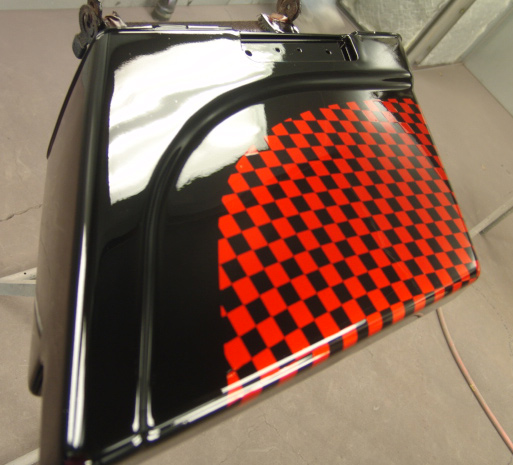
Once sanded, you want to remask the edge. Also do any little touch ups that are needed.
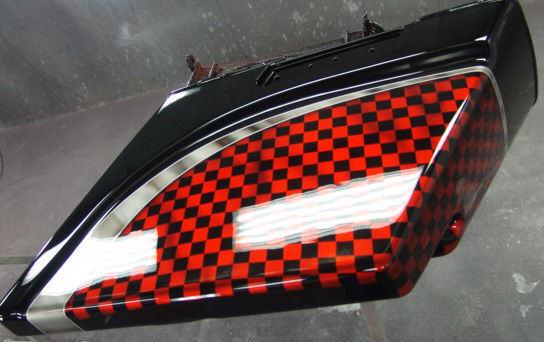
Now wetsand and buff for a show quality finish!
Any comments, feel free to add below.
Tools, equipment, paint and more.
Auto Body Store


More
Comments