


I came up with this method and it seems to work just fine.
Even though this is my own flame style, you could easily use
this for any flame style or stripe design.
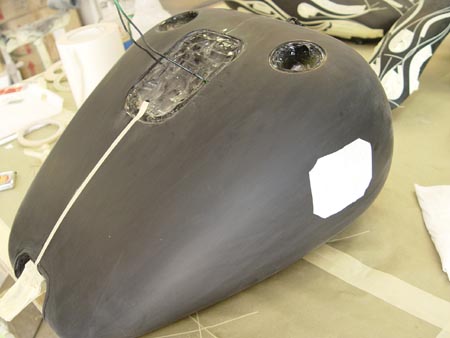
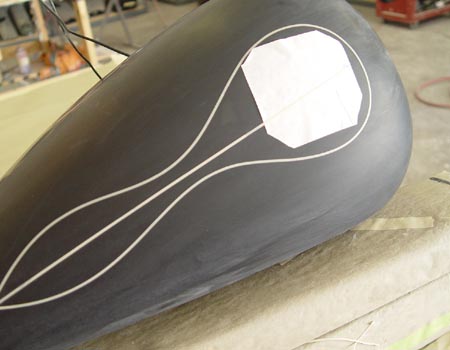
Step 1– Go ahead and make a template the approx size of what
you want on the side of the tank. I also put a piece of 1/4
tape right down the top center of the tank.
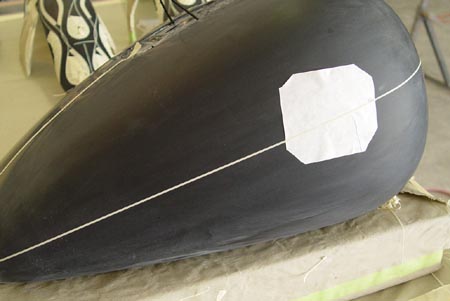
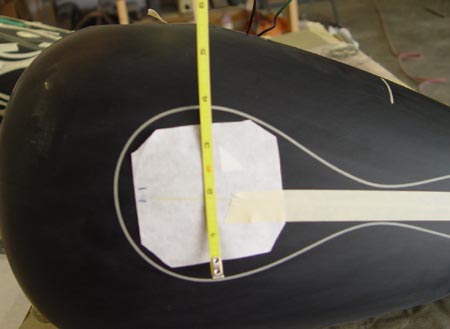
Step 2–This is where you take make a little mark on the front
side each of the templates. This will be where you want your
‘guide’ to run through. Be sure and do this to both sides
of the tank the same way. Be sure to make both marks on the
templates in the same location. Here I made a mark about 1″
down from the corner. I also just start the tape at the rear
of the tank 1/2 the thickness of the butt of the tank. You
can double check this side to the other side by measuring
the distance from the center tape to your tape guide you just
laid
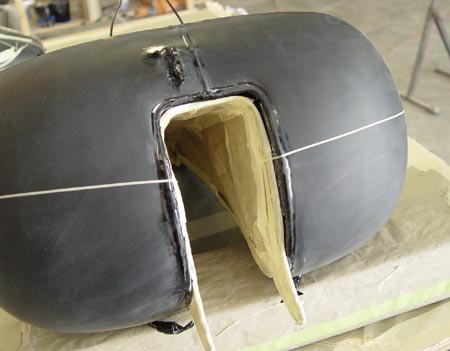
Step 3–Check the front and make sure your lines end up about
the same height. If they are not exact, pull back the tape
and re mount it so it is the same angle as the other side
and so it ends up at the same place height front. Again, you
can also measure from a specific location from the center
piece of tape you put in step one down to your tape guide
to double check your guides.
Step 4-After double checking to ensure both sides are the
same, remove the tape from the front of the template forward.
Step 5– Now instead of laying our flame job the normal way,
we more or less start from our tape guide and work our way
to the top and bottom of the tank. Be sure and make a nice
smooth circle around the template.
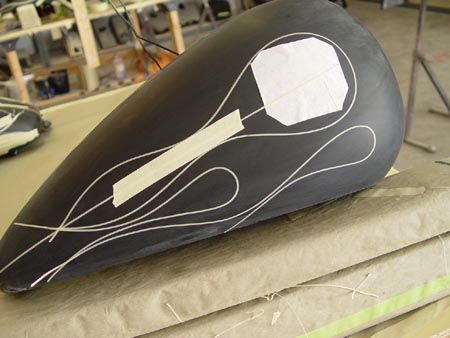
Step 6— Here is where I do the bottom of the flame job first.

Step 7–Now I start on the top section. Notice the piece of
tape between the two flames. When I do the other side of the
tank, I know that this space is 3/4″ since this fit between
the two flames. You can narrow (or widen) this down to whatever
you would like.
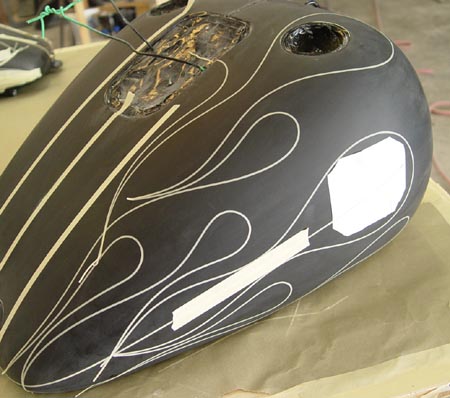
Step 8–Here I finish the top of the tank
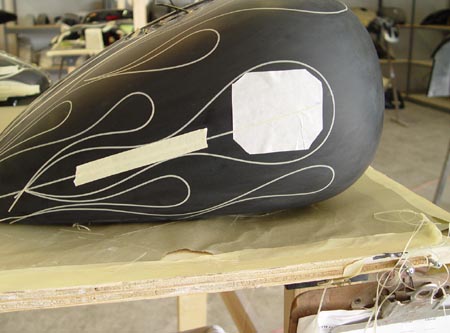
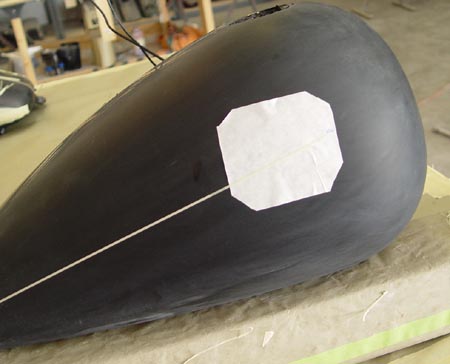
Step 9–Here is a side view of the tank. Notice how close I
come to the template.
Step 10–The below pic shows the first line I did on the other
side of the tank. I doulbe check both sides to ensure that
the thickest point of the circle is the same height. In this
case, if turned out to be 3 1/4″
Once you get your flames painted, you can now put the real deal
inside of your circle. You can put anything you want in here
whether it is airbrush work, a logo, a decal, or what have
you, this is a great way to get the flames wrapped around it.
Tools, equipment, paint and more.
Auto Body Store


More
Comments