


This How-To involves repairing a tank and applying a new Harley-Davidson emblem
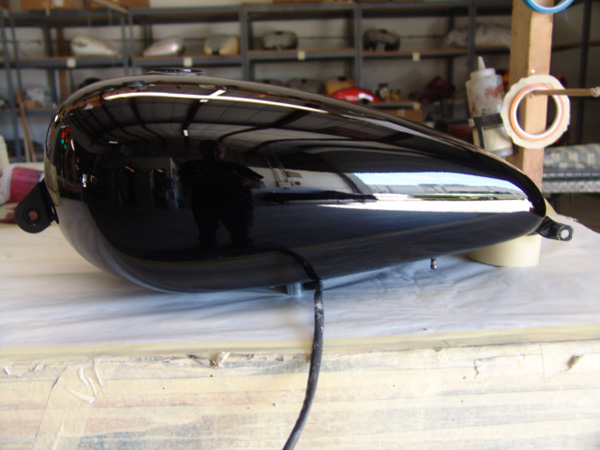
Here you can see we have the tank repaired and painted. As you can see we have the tank tilted so when we apply the emblem, it will be level.
This is better than just sitting the tank on the table and guessing at what angle the emblem should be at.
How do we know how high to tilt the back of the tank? We use the other emblem on the other side. We set up the tank until the right side emblem is level.
If the right emblem is level, the left emblem should be applied level.
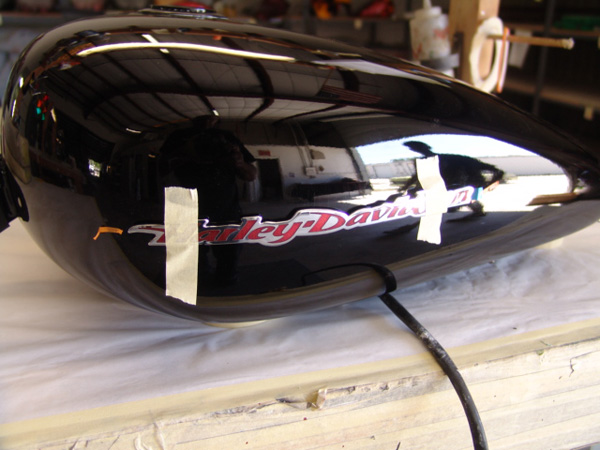
Here you can see we've done a mock-up. The double sided tape cover is still on (see the little blue tab coming off the end of the emblem).
I put tape on the emblem to take a picture.
The two little orange pieces of tape come into play when we actually install the emblem. You can use small pieces of tape to use as 'markers'.
Guessing on where the emblem goes is pretty risky. The double sided tape is VERY sticky. It's basically a one shot deal.
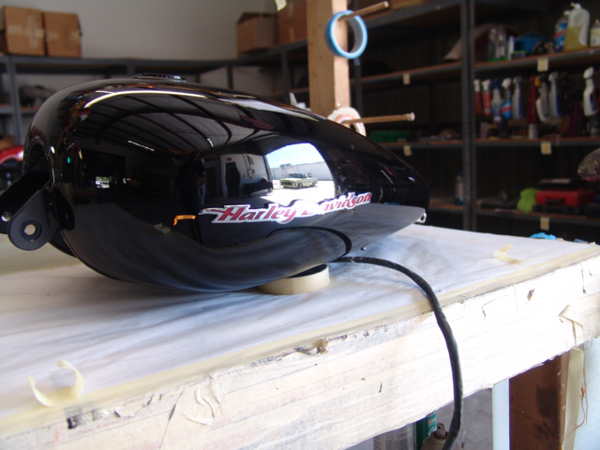
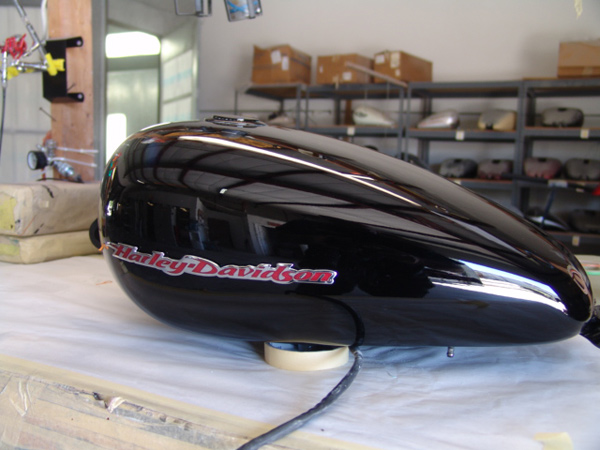
Here we've applied the emblem. Notice it's level and the fit is perfect. Remove the two markers and you're good to go.
Tools, equipment, paint and more.
Auto Body Store


More
Comments