


1966 Chevy C-10 Monthly Update Links
Before Pics | September 2010 | October | November | December | January 2011 | February | March | April | May | June | July | August | September | October | November (DONE!) Well, one more update….December (new tonneau cover) January 2012 (featured article Custom Classic Trucks – February 2012 edition) Misc Pics (2013-2014) Misc Pics 2015 – Car Shows | My Car,Truck, Motorcycle Videos 383 Stroker and 200-4r Specs (Dyno Video!) | My Cab Caddy |
My 1966 C-10 Videos on YouTube| Specs | Previous frame off on my 1963 C-10
See other pics “walk around” video added 5/26/15
Custom Classic Trucks (February 2012 edition)
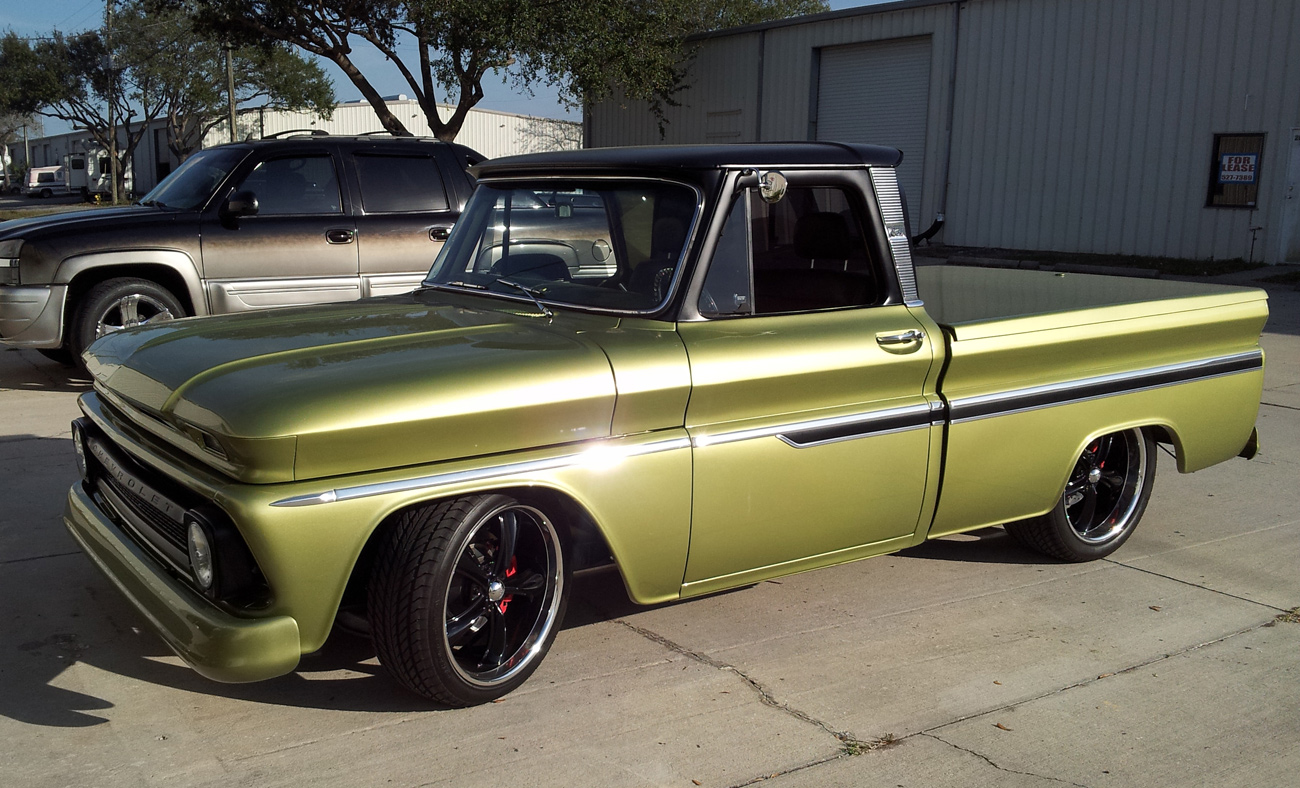
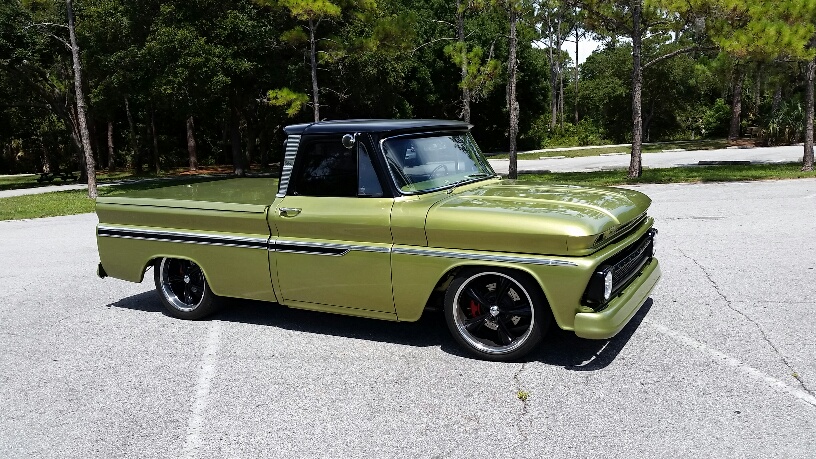
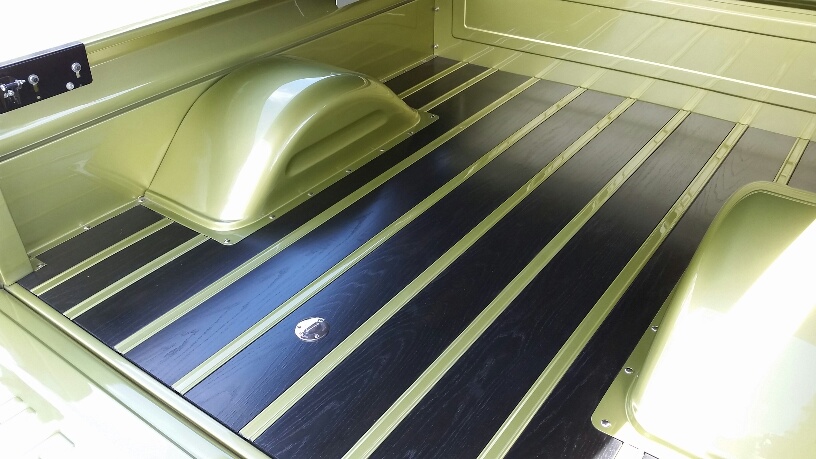
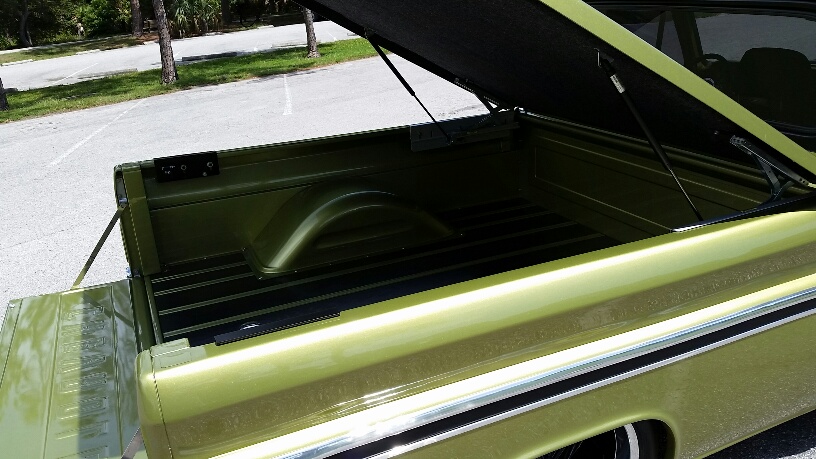
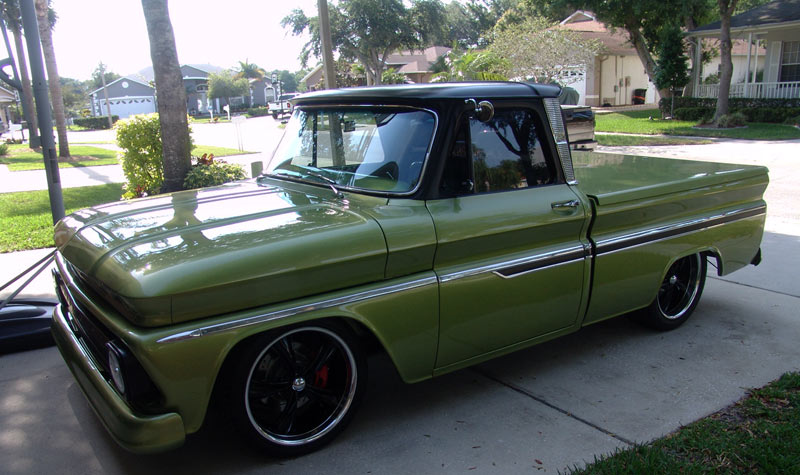
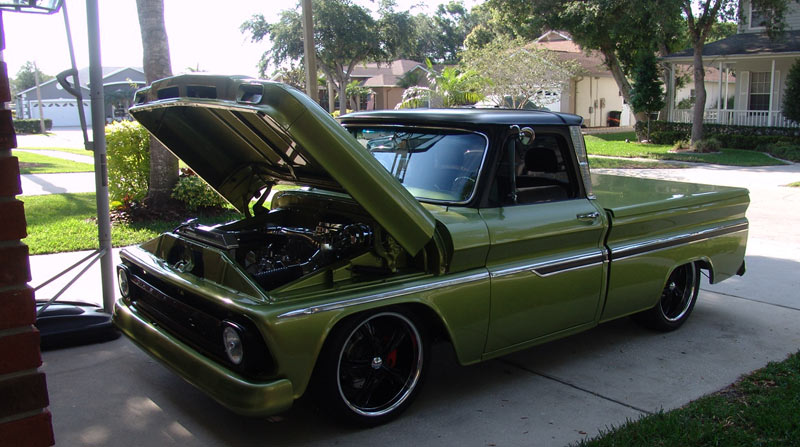
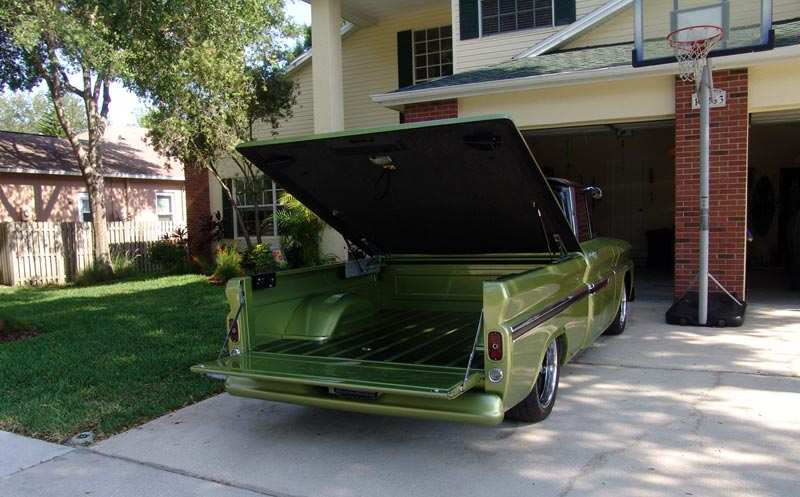
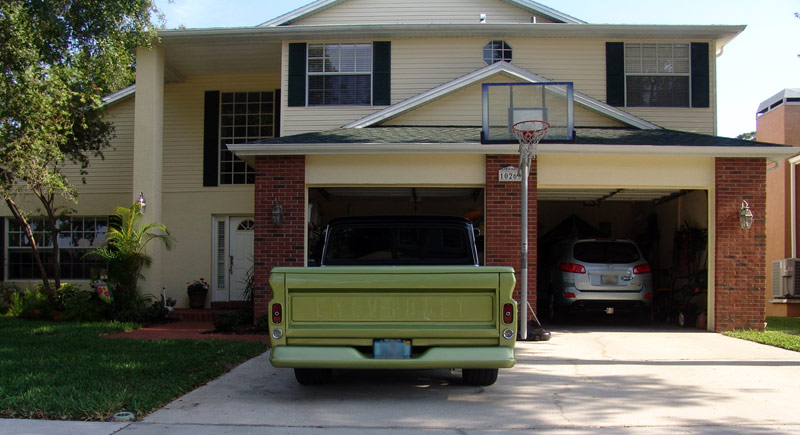
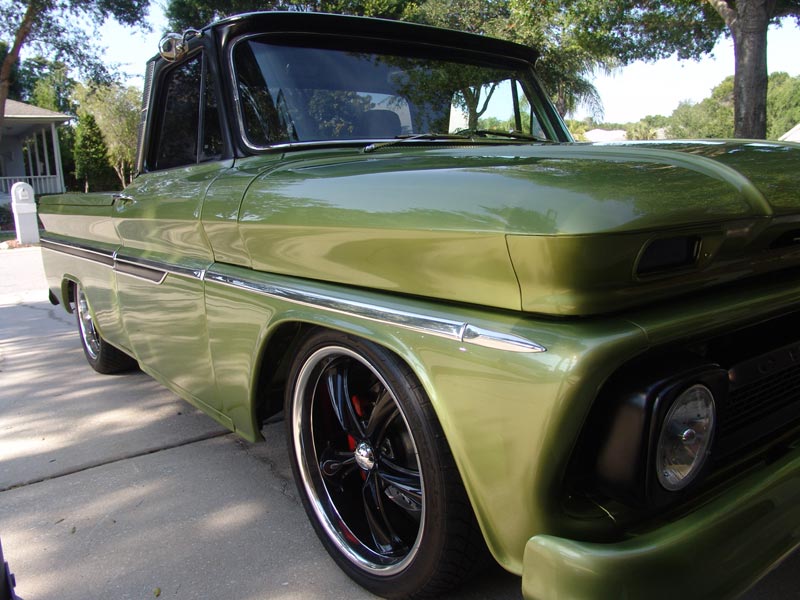
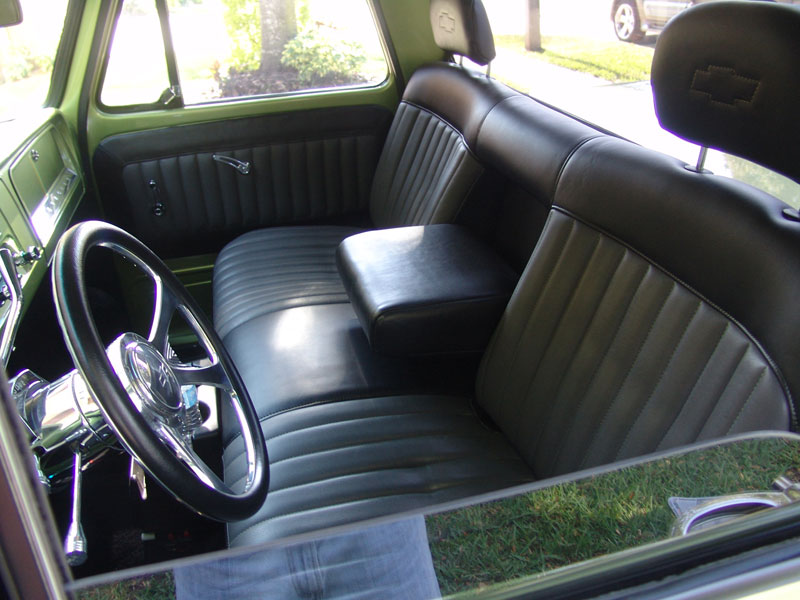
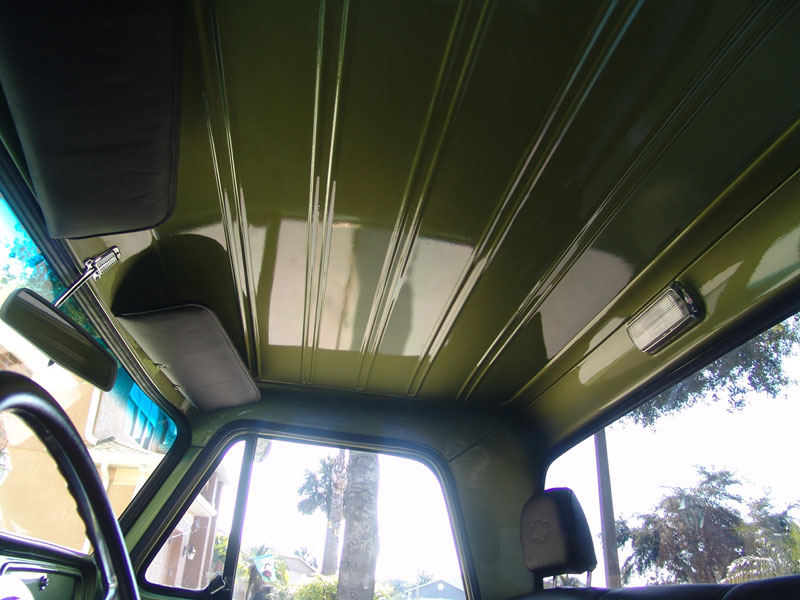
Pics below are misc images taken after the truck was completed
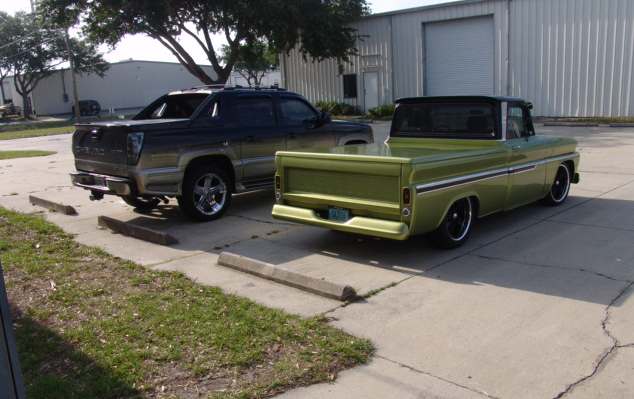
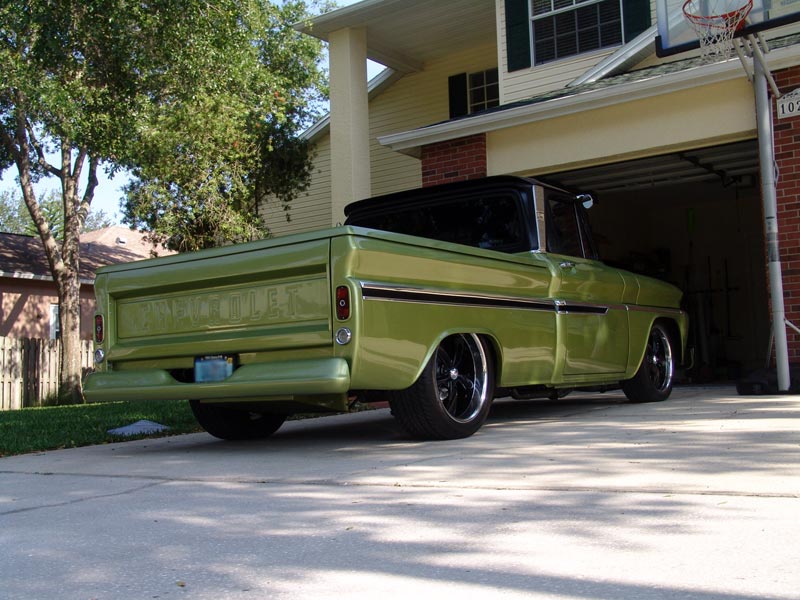
Some pics I took of my 66 Chevy C10 at Lake Seminole
8-9-2014

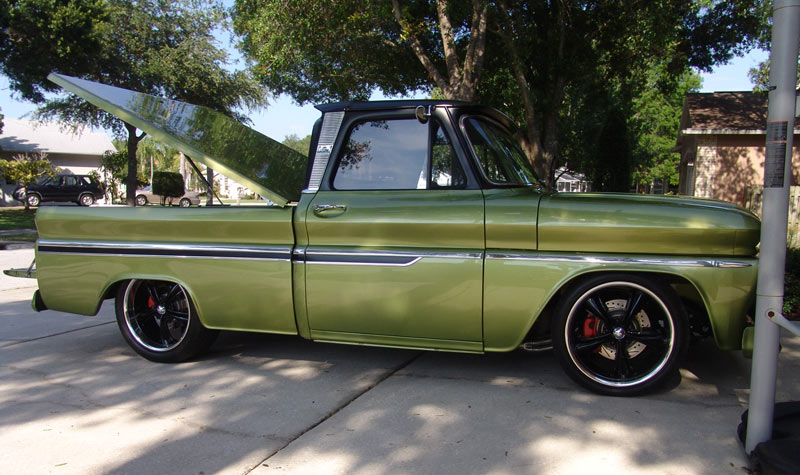
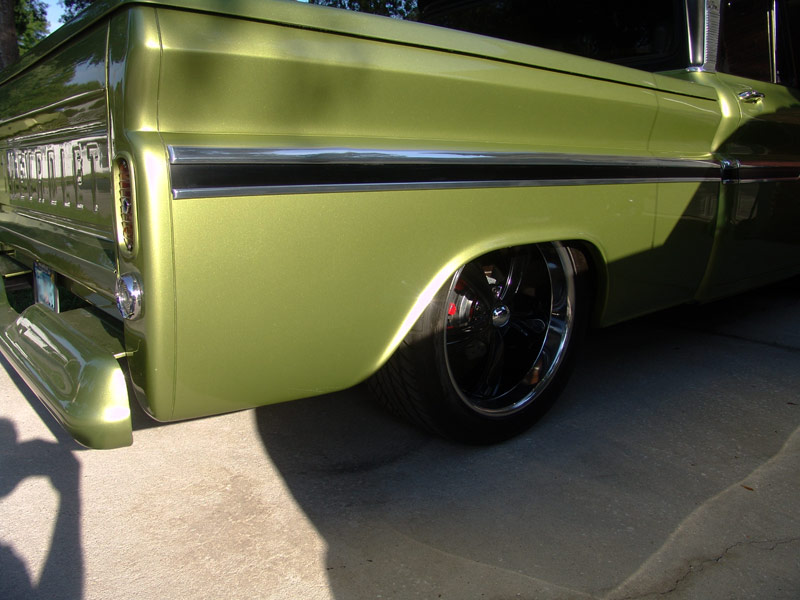
All the below pics were taken 5-15
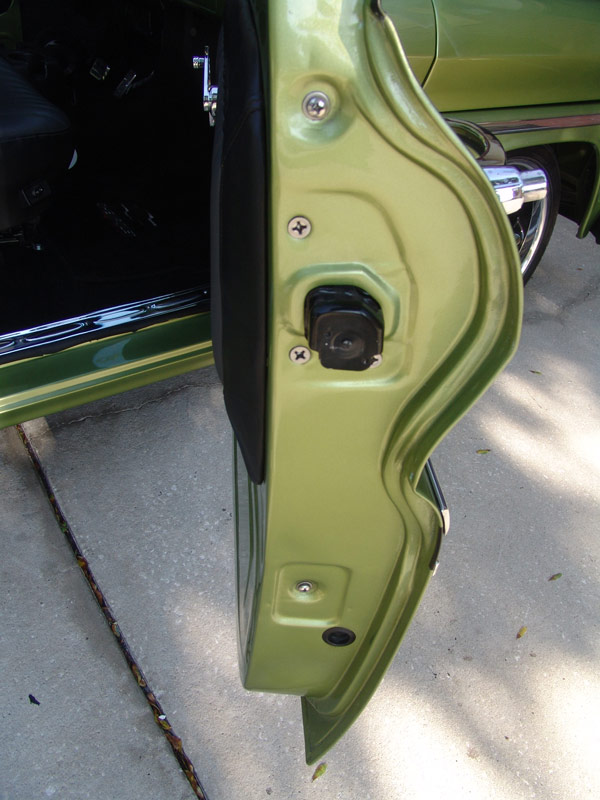
Notice the original skins. No rust. these were NOT the original doors that came with the truck, BUT they are original GM (not aftermarket). I searched for rust free doors

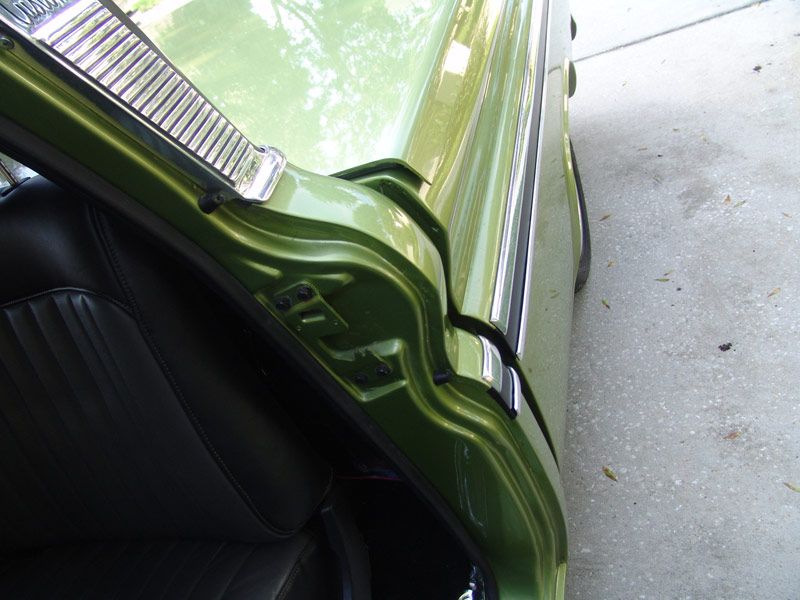
The scuff mark mentioned in the description – new sill plates
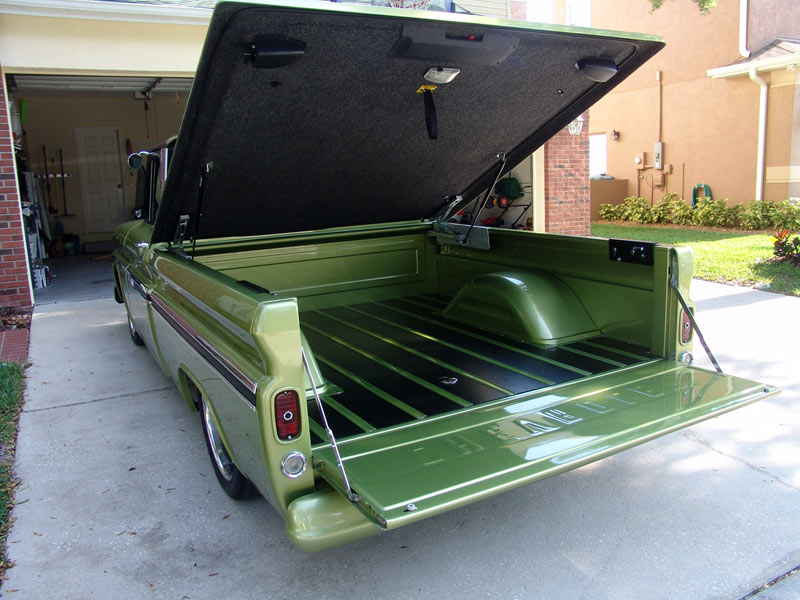
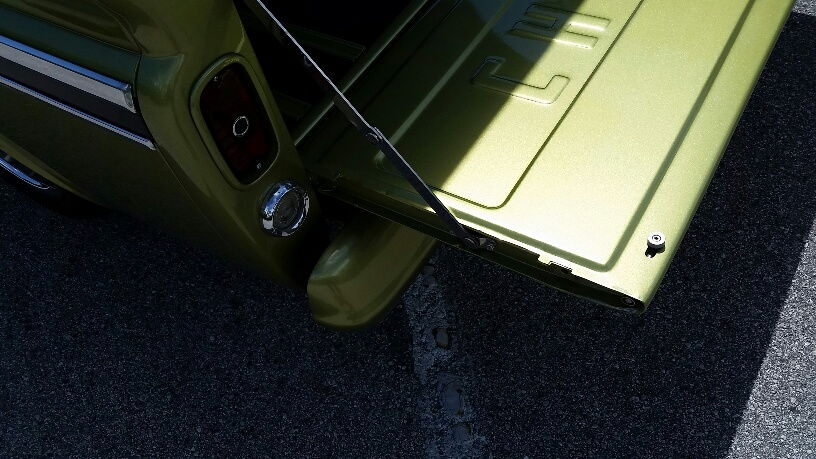
Gaylords cover – Stainless hinges and hidden latches
Reverse light work properly. These are original to the truck. They are not perfect. They are about an 8 out of 10.
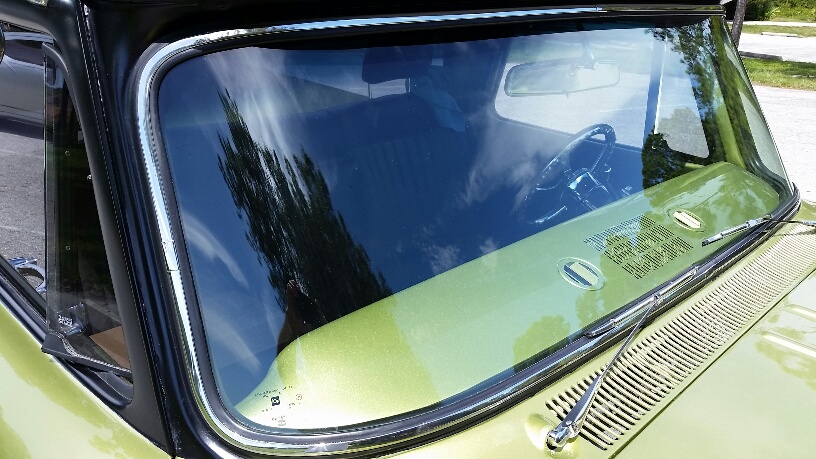
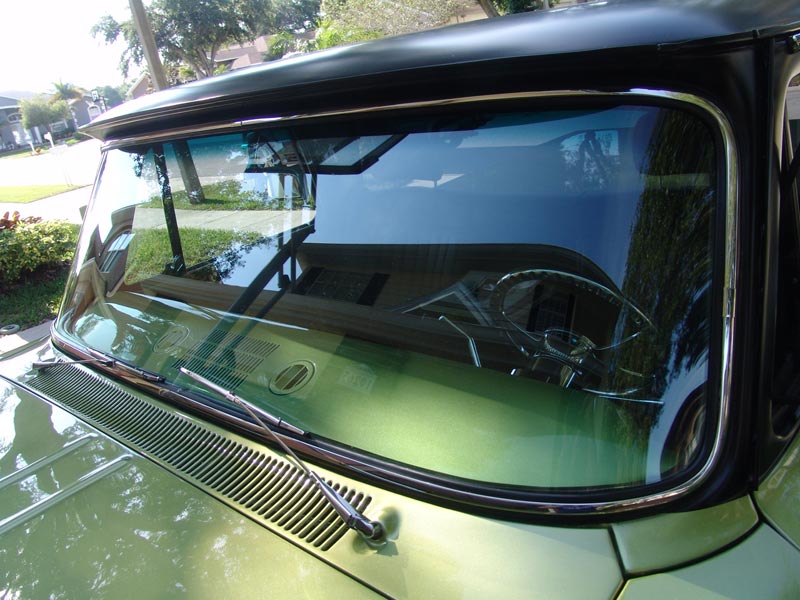
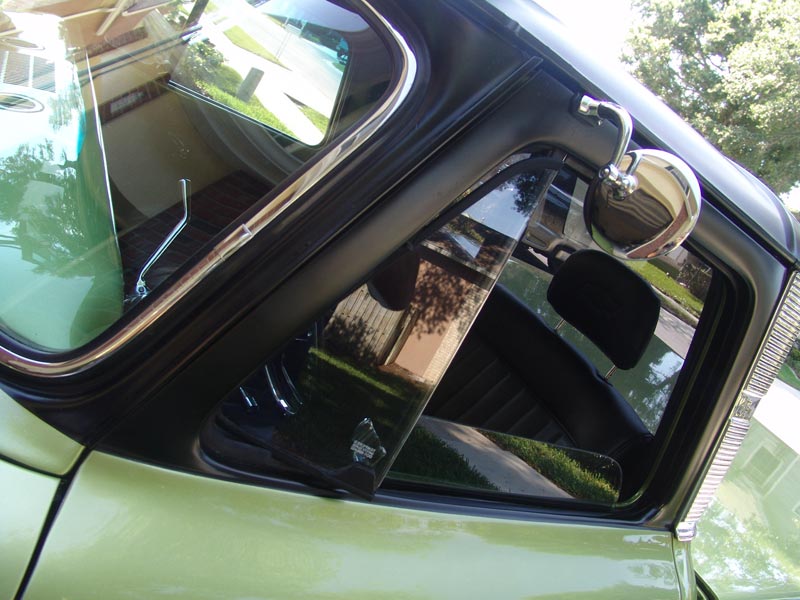
These are the original GLASS and the chrome bezels
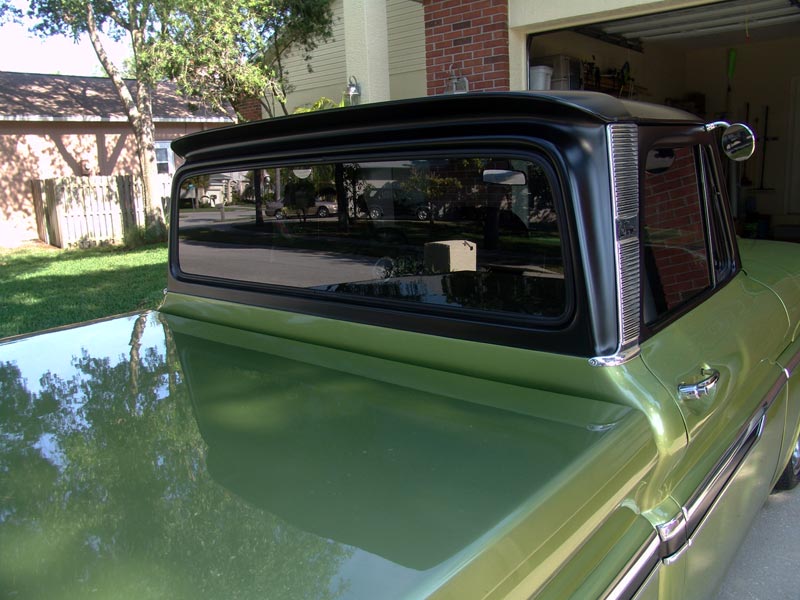
Big back window

Original Custom cab trim plates – New aftermarket door handles and gaskets. new glass
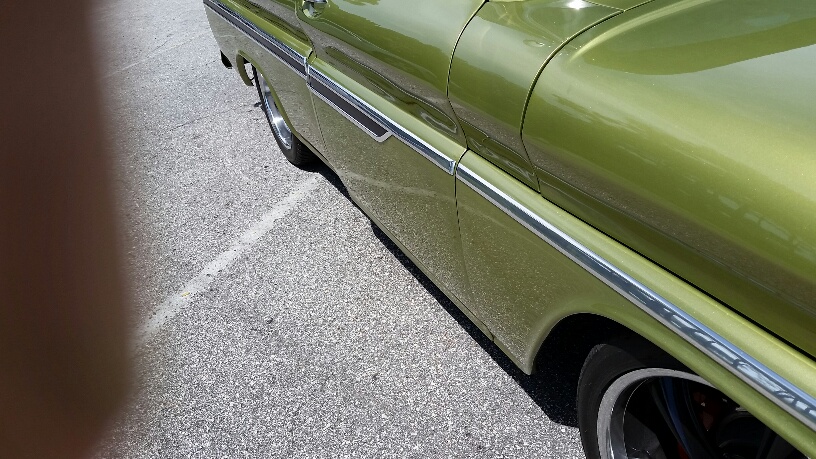
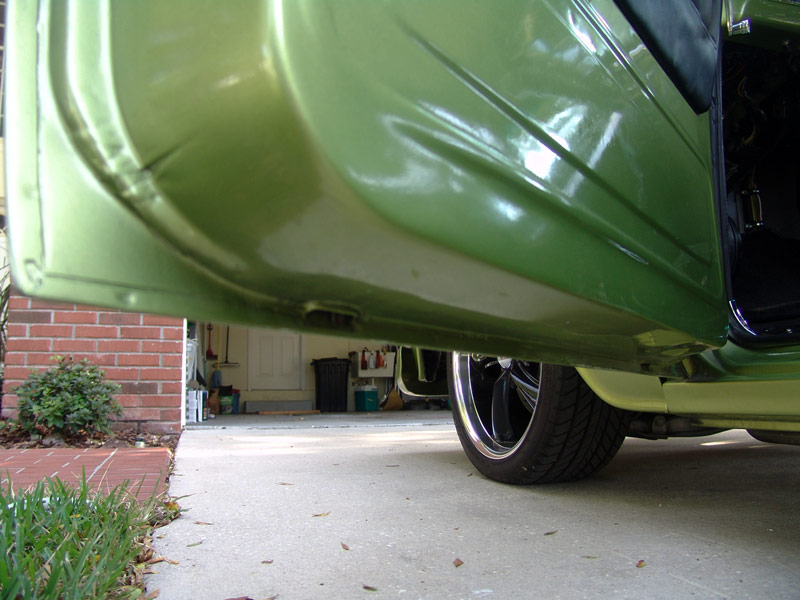
New inner and outer rockers. The cab corners were about the only rust on this truck. Most panels I used I replaced with rust free panels. I did replace one of the bedsides that was rust free on the outside, but had to use a replacement panel on the inside of the bedside
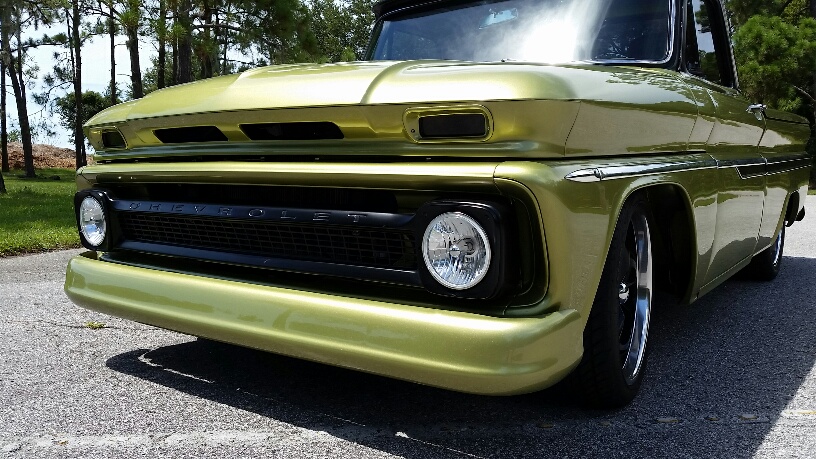
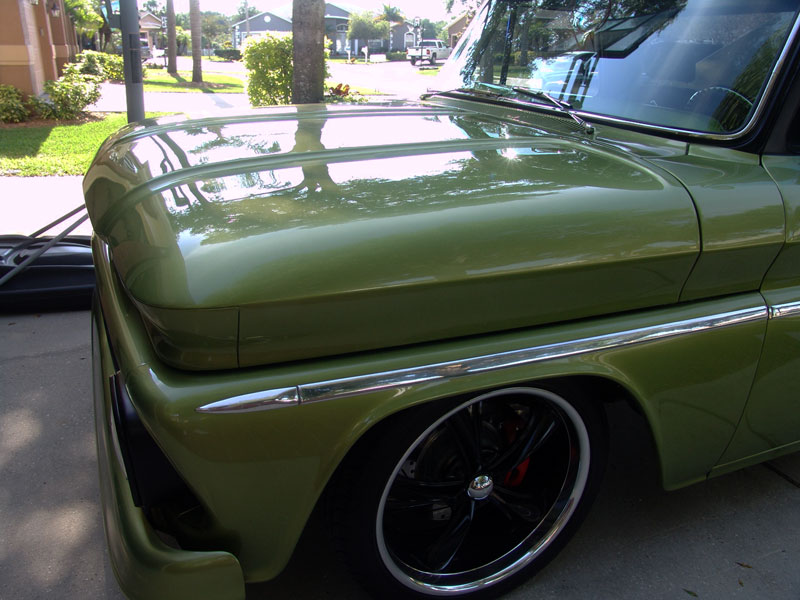
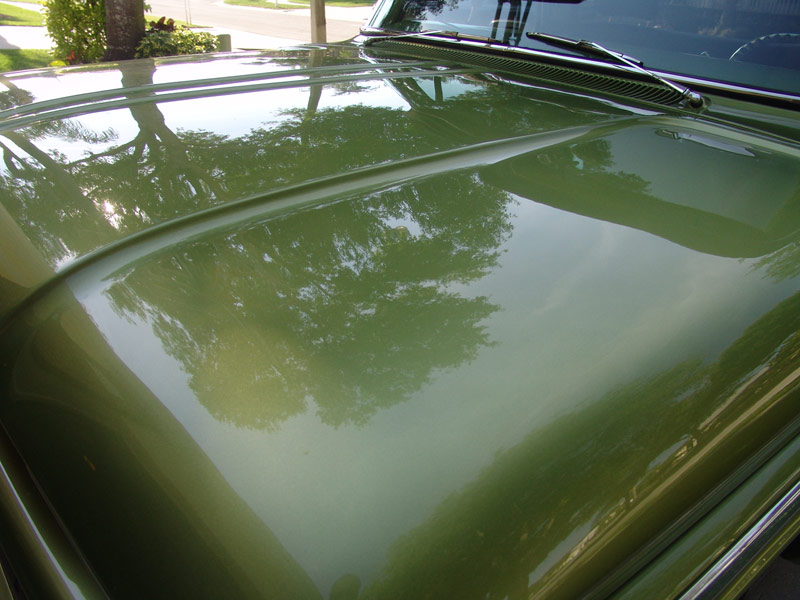
Rust free hood from a fire truck that still had the original paint on it when I got it (this is shown on my website under the “Monthly Updates” mentioned above.
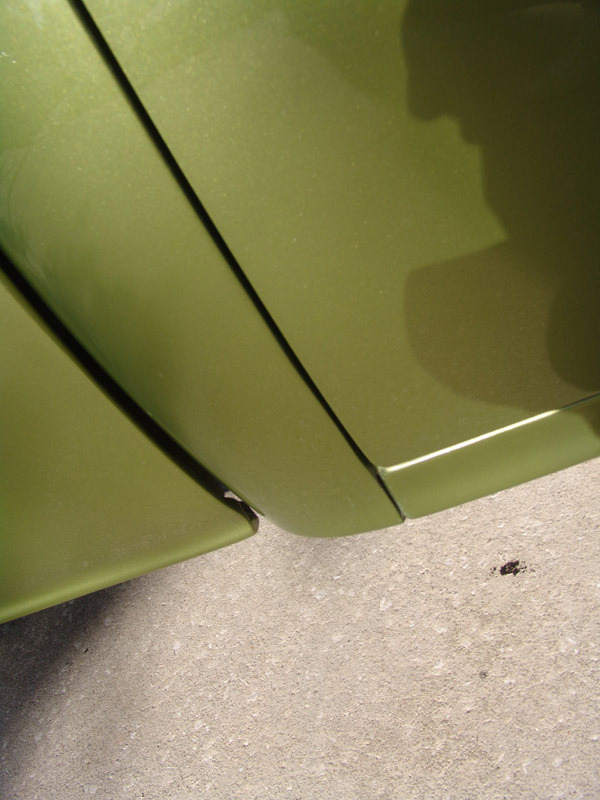
Notice the ‘clean’ bumper (no bolts)
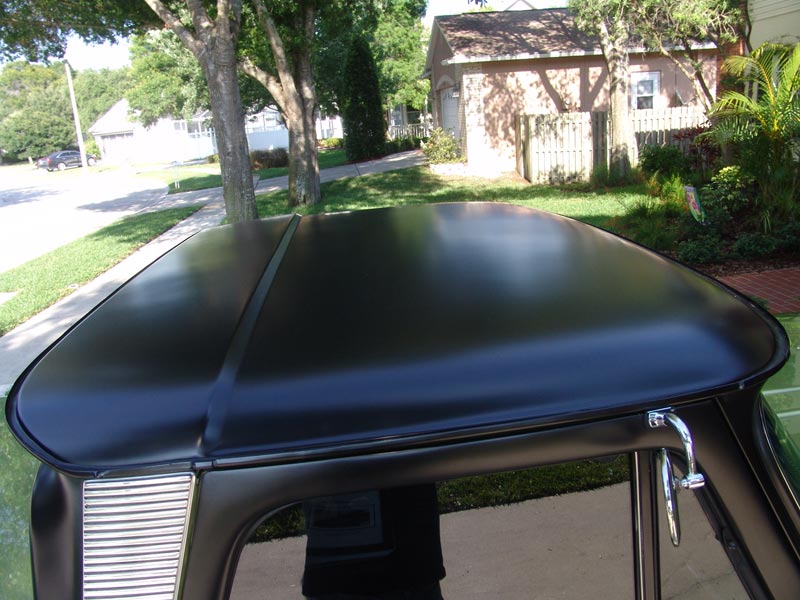
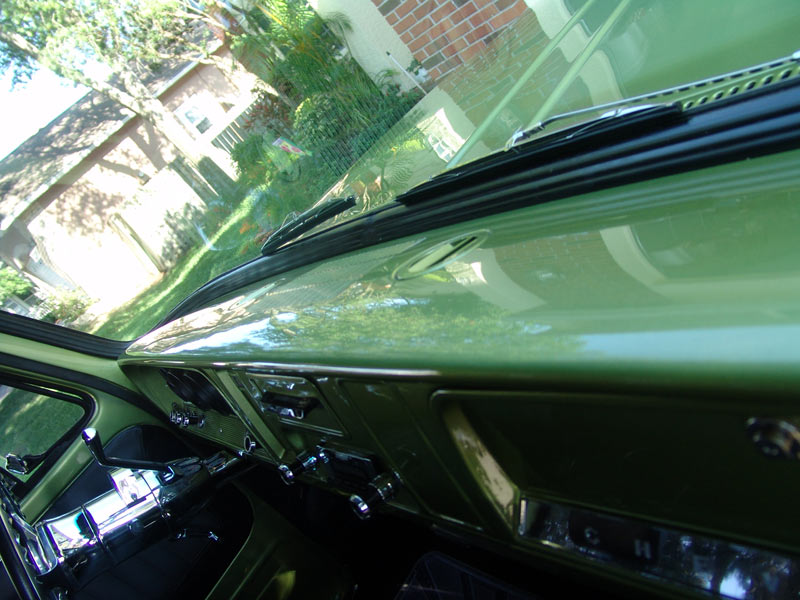
Satin black basecoat/clearcoat
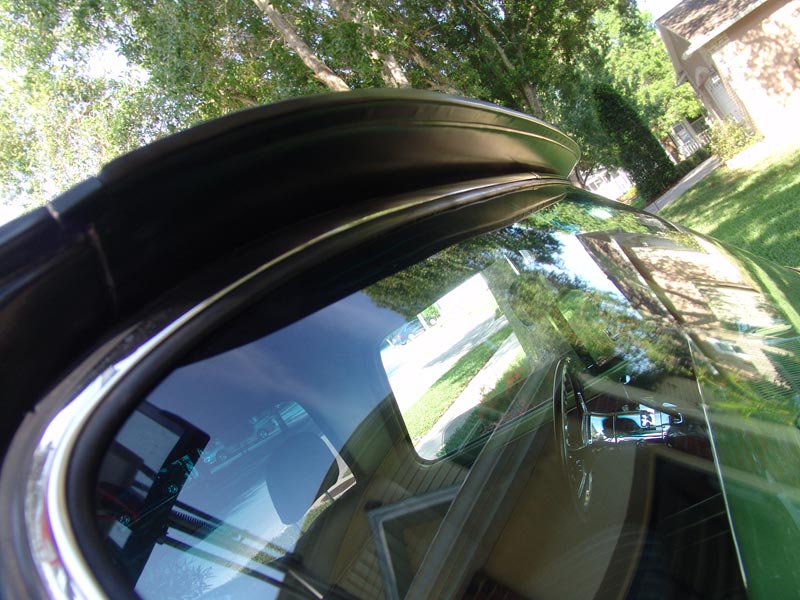
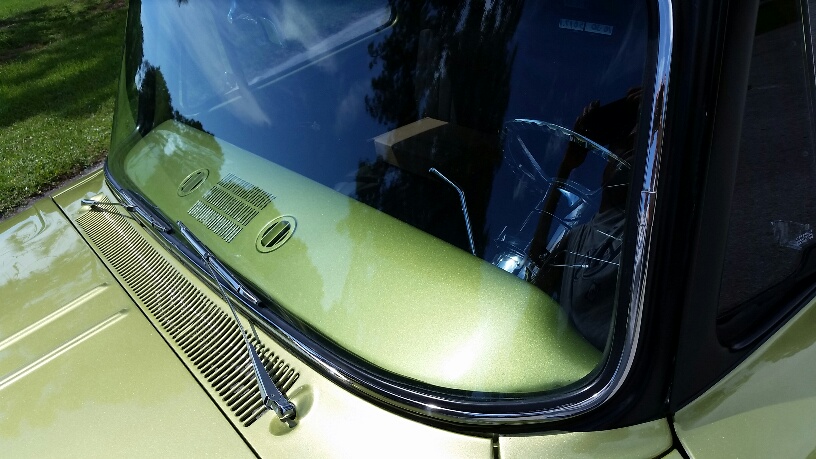
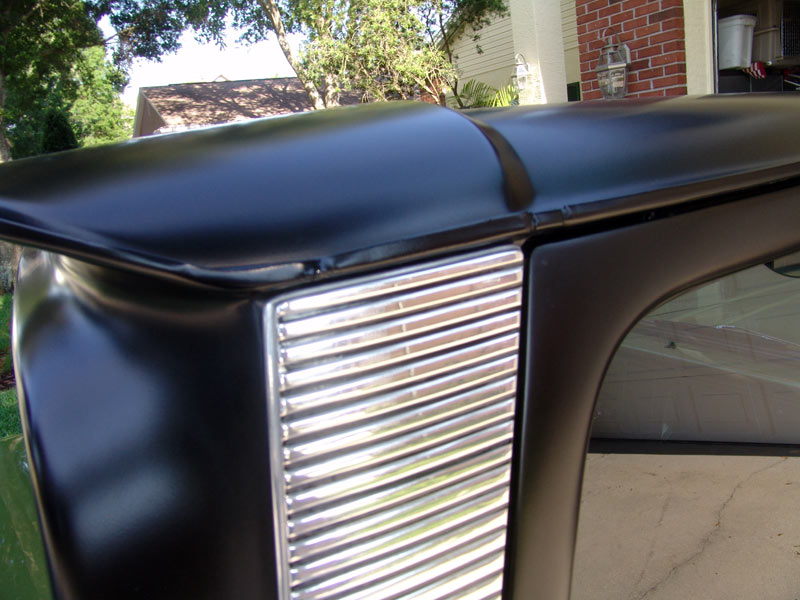
PERFECT Custom Cab front stainless trim. I also wanted to show the original welds. This goes the same for the rear of the roof along with the underside front edge of the hood. ALL ORIGINAL WELDS.
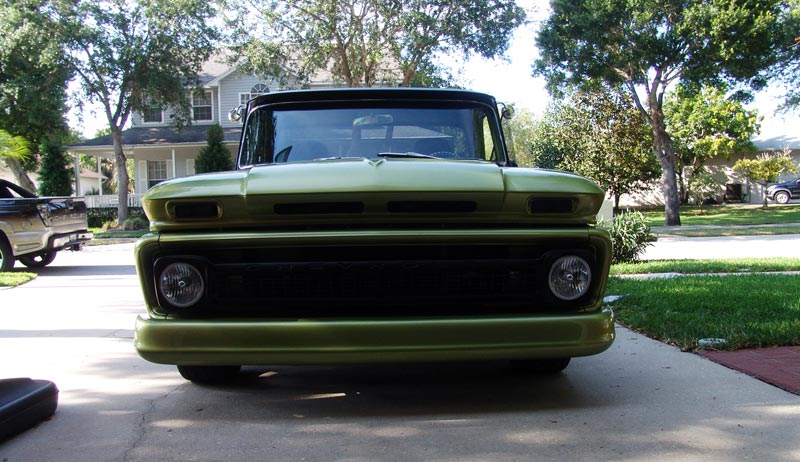
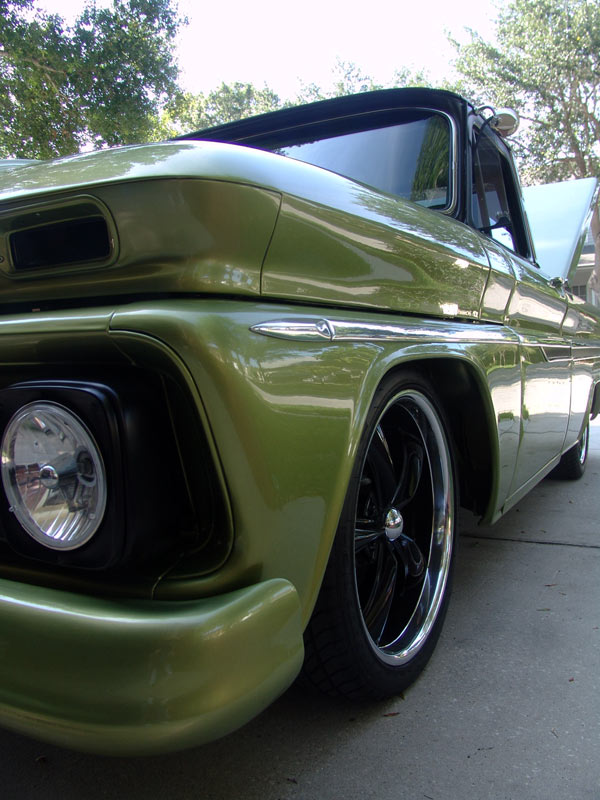
Notice the turn signal lenses have been painted in a tinted black clearcoat.
Some of the pics show them as a clear
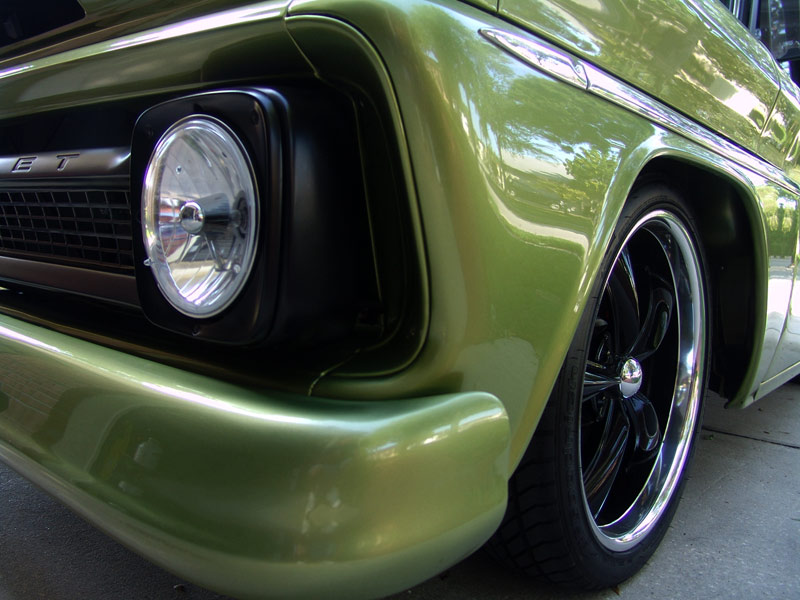
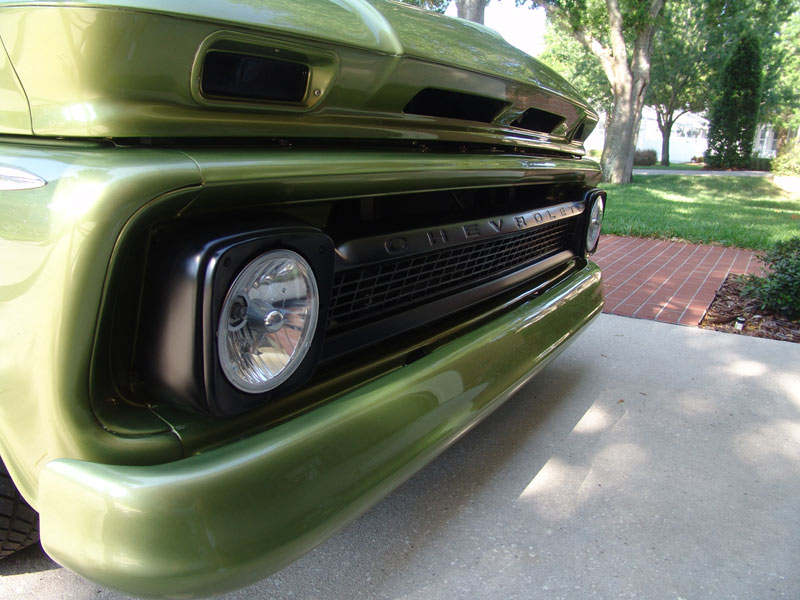
Also notice the ‘smooth’ headlights
Turn signals work (hi and low). Washers were never hooked up.
All original edge of hood. NO RUST!!!!! VERY RARE! I got very luck finding this hood 🙂
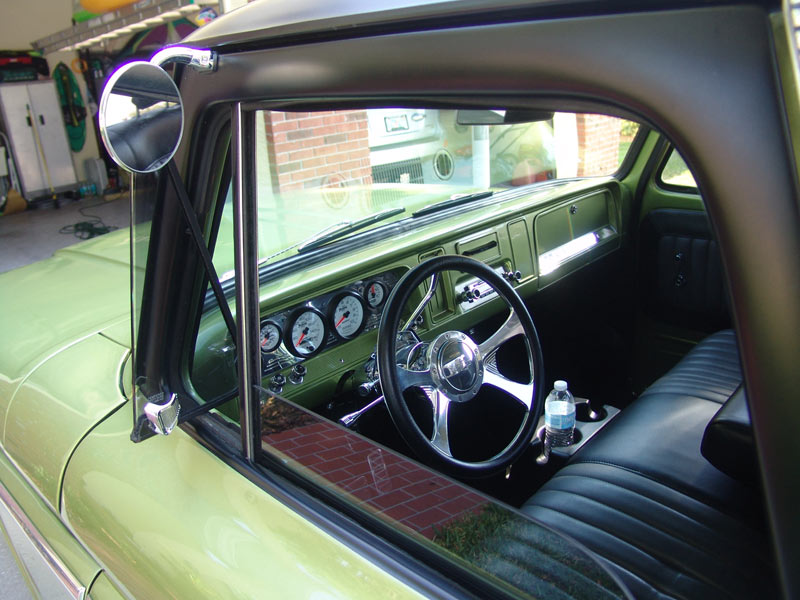
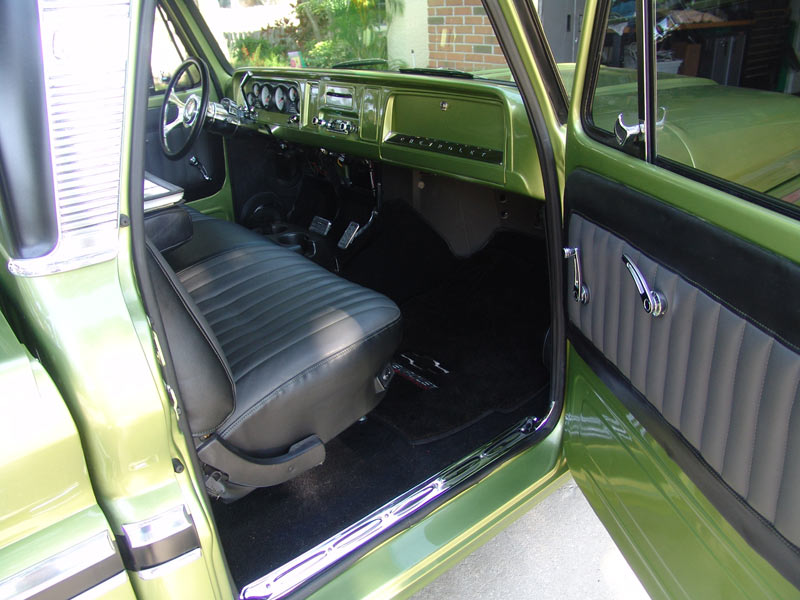
Console is mounted the the seat so this moves back and forth with the seat. Truck does not have seat belts.
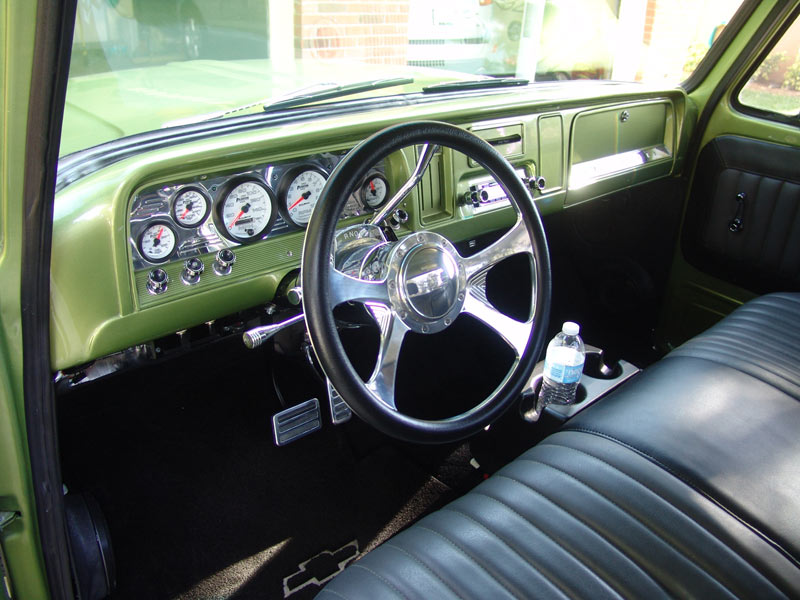
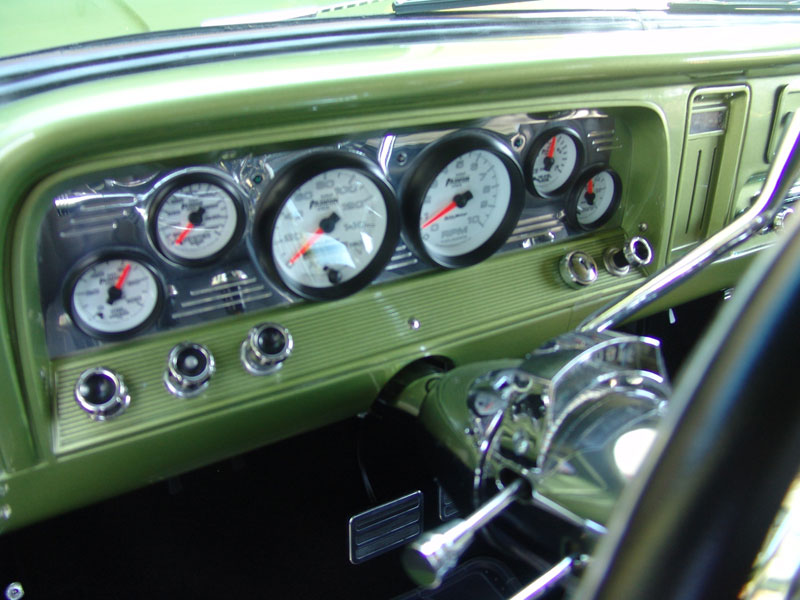
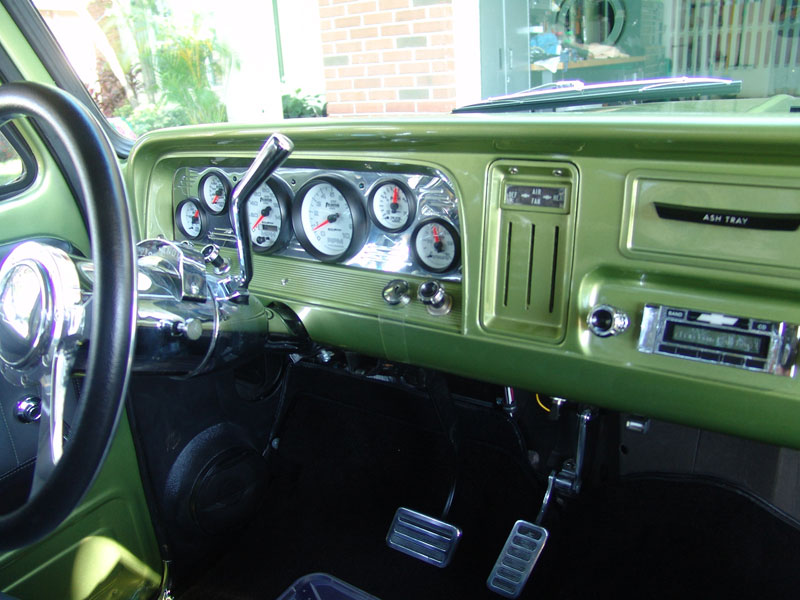
Auto Meter ELECTRICAL gauges
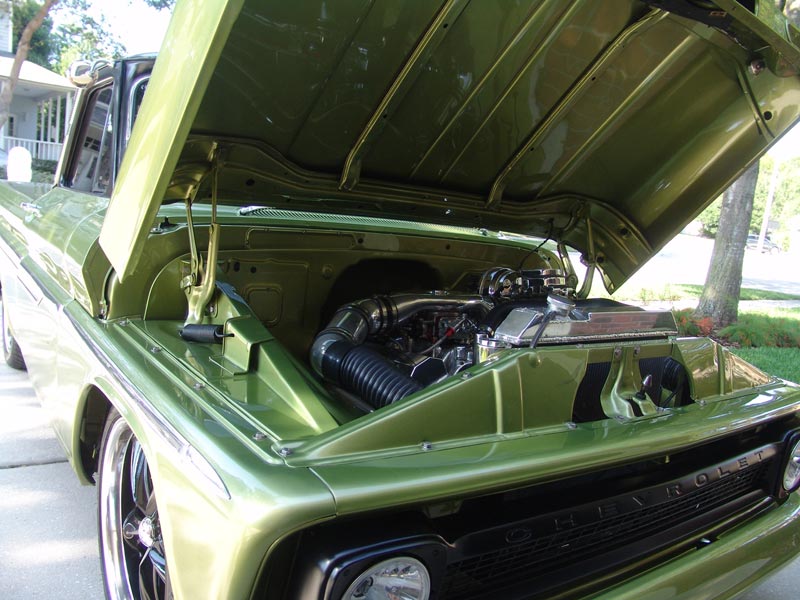
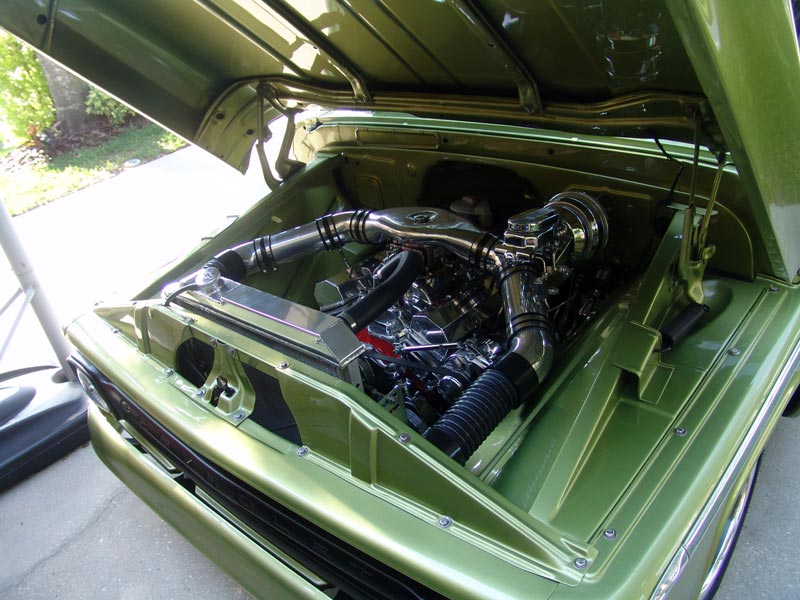
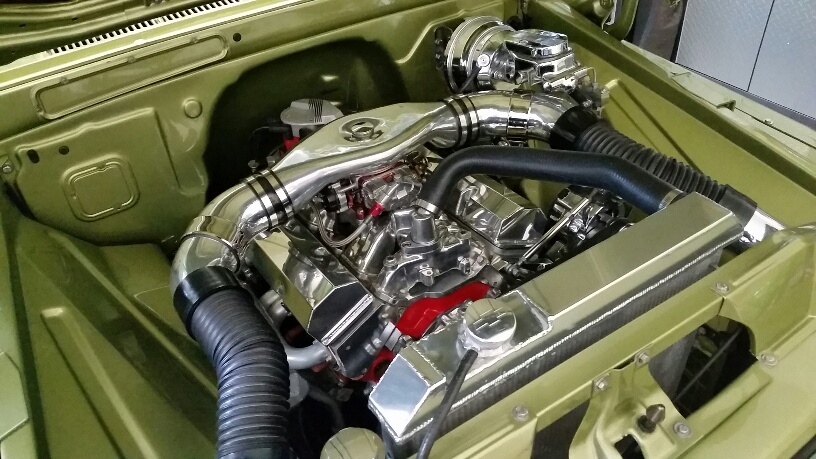
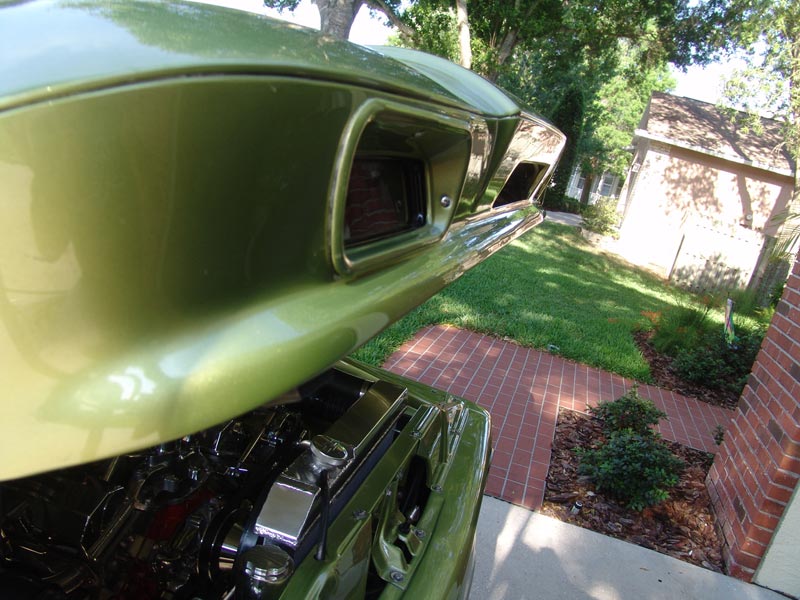
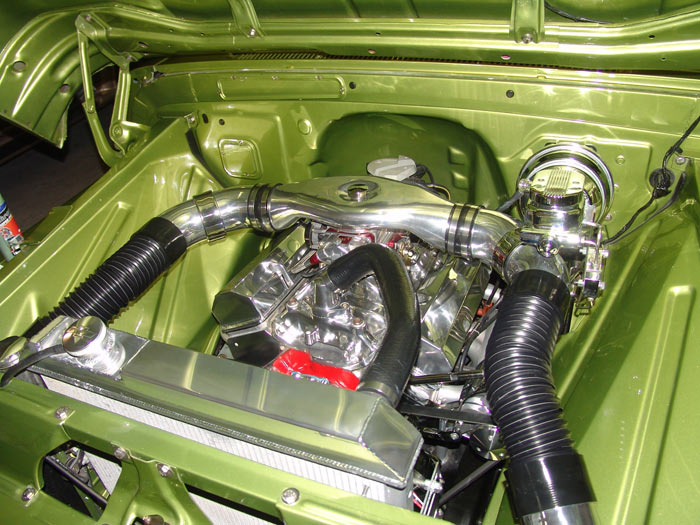
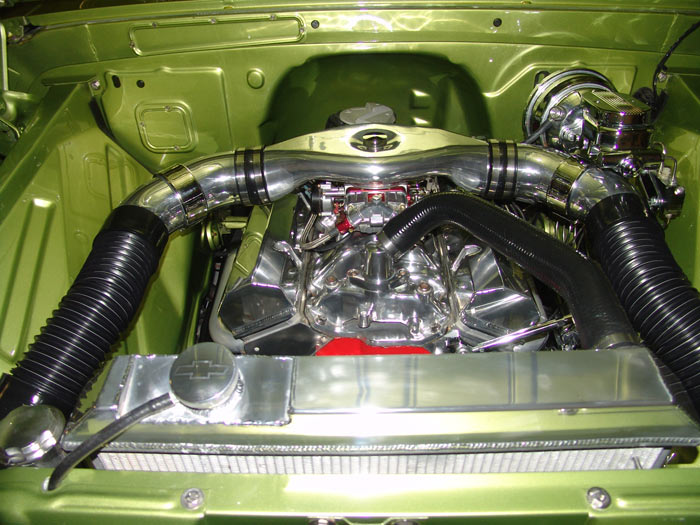
“Ram Air”. Air filters are inside the middle tubes.
August 20 – 2013. I decided to reroute the ram air setup.
My original was just touching the inner fenders and I had to slightly bend the proportional valve/lines so it would clear.
Now the setup is off the fenders and the valve is correct. Looks a little cleaner to. The filters are still in the tubes.
You can see the before in the pic above.
Also still working on my Montego GT 429. One month to the day since I bought it, I now have the body off.
Check out progress here. Monthly updates toward the top of the page.
Tools, equipment, paint and more.
Auto Body Store


More
Comments