


1973 Mercury Montego MX Frame-On Resto Project
Click on any of the months below to see updates
Before Pics | October 2012 | November | December | January 2013 | February
Misc Updates | Misc pics once the project was done
Parts purchased
Some of my other projects –
My 1966 GMC Suburban ” Custom” Project (started January 2021)
My 1963 GMC Suburban “Custom” (FOR SALE) Fauxtina/Patina paint job FS page – Gallery – Video
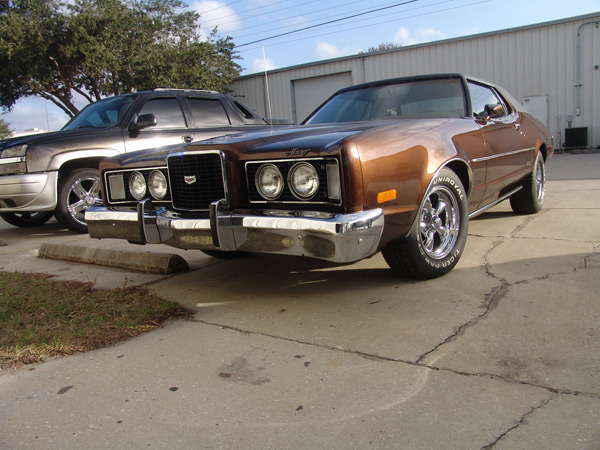
My 1972 Montego GT 429 / 521
My 1973 Montego MX (see monthly updates toward the top once you get to the page)
My 1966 Chevy C-10 (see monthly updates toward the top once you get to the page)
My 1977 Trans Am Buccaneer Red
My 1963 Pro Street C10 (back halved frame off I did this back in 1992) Video
Some of my other cars and trucks
My YouTube Channel (how-tos, projects, paint jobs…)
1-8-2013
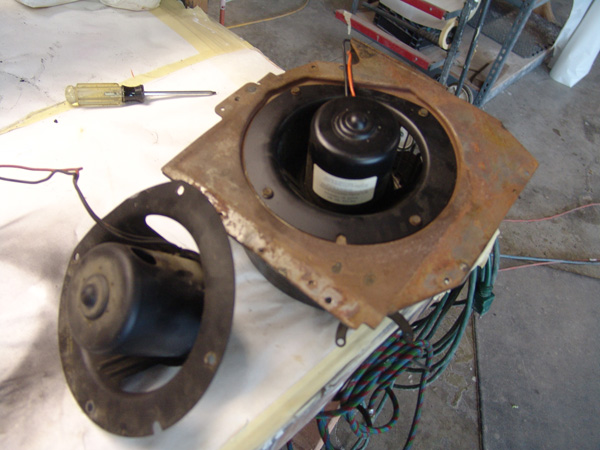
Installed a new heater motor. Of course it was ‘cool’ enough last week to use the heater. Had a small noise.
The day I install it , it’s 83 outside!!!!
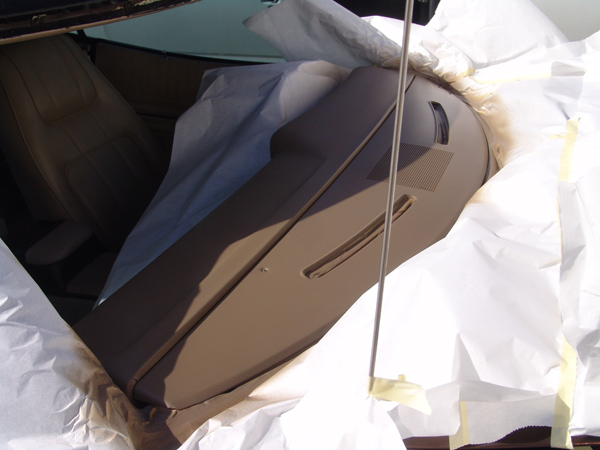
1-9-2013 Refinished the top of the dash while the old glass was out.
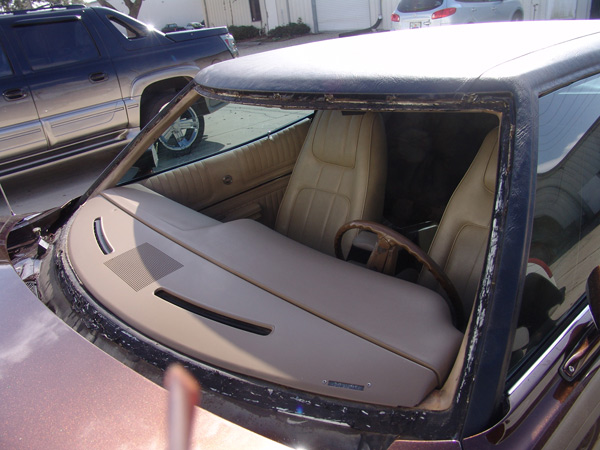
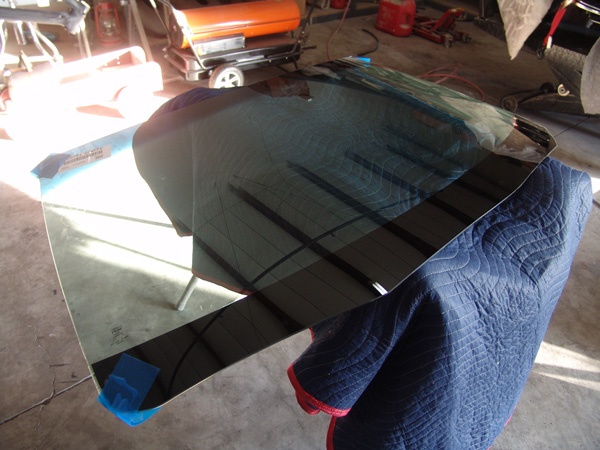
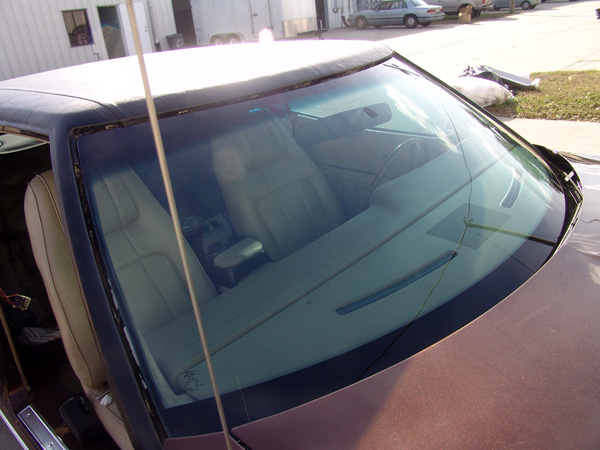
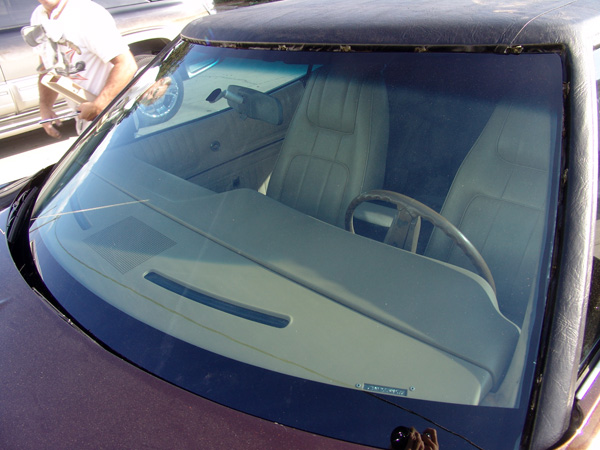
New glass installed 1-9-2013
1-14-2013
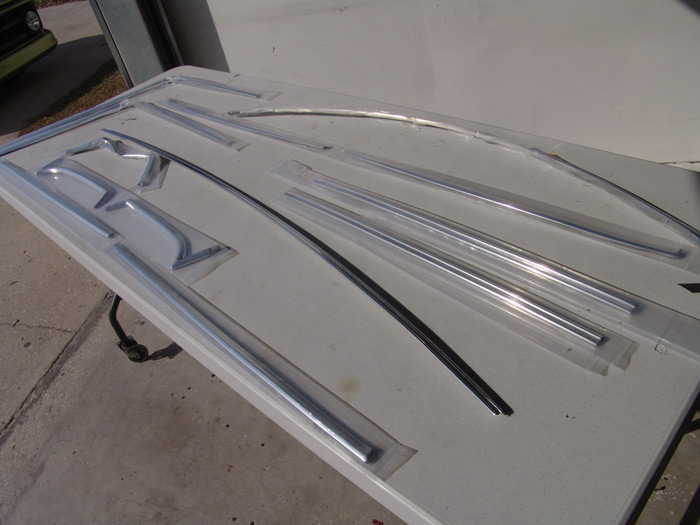
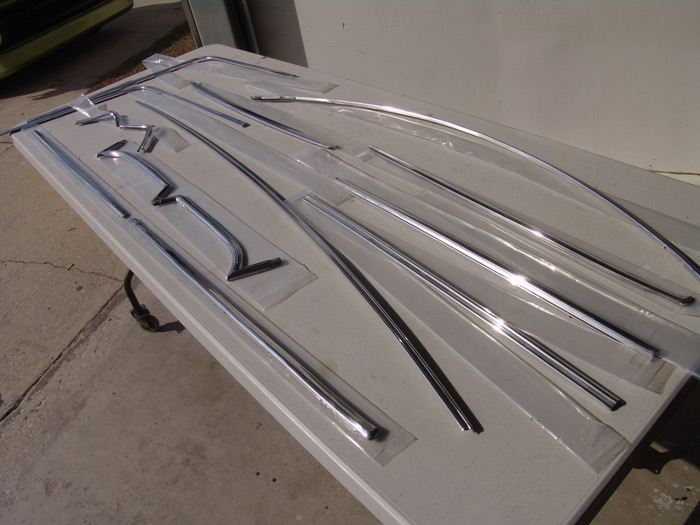
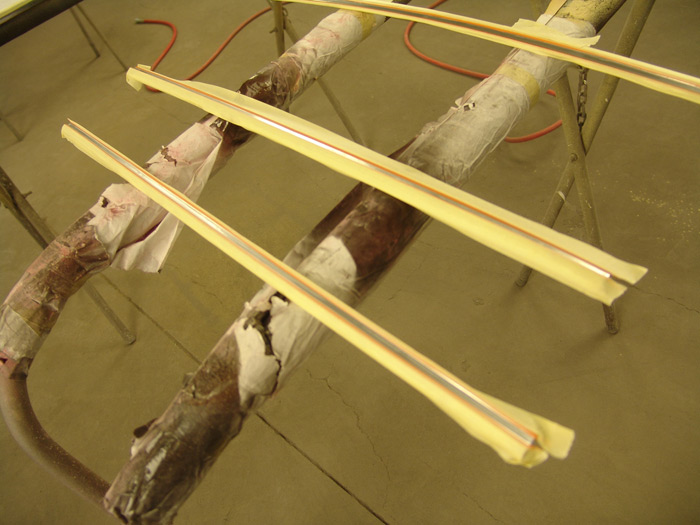
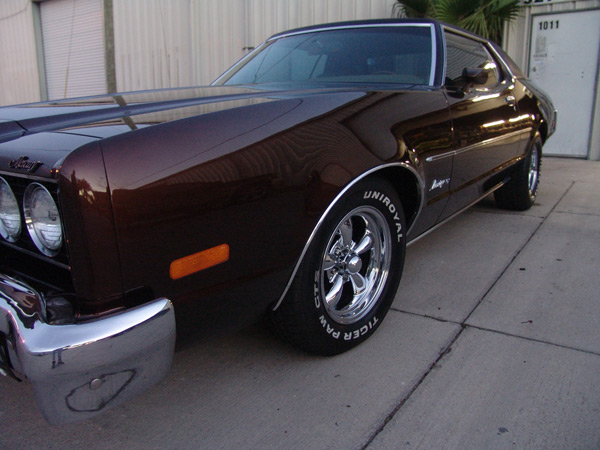
Got my polished mouldings back. Eric did a great job! Not all are shown here.
One of the mouldings hads some pits, so I had a cleaner-nicer ‘back-up’ moulding that I had him do.
$650!!!!
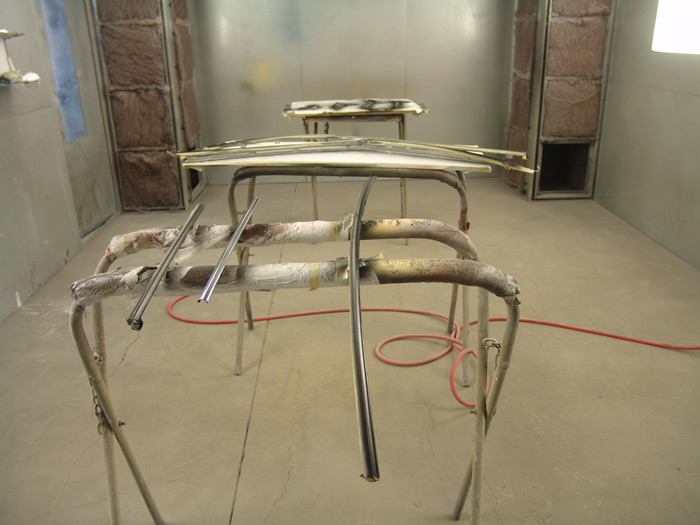
All the V-top mouldings needed to have the insert painted black.
Front windshield and rear glass mouldings are ready to install….tomorrow 🙂
[xyz-ips snippet=”1973-Mercury-Montego-MX”]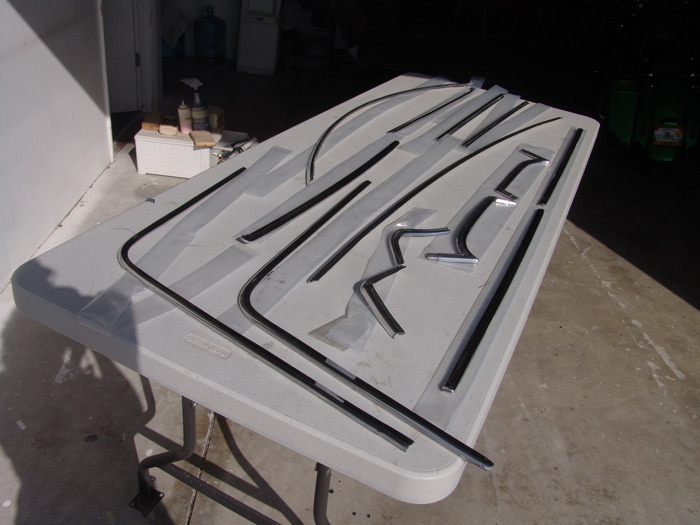
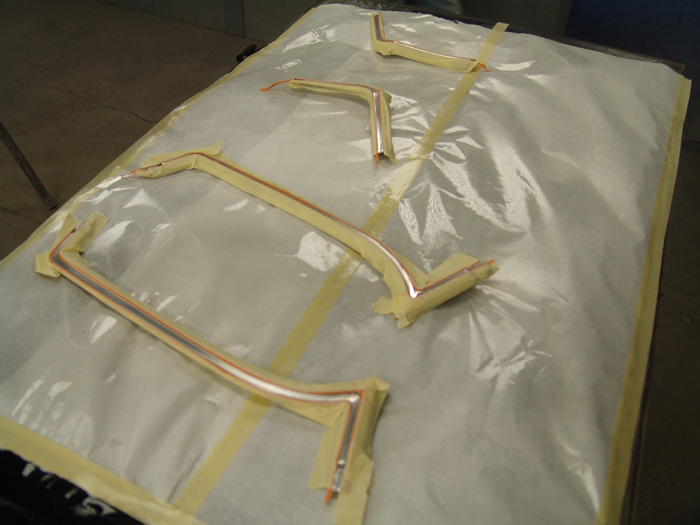
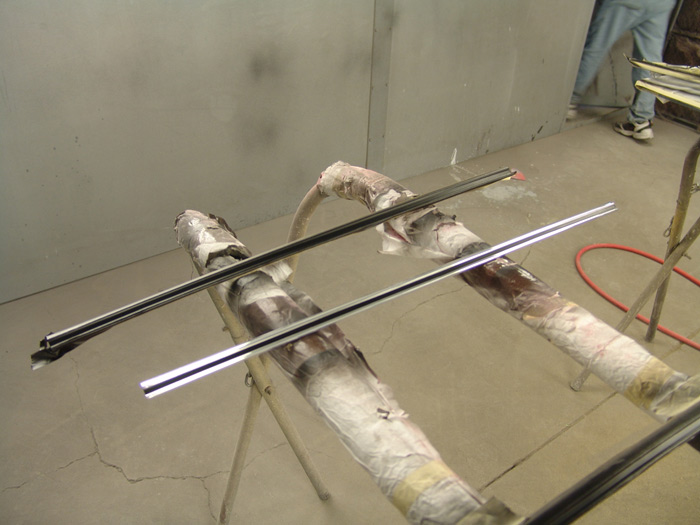
Vinyl top mouldings are all masked up. I used fineline tape to ensure the edges were crisp

Pic of the inserted area painted black (no tape stripeshere!!! The stripes on the mouldings are painted!)
I sanded the 1/4″ area, sealed it, basecoated it, and clearcoated it with House of Kolor UC-35 with flattening agent to give the stripe area a satin black look.
Tape is removed on the first moulding
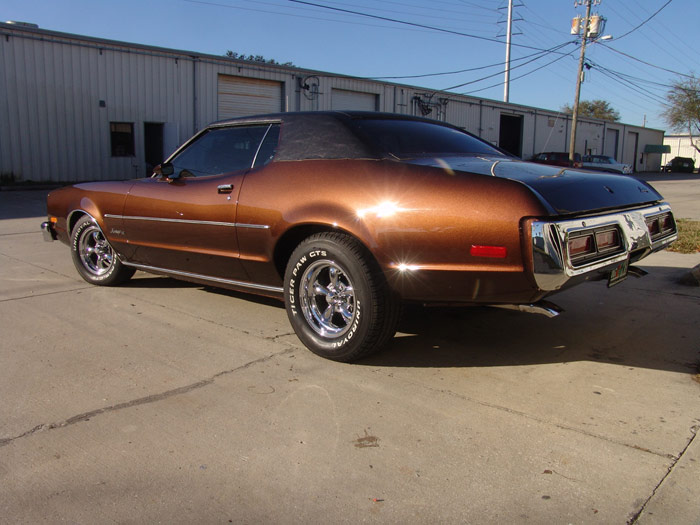
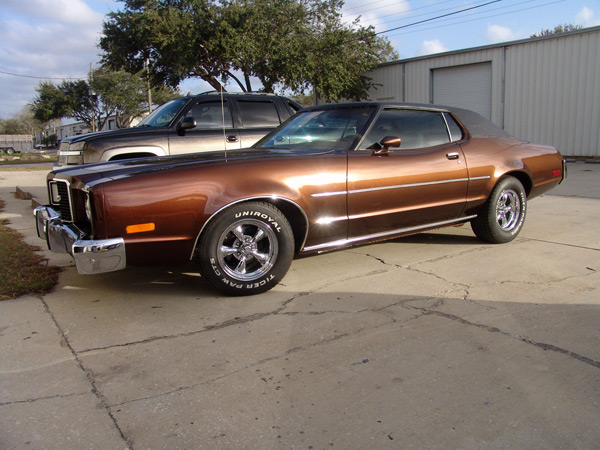
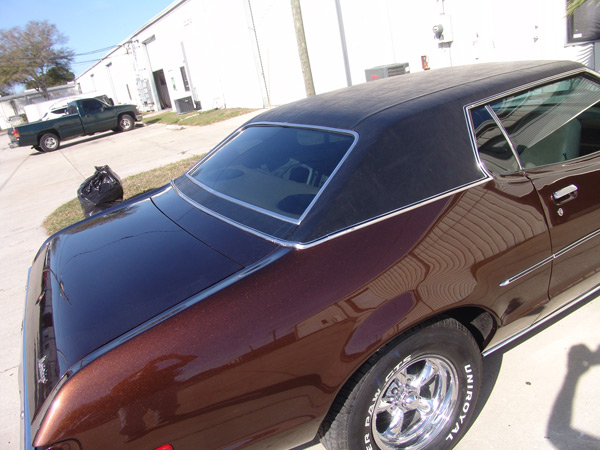
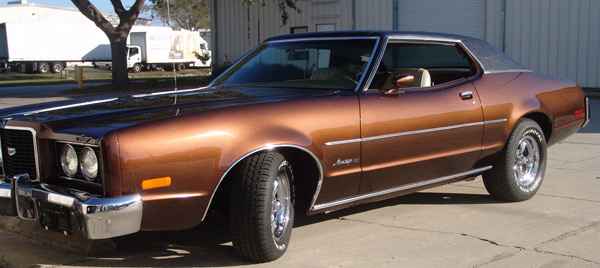
Don’t think I’ve taken a rear view shot. So here is a 3/4 shot I took. Note the ‘old school’ exhaust tips.
STILL working on getting the rear w/o mouldings.
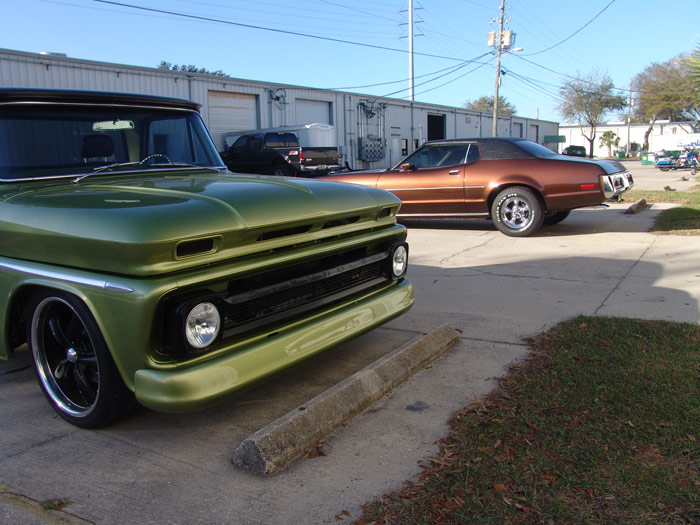
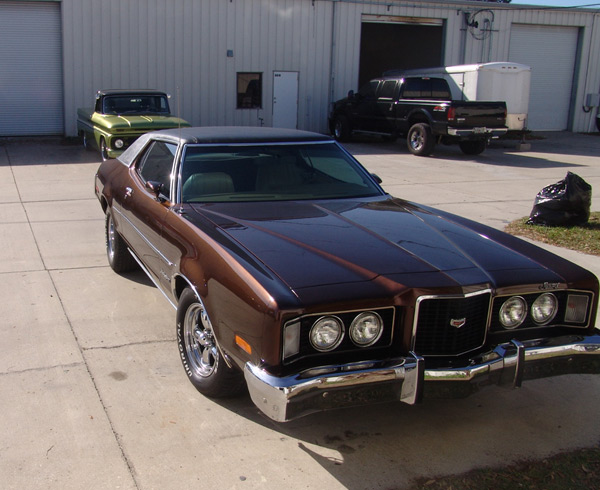
My 1966 Chevy C10 and my 1973 Montego MX
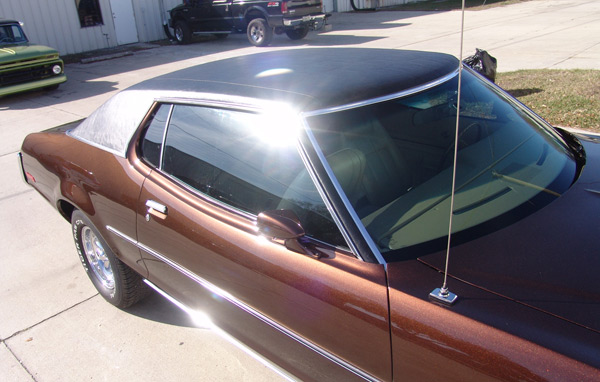
January 14 – I started putting on the V-top mouldings. I have three left. The 2 corner mouldings that go over the top of the 1/4 onto the rear deck. Then of course the rear moulding. I made sure all clips have ribbon sealer on them so the 3/16″ holes will not leak.
The mouldings are on!!!
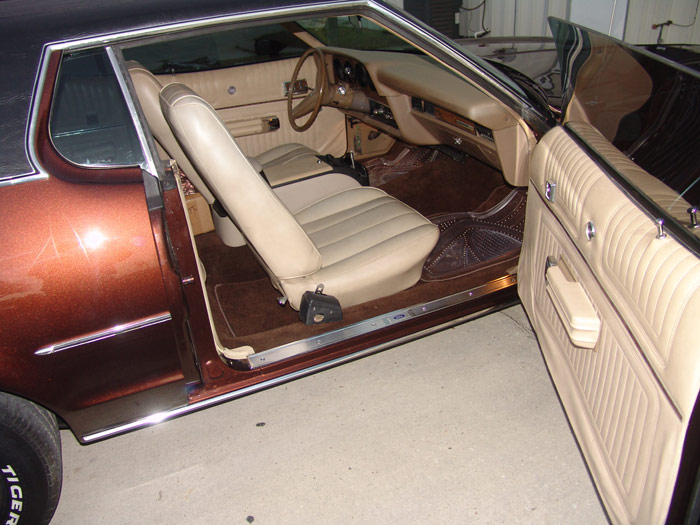
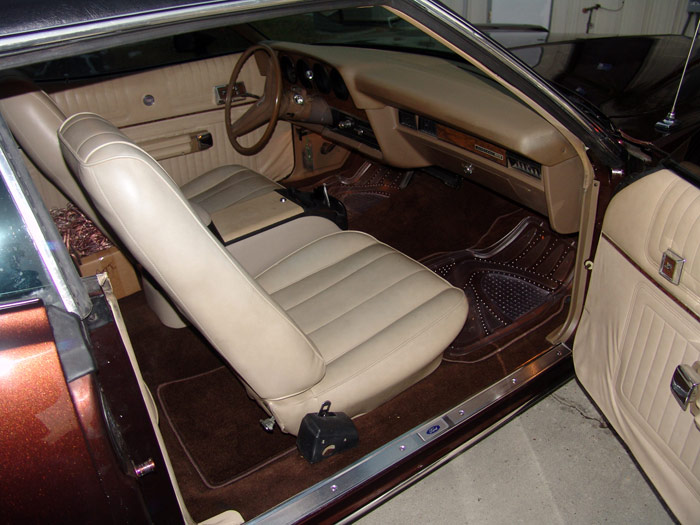
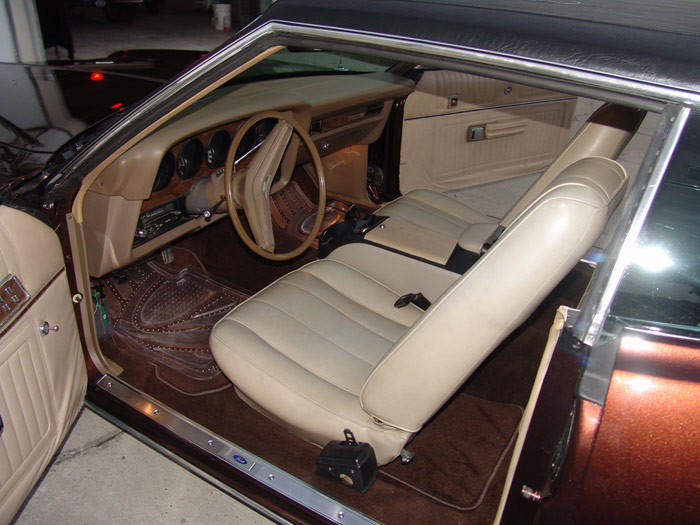
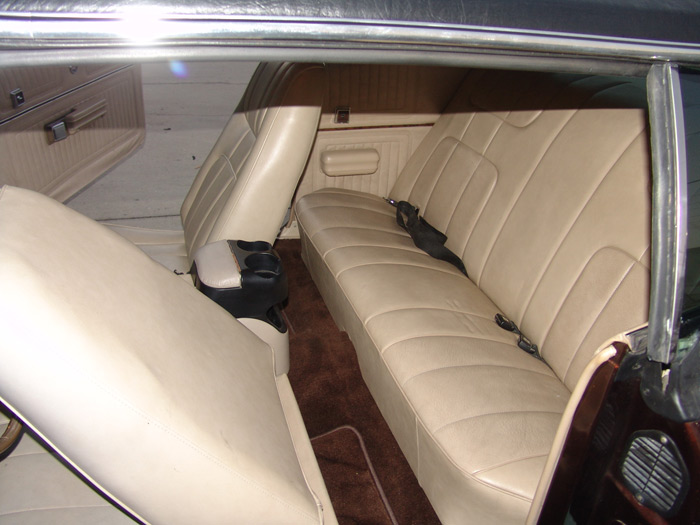
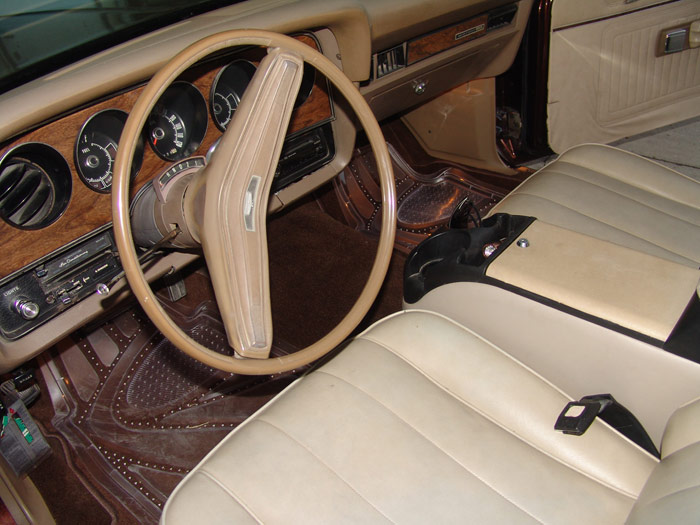
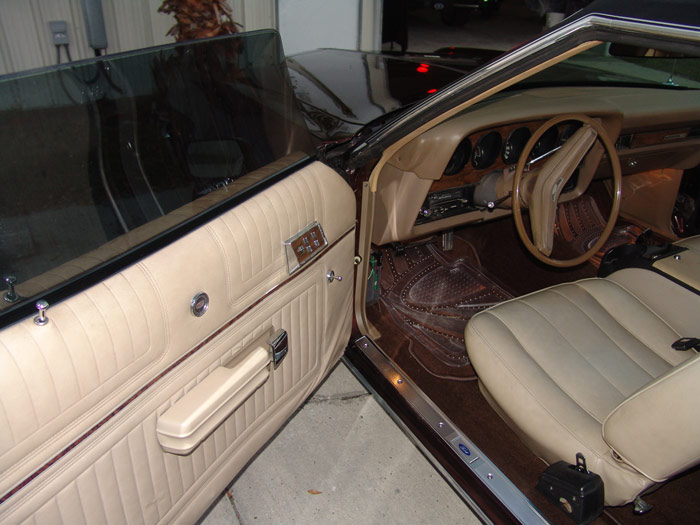
Pics of the interior.
1-24-2013
New carpeting
New Sill plates (and Ford emblems on the sil plates)
New ‘brown’ floor mats (transparent mats on top to help preserve the brown mats (I’ve always ‘double’ matted my cars…lol)
New/used 1/4 trim pieces (between carpet and the 1/4 interior panels.
Replacing the turn signal cam. Also replaced the ignition cylinder so the door and the ignition use the same key.Dyed the top of the dash (see previous pics). Still need to do the ‘front’ of the dash.
Adding speakers soon. The front lower corners of the door panels are a bit tattered, so I’m hoping the 6.5 speakers help hold down those corners
Tools, equipment, paint and more.
Auto Body Store


More
Comments