


1966 Chevy C-10 Monthly Update Links
Before Pics | September 2010 | October | November | December | January 2011 | February | March | April | May | June | July | August | September | October | November (DONE!) Well, one more update….December (new tonneau cover) January 2012 (featured article Custom Classic Trucks – February 2012 edition) Misc Pics (2013-2014) Misc Pics 2015 – Car Shows | My Car,Truck, Motorcycle Videos 383 Stroker and 200-4r Specs (Dyno Video!) | My Cab Caddy |
My 1966 C-10 Videos on YouTube| Specs | Previous frame off on my 1963 C-10
See other pics “walk around” video added 5/26/15
Custom Classic Trucks (February 2012 edition)
March was a big month. Installed the rebuilt 12 bolt.
FINALLY chose the color (Denim Black for the accent color and Lime Green for the main color). Painted AND installed the cab.
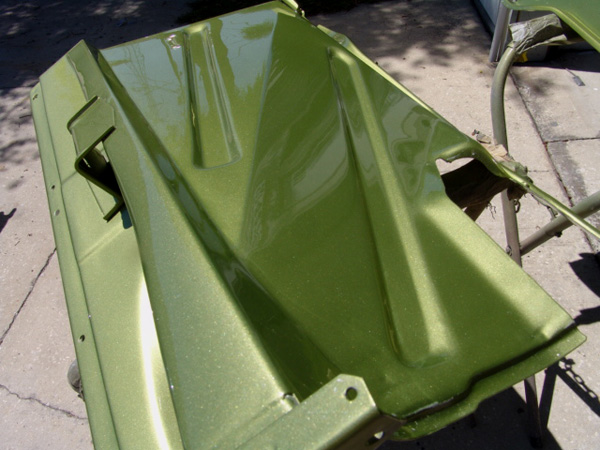
Painted the fenders along with the inner fenders.
Plans for April
Complete the brake system (Ordered the booster and master cylinder)
Start, possibly finish the wiring
Start working on the assembly of the front clip.
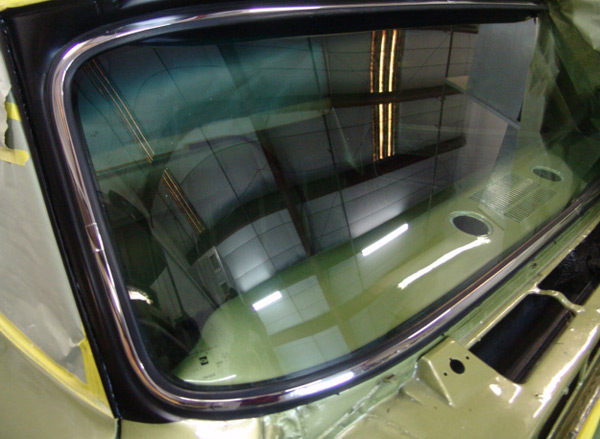
Install the front windshield and the rear glass.
6 months as of last week since I started the build
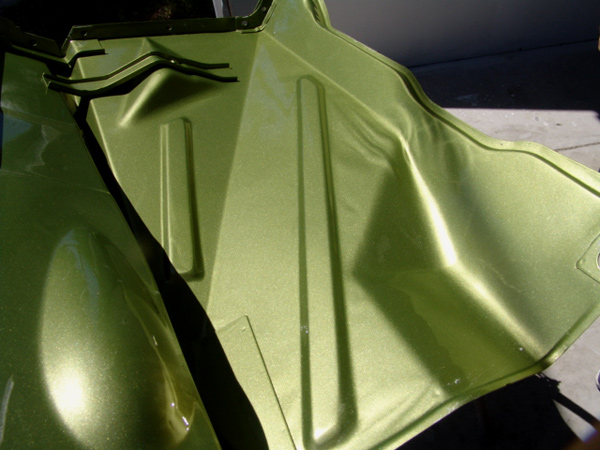
The underside of the right inner fender.
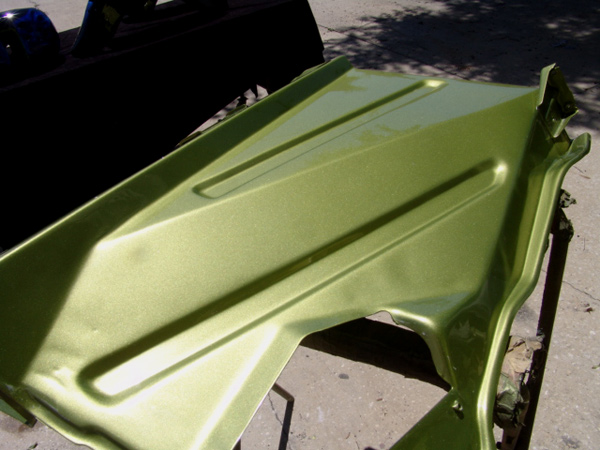
Very hard to get some good pics of the color!
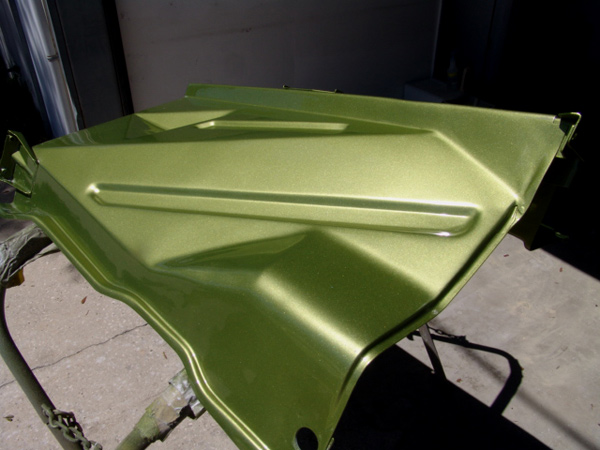
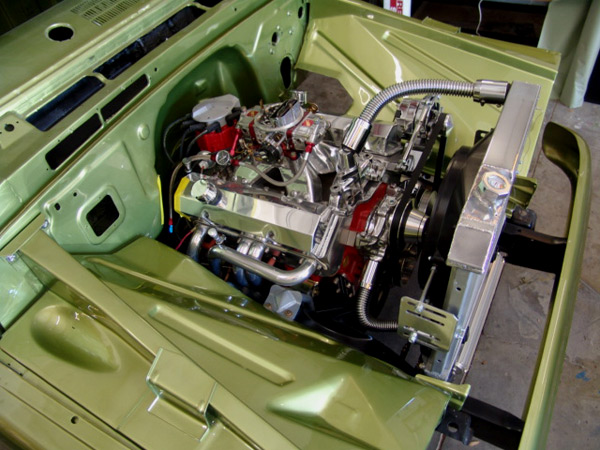
Just a quick mock-up to see what the buffed inner fenders would look like bolted up
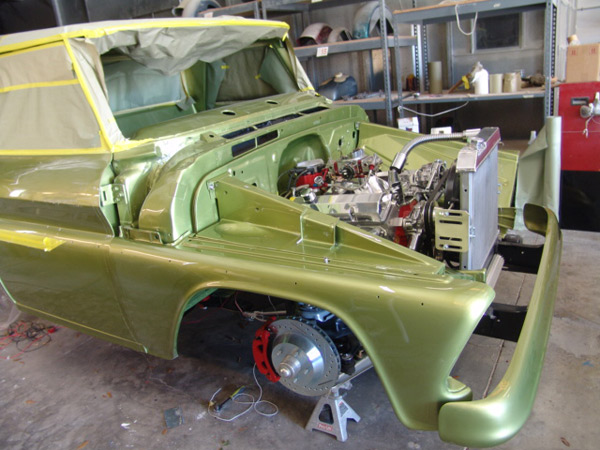
Another mock-up pic
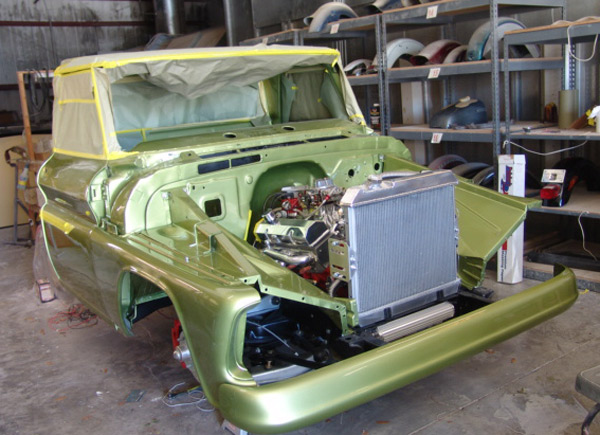
Note the ‘smooth’ front bumper (no holes). I’ll take the fender and inner fenders off tomorrow (4/2). Want the brakes done before I start mounting the sheetmetal
The center of the rotor is 18″ right now on the jackstands. So the truck will end up at least 4″ lower than what is shown here.
Went through the wiper washer along with testing it. The first part back onto the cab
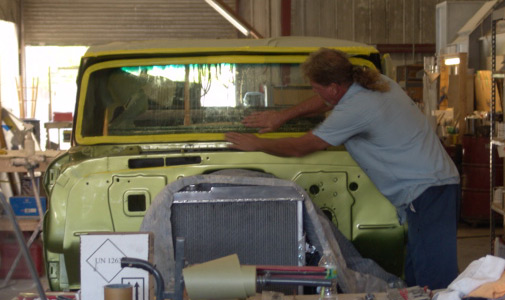
Glass guy installing the windshield.
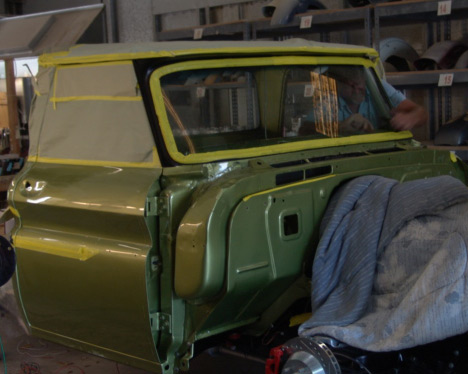
I went with the original “Custom” cab trim in the gasket.
Had that polished about 3 months ago. Show quality polish job! Yellow tape is there to keep the trim in the gasket during installation.
Randy from Dun-Right Mobile Glass here in Pinellas county
Installed 4/11
The dash was wetsanded and buffed!

The molding and gasket against the satin black.
The “satin black” is really Harley Davidson Black Denim which is a base coat clearcoat
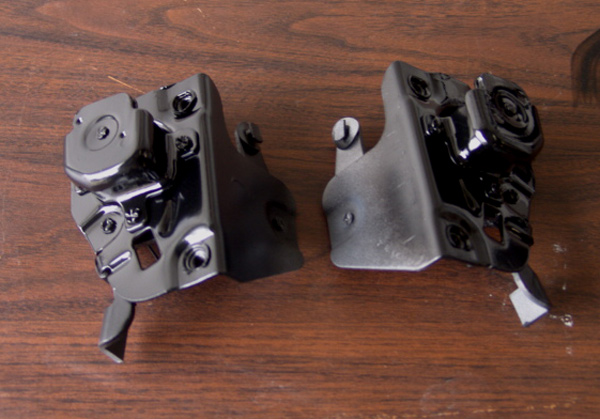
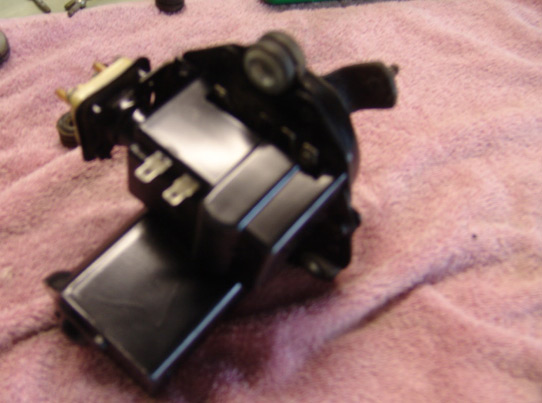
Sandblasted and painted the latches along with re-greasing them
There are some small rubber bumpers that are on both latches. They were falling apart, so I took 4 layers of heat shrink tubing and used these as replacements.
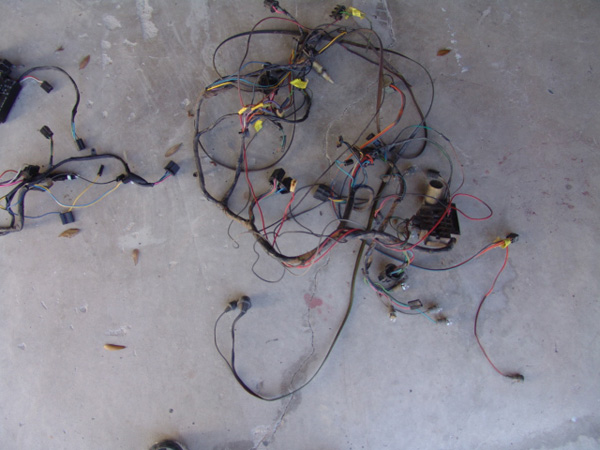
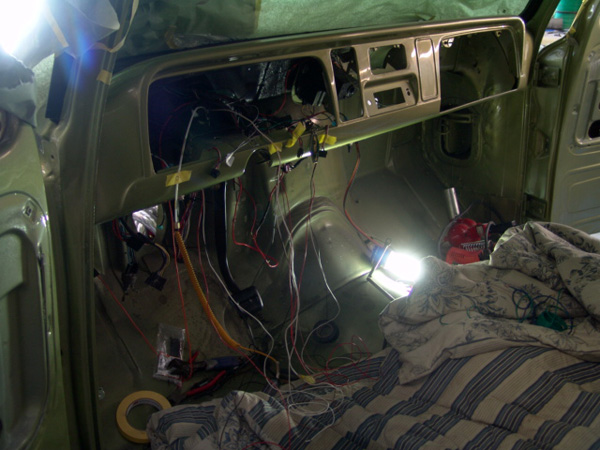
The old harness.
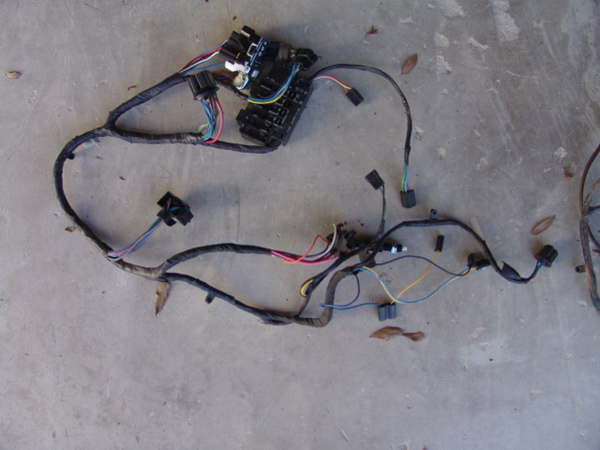
Time to dig in on the wiring. Bought a NOS wiring harness with the fuse panel.
Only got the main harness and fuse panel. This is a BRAND NEW 50 year old harness.
I have to take some of the wiring and fuse clips from the old harness and put them on the new.
4/13/11
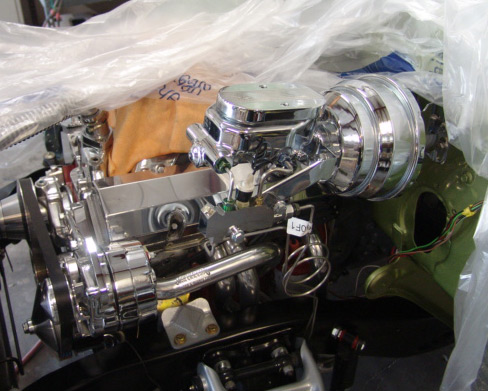
4/10 – Received the brake booster, master cylinder and prop valve.
Disassembled and bench bled the master cylinder.
Changed the stock lines from the mc to the prop to stainless steel. Reassembled
Drilled the holes on the firewall and installed the setup
Ran the stainless steel brake lines and bled the system – 4/11
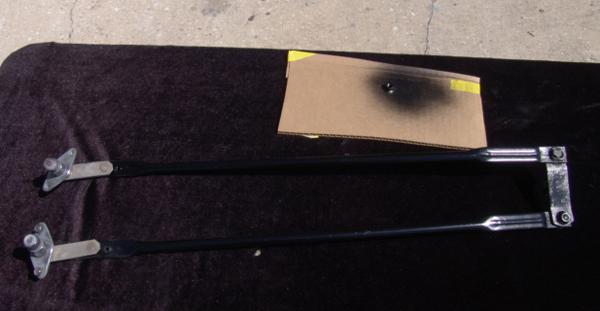
Repainted the wiper transmission arms
4-19-11 Started the gauge wiring
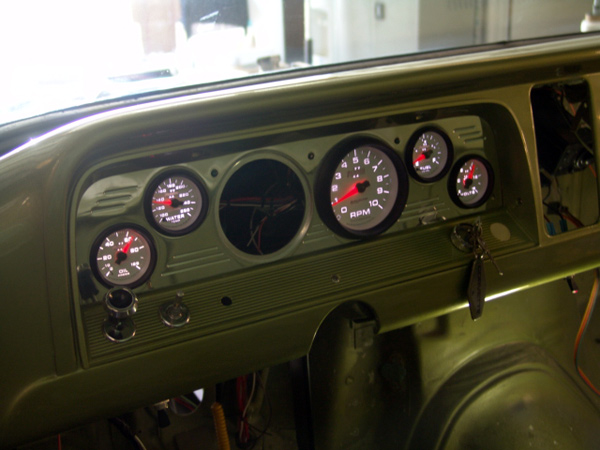
You can see how the guages look. Auto-Meter FULL SWEEP Phantom II gauges.
The full sweep gauges have a micro processor in them that recalibrate each time the truck is started. The full face gauges run about 3 times as much in cost, but are more accurate, and I feel look nicer.
One more gauge to get. Looking to get the electric speedo (not mechanical)
The unique feature about these gauges is that the LED’s come through the lettering/number and not the face of the gauge.
Even though this is a recent pic (4/21), I’ve since installed the cigarette lighter (hole on the far right next to the ignition)
New headlight and wiper switches were installed. I polished the head of the ignition so it looks brand new. The ignition bezel is brand new.
I also polished the wiper bezel and the headlight bezel (the little rings that hold the switches into place. You can see them in the pic)
Since this pic the new wiper knob is installed. The ashtray in the pic below has completely been taken apart and redone. Looks brand new.
Go to figure out how to do the manual choke. Thinking about just putting a dummy one in (the extra hole on the left next to the wiper)
Also, a big day (4/22). I finally installed a gas pedal. Came out excellent. Very clean looking. In the past week I made it so I can actually start the truck through the key, AND push the pedal down and REALLY feel the power.
Next week. I will be getting my 33″ column in which includes 5 way tilt. All chrome.
Got to look for a steering wheel.
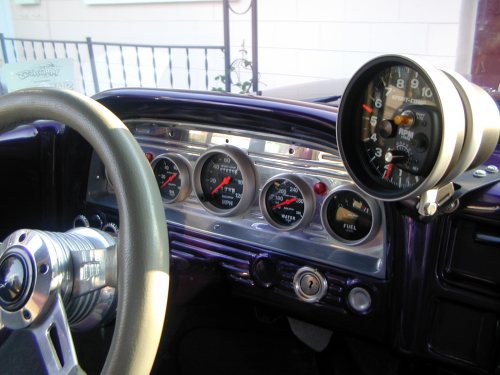
My personal opinion. I think Chevy took a step backwards when they did the dash in teh 64-66 trucks versus the 60-66 (please see the pic below of my other truck I did in the early 90’s)
Notice the nice “hump” on the dash. There is a identical one on the right side. This gave it a car or Corvette feel to it.
The 64-66 dash looks like a flat board (no pizzazz to it).
Also the location of the switches. Your keys can hang off the dash on the 60-63, whereas on the 64-66, they will beat the paint up. I think the switches should be part of the dash and not the gauge bezel.
I believe the 64-66 GMC did come with same dash as the 60-63 though (comment if you know if this is true)
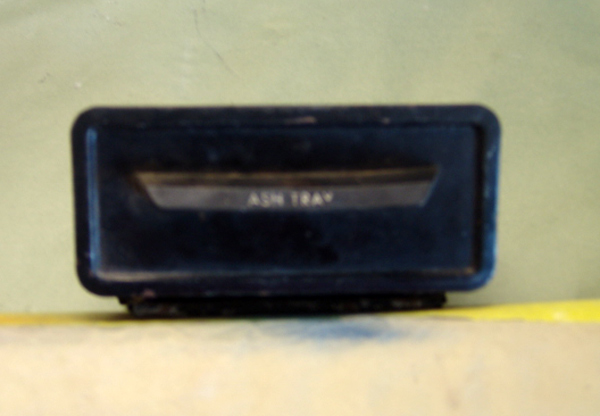
This is how the ashtray looked before I redid it. I have this done and installed. Pics coming soon.
4/24/11
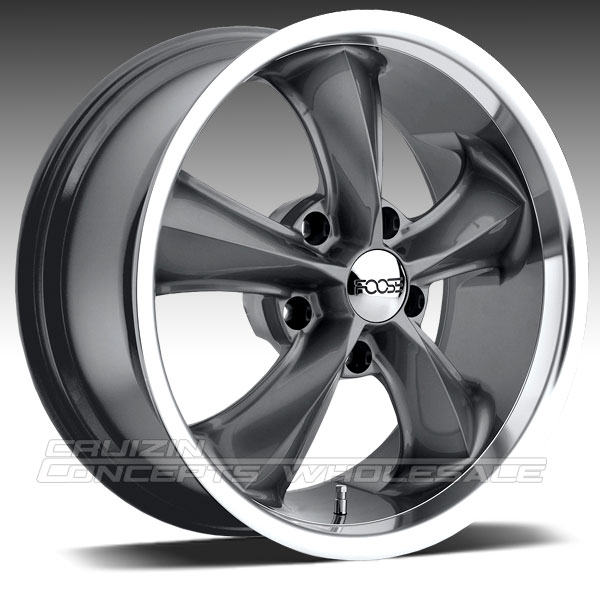
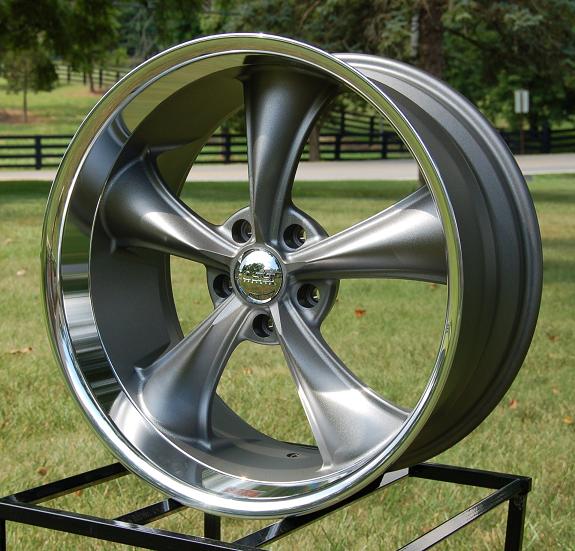
Getting close to getting my wheels. I’ve narrowed it down to two wheels
Foose Legends OR the Boss 338s.
20×10 and 18×8 (5×5)
Both are similar in style, but the Foose has a sharp line on each of the spokes which is nice.
I really like the Boss wheels, but the backspacing is incorrect for the older trucks. It has a 6.25 on the rears instead of approx a 5.5.
Also, the Boss is known to have issues with the grease caps and fittment on the rotors of the older trucks. This is supposedly corrected on “version 4” of the wheel.
Boss are 1/2 the cost of the Foose wheels. I would also need to run a 1″ spacer in the back. Not for sure how that would work with 10 lugs on each side and a 460hp motor. Hate to shear them off….ouch!
Whichever I choose will need to be repainted to match the roof and the side trim color (satin black)
Tools, equipment, paint and more.
Auto Body Store


More
nice work
This is a great work! Love to see the progress in it and the way you work on all of engine, body, work, and modification on the brake booster and foose wheels!
Thanks Steve! I appreciate
Thanks Steve! I appreciate the compliment. Can't wait for the first 'drive', Probably about 1-2 months away.
Scott
Your truck
Just wanted to praise you on your work. It's obvious you do excellent work & pay attention to details. Not many like you around anymore. Very impressive, please accept my compliments.